Start with a comfortable base
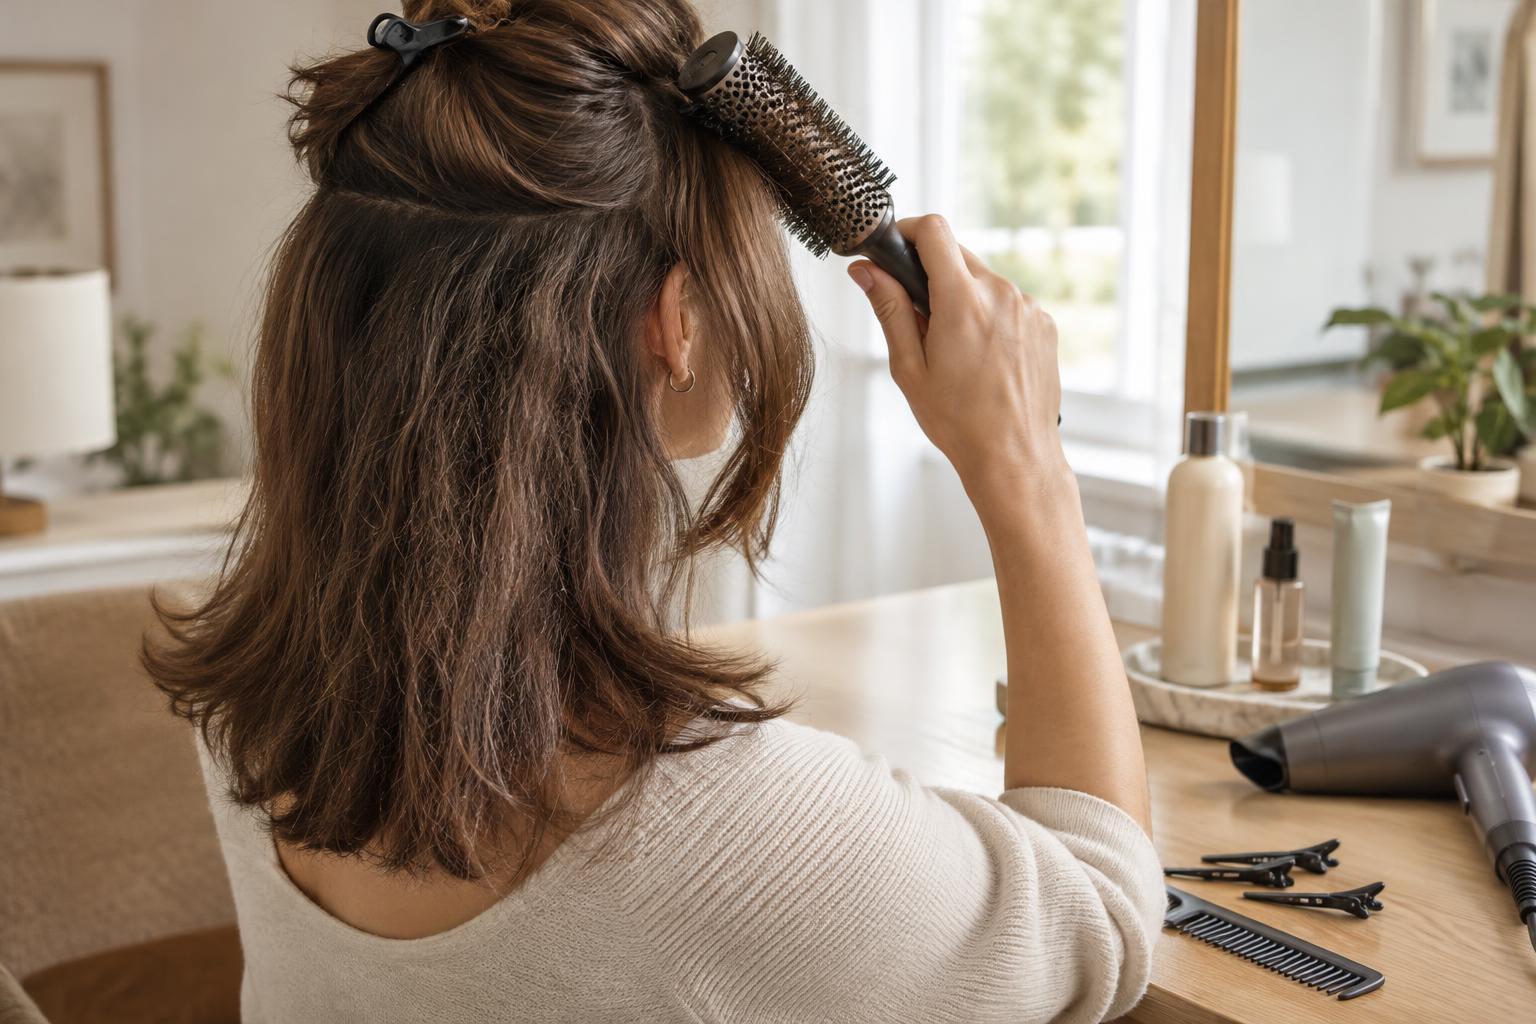
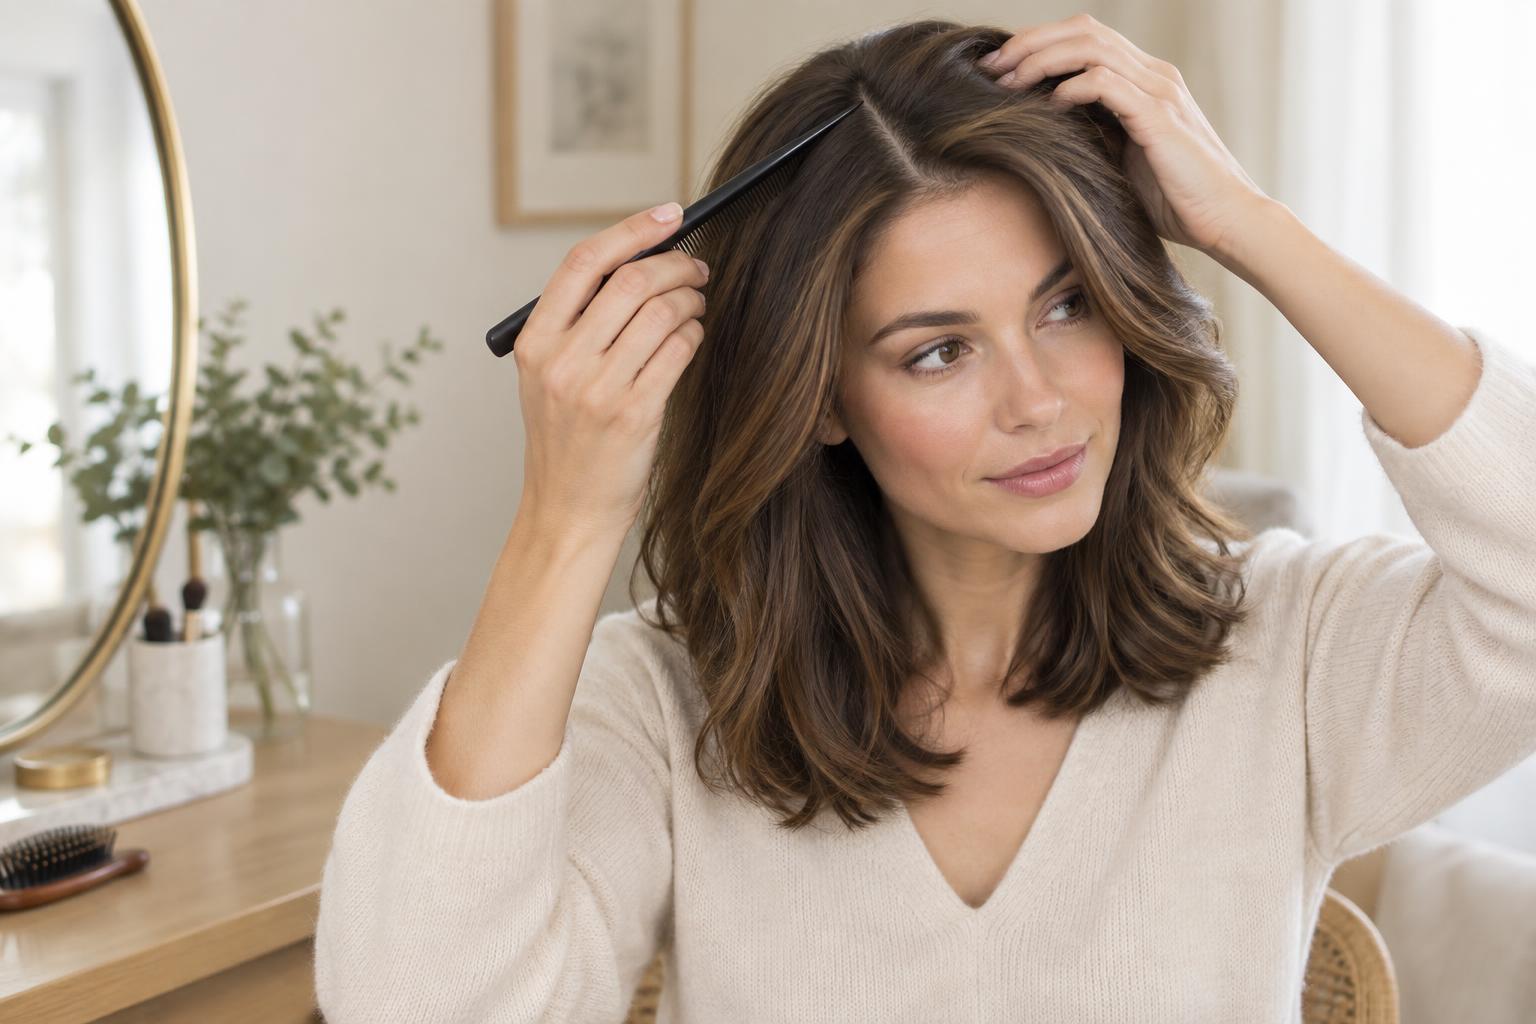
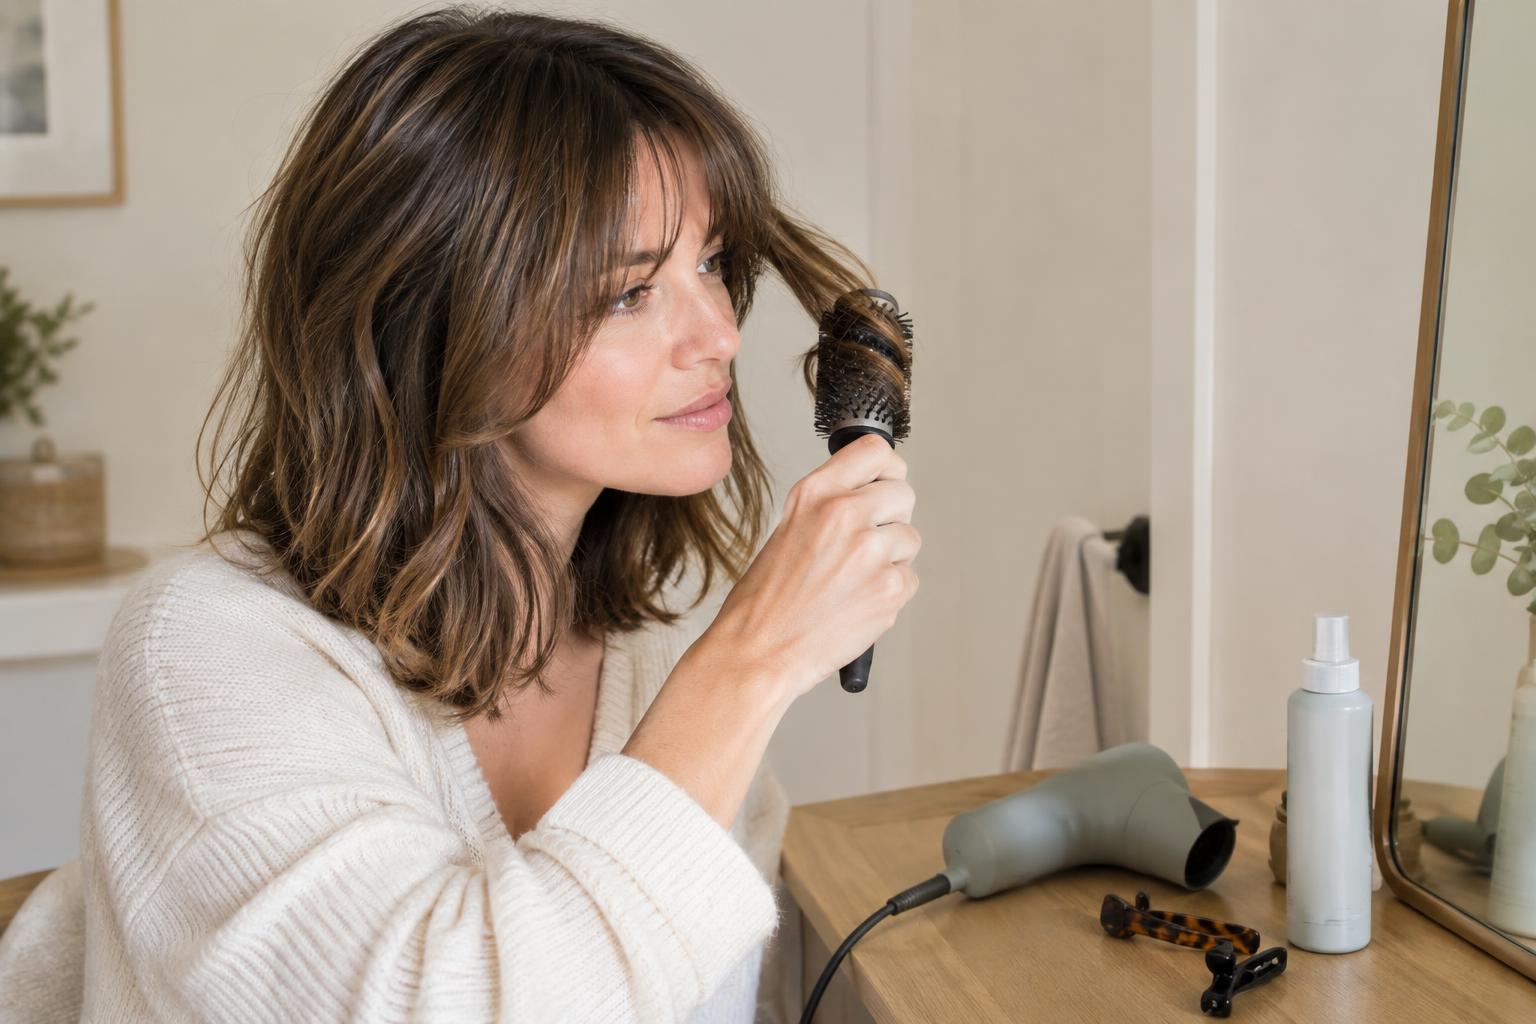
The easiest bun is one that stays in place without pulling. Keep a hair tie, several bobby pins and a comb or brush nearby. A mirror helps, but neat parting is optional. If your hair is very smooth and tends to slip, work with it before washing or add a small amount of styling product you already know suits your hair. If it tangles easily, detangle gently before gathering it.
Choose where the bun will sit before you begin. A low bun at the nape is often easiest to reach and pin; a higher bun changes the shape of the style but may need more support. Gather the hair with your hands and check the tension around your hairline. It should feel secure, not tight. For shorter layers, you can leave a few pieces loose or use small pins to bring them toward the bun.
The twisted bun: simple and tidy
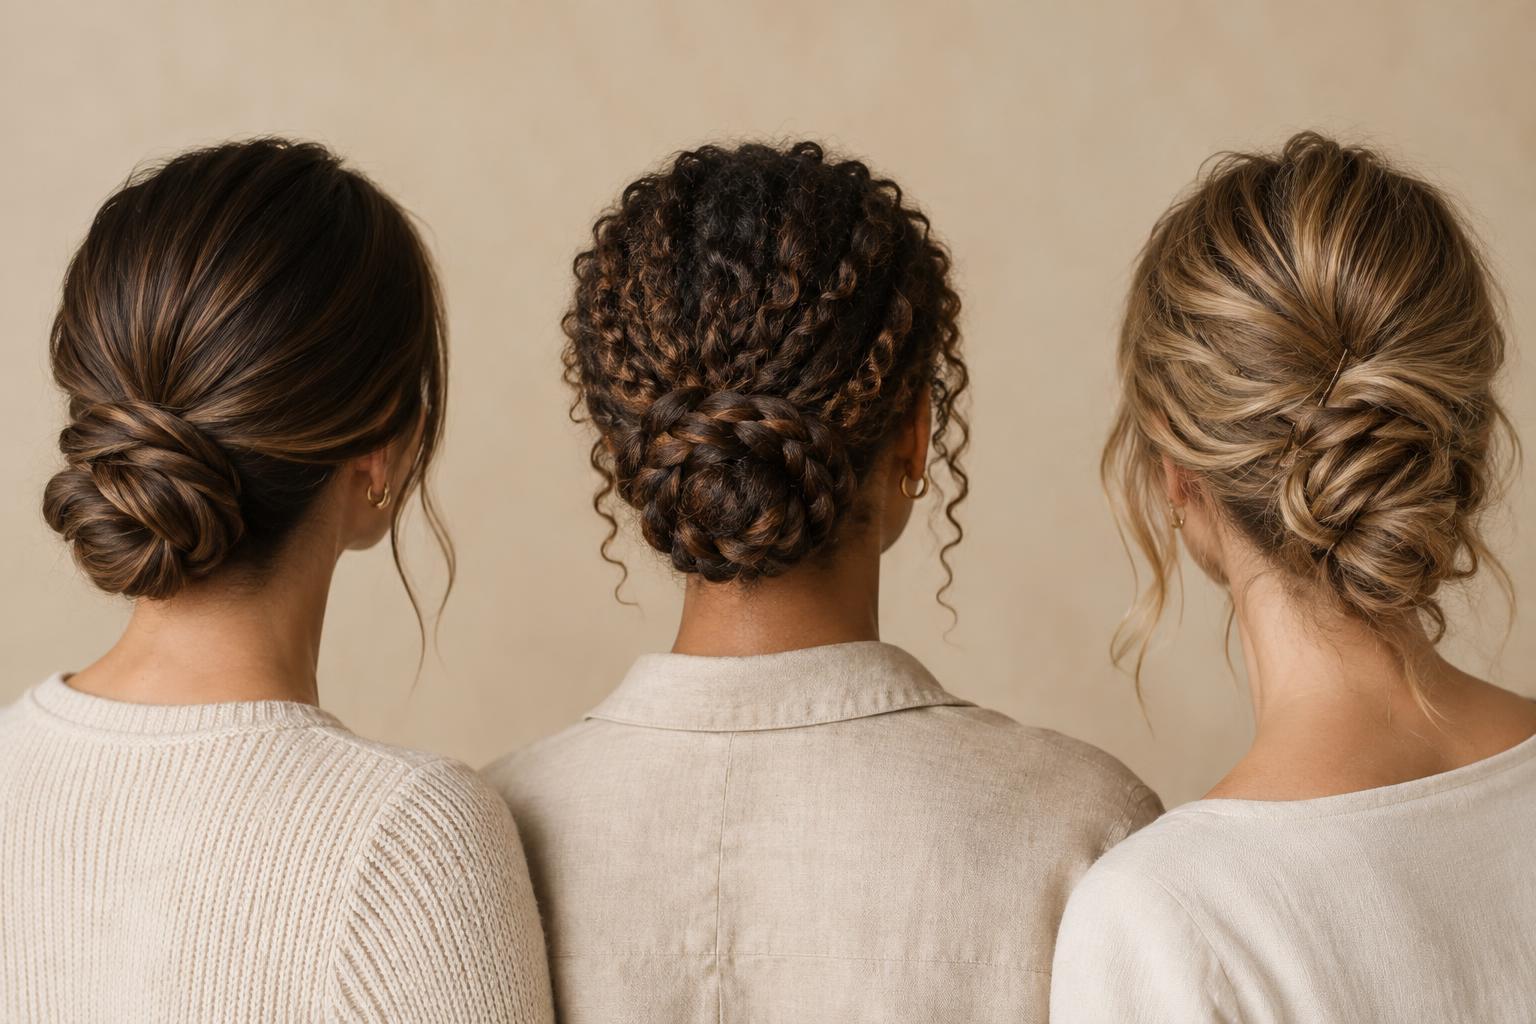
Gather your hair into a low or mid-height ponytail and secure it with a tie. Twist the ponytail in one direction until it begins to coil, then wrap it around the base. Tuck the ends underneath the coil and place pins around the outside, catching a little hair from both the bun and the hair close to your scalp. Add pins where the bun feels loose rather than placing them all in one spot.
For a smoother finish, twist firmly and keep the coil close to the base. For a softer finish, twist more loosely and gently ease out small sections after pinning. If your hair is thick, divide the ponytail into two sections, twist each one separately and wrap them around the base in opposite directions. This spreads the hair out and can make a large bun easier to secure.
The braided bun: more detail, familiar steps
Begin with a ponytail, then make a basic three-strand braid and secure its end with a small tie. Wrap the braid around the ponytail base, tuck the end beneath it and pin along the curve. You do not need a perfect braid: once wrapped, the overlapping strands create the visible detail. If the braid feels too narrow, gently pull at its outer edges before wrapping it to give the bun a fuller shape.
A single braid works well when most of your hair reaches the ponytail. If shorter layers slip out, make two lower ponytails, braid each one and wrap the braids into neighboring buns, or pin their ends across each other at the nape. Check the style from the sides as well as the back. A pin that holds a loose braid end in place may do more than several pins added to the center.
The pinned bun: a softer, piece-by-piece finish
For a less structured bun, gather your hair loosely at the nape and secure it with a tie, leaving the ponytail relaxed. Take a small section from the ponytail, fold or curl it toward the base and pin it in place. Repeat with the remaining sections, changing their direction as you go. Let some ends show for a casual finish, or tuck them underneath for a neater one.
This method is useful when you want to decide the shape as you build it. Hold each section against your head before pinning to see where it looks balanced. If one side feels heavy, move the next section to the other side rather than trying to fix the whole bun at the end. A few shorter pieces around the face can stay out, provided they feel comfortable and suit the look you want.
Whichever technique you choose, finish with a gentle head movement to find loose spots. Add a pin only where needed, and remove or reposition any pin that pokes. To take the style down, pull out the pins first, then unwind the hair instead of tugging at the bun. With the basic shapes in mind, you can make each version polished or relaxed simply by changing how tightly you gather and wrap the hair.