Start with shape, size, and density
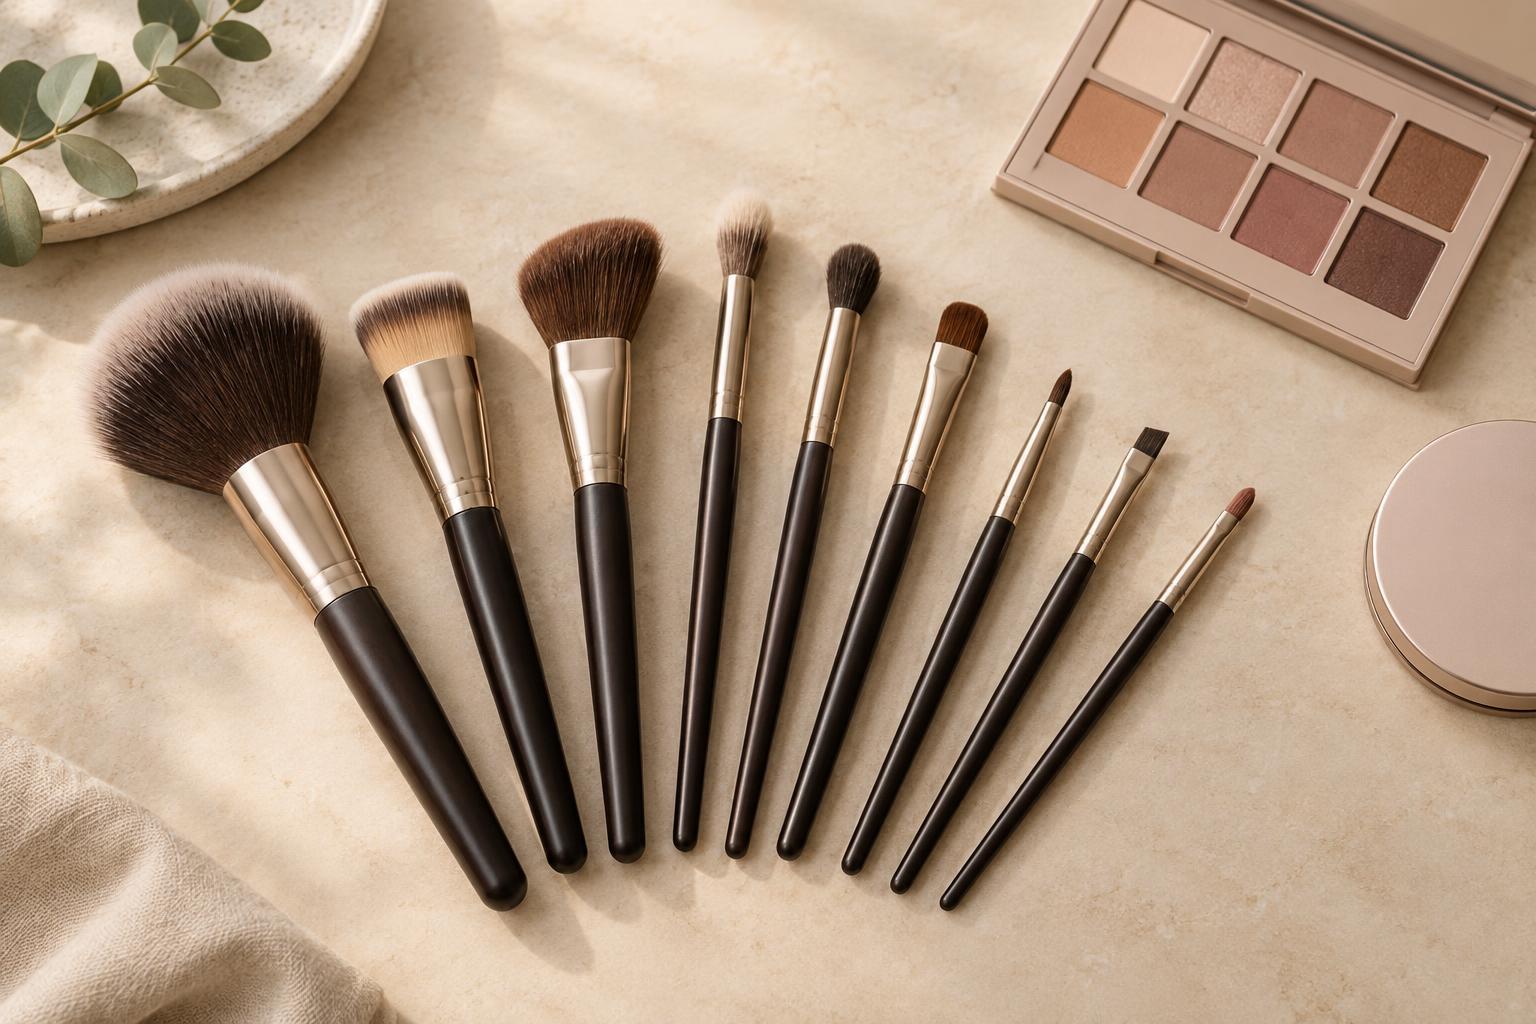
A brush name is a helpful clue, but it is not a strict rule. A brush sold for blush might also work well for bronzer, while a small eyeshadow brush could apply highlighter to a precise area. Instead of trying to memorize every label, look at three features: the shape of the bristles, the size of the brush head, and how tightly the bristles are packed.
A broad brush covers more area quickly. A small brush offers more control. Fluffy, loosely packed bristles tend to spread powder in a light layer, while dense bristles pick up and place more product. A flat edge can press color onto the skin; a rounded edge makes it easier to soften the edges. These patterns are useful starting points, though the makeup formula and your technique also affect the result.
Face brushes for placing and blending product
A large, fluffy powder brush is designed to sweep loose or pressed powder across wider areas without concentrating too much in one spot. Use a light hand and build gradually. A medium-sized, rounded blush brush gives you more control over the cheeks; its soft edges help blend color as you apply it. If you want more precise placement, choose a smaller blush brush rather than adding extra pressure with a large one.
Angled face brushes have a sloping edge that can follow the curve of a cheek. They are often used for blush or bronzer, but you can use one wherever its shape makes placement easier. A small tapered brush comes to a softer point and can place powder on narrower areas, such as around the nose or along the tops of the cheeks. For cream or liquid products, a dense, rounded foundation brush can buff in short, gentle motions, while a flat foundation brush can paint on a thin layer before you blend it.
Eye brushes for color, softness, and detail
A flat shader brush has a broad, relatively compact face. It is useful for pressing eyeshadow onto the eyelid, especially when you want the color to stay in a defined area. Patting usually gives you more control than sweeping back and forth. A fluffy blending brush has longer, softer bristles and a rounded tip. Use it with small motions to soften the edge of shadow or apply a sheer wash of color through the crease.
A smaller, tapered crease brush can place shadow more precisely before you blend it. A pencil brush has a narrow, rounded tip suited to small areas, such as the outer corner or lower lash line. An angled liner brush has short bristles cut on a diagonal; it can draw a fine line with powder or a suitable cream product and can also help fill sparse-looking areas of the brows. You do not need every variation at once: a flat shader and a fluffy blending brush can handle many simple eye looks.
What about concealer, lips, and brows?
A small, flat concealer brush helps place product exactly where you want it. After placing it, you can soften the edges with the brush, a clean fingertip, or a small blending brush. A tiny pointed or flat lip brush offers control around the lip line and can be useful when working from a lipstick bullet or palette. Neither is essential if your usual application method already works for you.
A spoolie is the mascara-wand-shaped brush commonly found on the end of a brow tool. It combs brow hairs into place and helps diffuse brow pencil or powder so the result looks less sharply drawn. If you use brow products, a spoolie and a small angled brush make a versatile pair. Keeping these brushes separate from eye and lip products can also make it easier to avoid mixing colors.
Build a small set and keep it usable
For a beginner set, start with the products you actually use. Powder, blush, and eyeshadow might call for a fluffy face brush, a medium cheek brush, a flat shader, and a fluffy eye blending brush. Add a dense face brush if you prefer applying liquid or cream base makeup with a brush. A few shapes you understand are more useful than a large collection of near-duplicates.
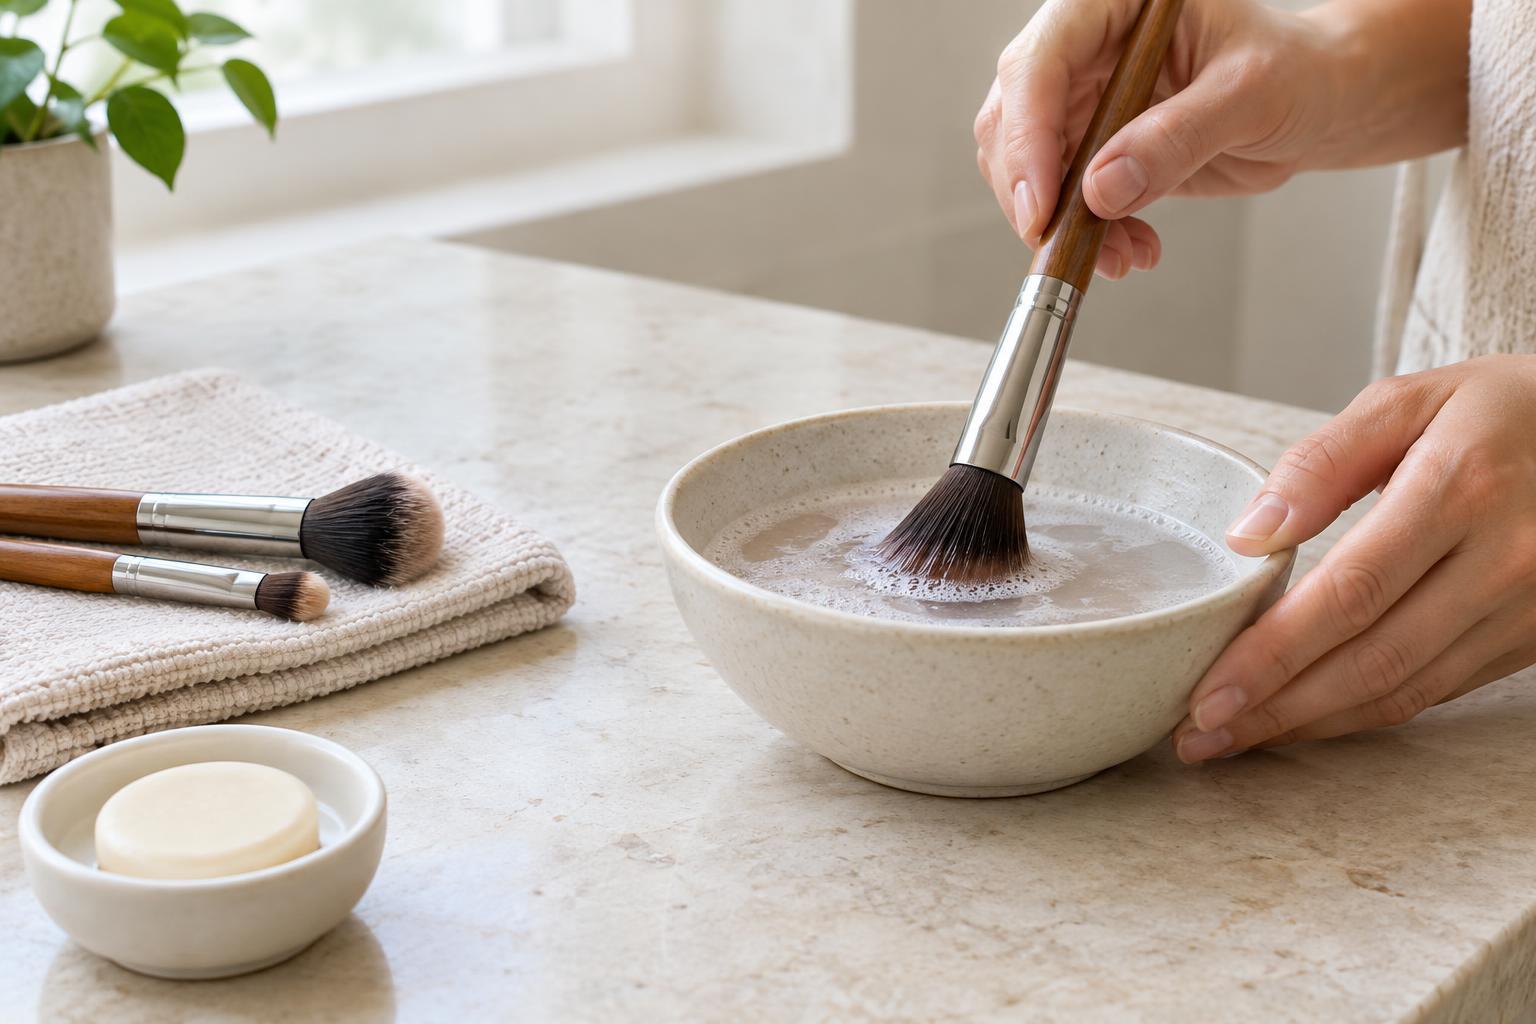
When choosing a brush, check that the head feels comfortable for the area you plan to cover and that the bristles hold together without feeling scratchy. Clean brushes regularly with a gentle brush cleanser or mild soap suited to the bristles, rinse thoroughly, and let them dry completely before use. Avoid soaking the handle or the join where the bristles attach. With clean tools and a light touch, you can experiment with each shape and decide what earns a place in your routine.