Know which parts need protection
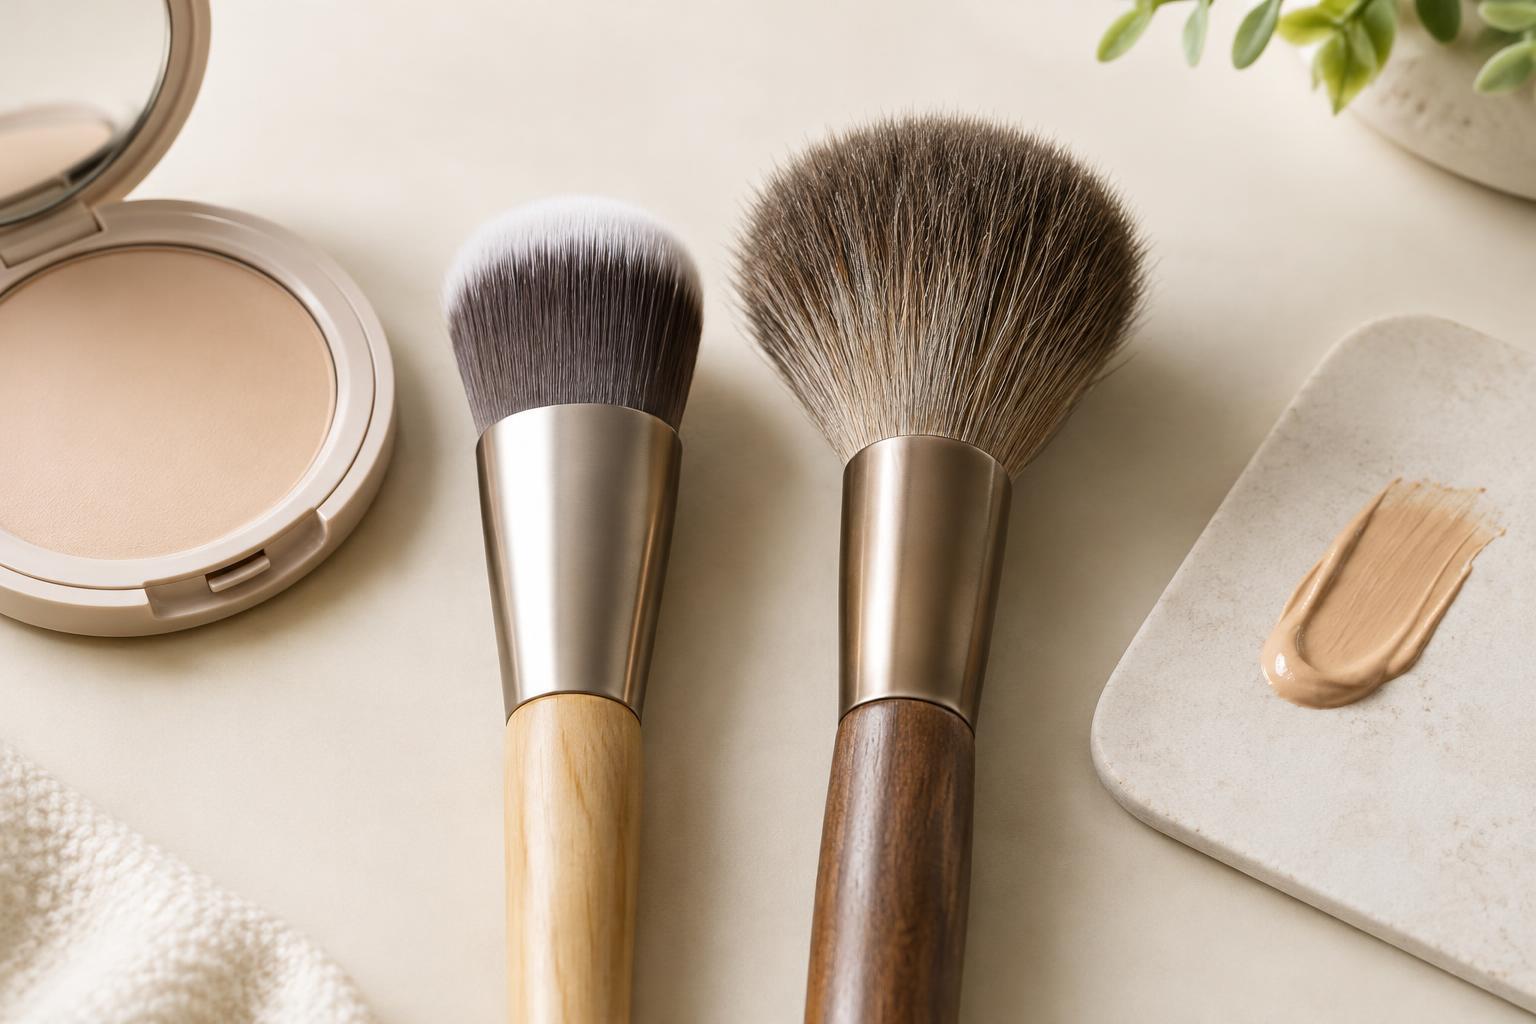
A makeup brush has three main parts: the bristles, the ferrule that holds them, and the handle. Cleaning should focus on the bristles, where makeup and skin oils collect. The ferrule deserves a lighter touch. Soaking it or repeatedly letting water run into its opening may weaken the bond holding the bristles in place. A wooden handle can also be affected by prolonged moisture.
You do not need a complicated set of tools. A mild brush cleanser or gentle, unscented soap, lukewarm water and a clean towel are enough for a basic wash. Choose a cleanser that rinses away readily rather than one that leaves a heavy coating. If a brush came with specific care instructions, follow those first, particularly for natural-hair or specialty brushes.
Wash the bristles, not the whole brush
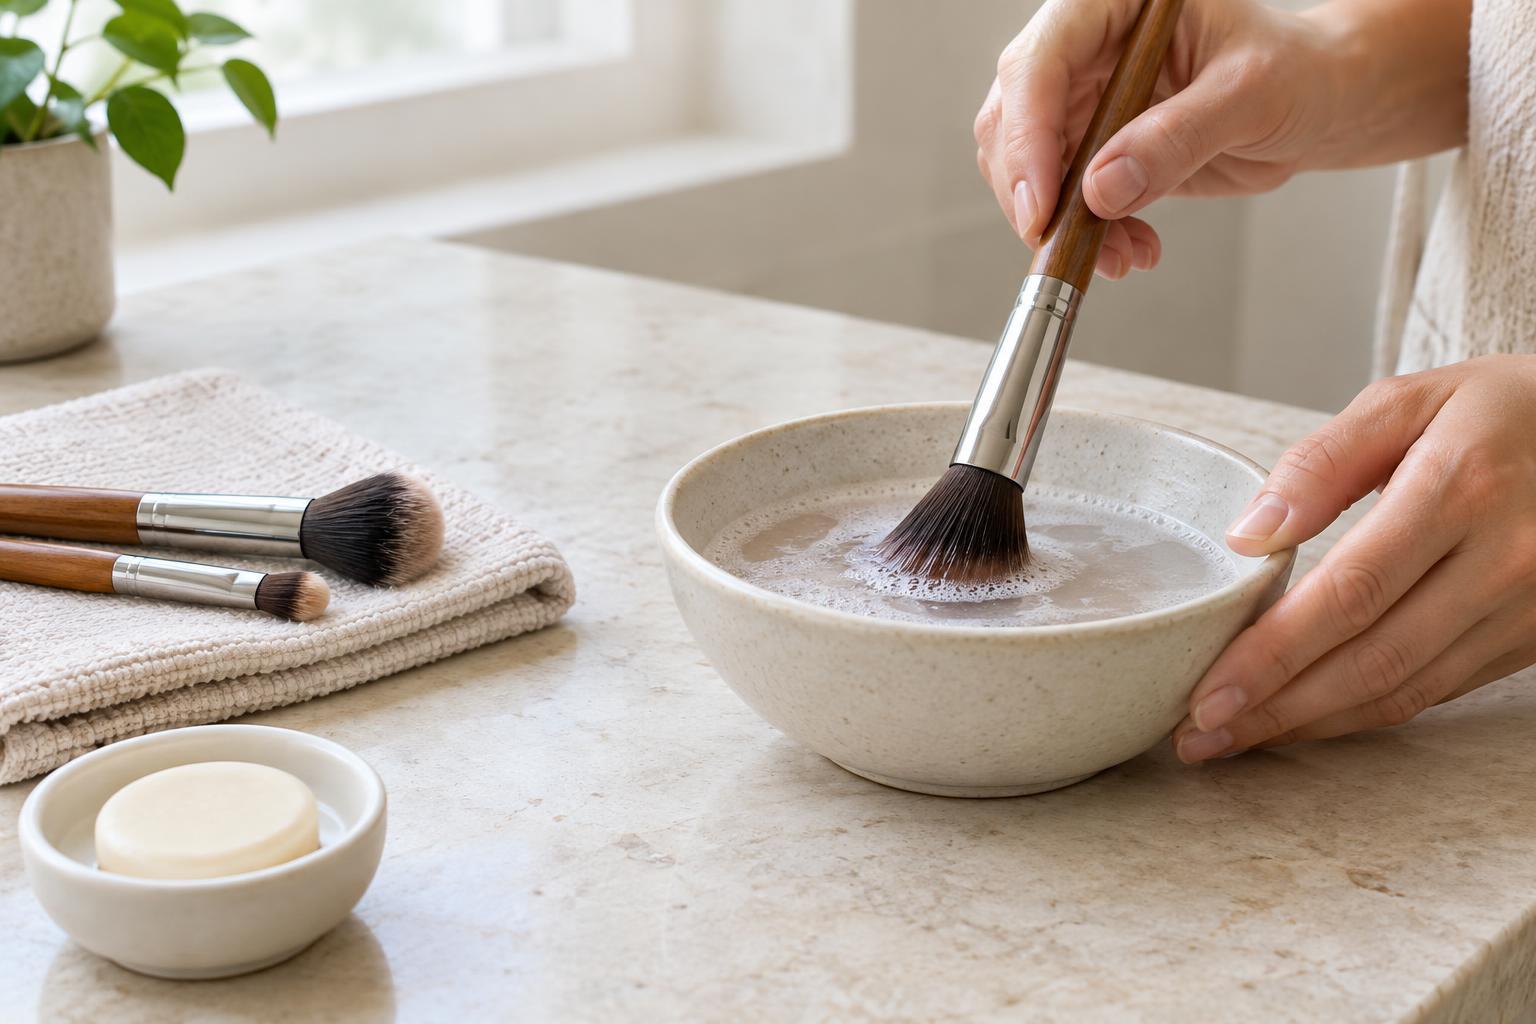
Start by holding the brush with its bristles pointing downward. Wet only the bristle tips and lower portion under a gentle stream of lukewarm water, keeping the ferrule and handle as dry as you can. Put a small amount of cleanser in your palm or on a soft cleaning mat, then lightly swirl or sweep the bristles through it. Use the same motion the brush makes when applying makeup instead of pressing it hard into the surface.
Rinse with the bristles still pointing down. Repeat the gentle cleanse if you can see substantial makeup remaining, then rinse until the water runs clear and the bristles no longer feel slippery with cleanser. Dense foundation brushes may take longer than loose powder brushes because product can sit deeper in the bristle bundle. Avoid pulling at individual hairs or twisting the brush to force water out.
Remove moisture and preserve the shape
After rinsing, gently squeeze the bristles from near the ferrule toward the tips with a clean towel. Do not tug. Smooth them back into their usual shape with your fingers, whether that is a rounded powder brush, a flat shader or a pointed detail brush. Reshaping while the bristles are damp helps prevent them from drying splayed.
Lay the brush on a clean towel with the bristles extending past the edge of a counter or shelf, where air can reach them. Make sure it is stable and will not fall. Keeping the brush horizontal, or angled slightly downward toward the bristles, helps prevent water from settling in the ferrule. Avoid drying brushes upright with wet bristles pointing toward the ceiling. Let them dry fully before putting them into a closed bag or using them again; a large, dense brush will generally need more time than a small eye brush.
Skip high heat from a hair dryer or radiator. It can be harsh on bristles and on the materials that hold the brush together. A well-ventilated spot at room temperature is the simpler choice.
Match cleaning frequency to how you use each brush
There is no single washing schedule that suits every brush. Brushes used with liquid or cream products often need more frequent cleaning because residue is easier to notice and can make the bristles clump. Brushes used only with dry powder may go longer between thorough washes, provided they remain clean and apply product evenly. If you share brushes, use them around the eyes or switch between contrasting colors, clean them before the next use rather than waiting for a calendar reminder.
Between full washes, you can wipe excess powder onto a clean, dry cloth. This helps with a quick color change, but it does not replace washing. A brush-cleaning spray may be useful for a quick refresh if you follow its label directions and allow the brush to dry, though it should not be treated as a substitute for removing built-up product.
Notice when a brush needs extra care or replacement
If a brush still feels stiff after drying, it may have cleanser or makeup left in it. Try another gentle rinse and dry it using the same downward-facing method. If hairs shed repeatedly, the ferrule feels loose or the brush no longer holds its shape after cleaning, more vigorous washing is unlikely to fix it. Replacing that brush may be more practical than trying to scrub it back into shape.
The guiding idea is simple: use enough cleanser and water to clean the bristles, but as little pressure and soaking as possible. A consistent, gentle routine is easier on the brush than letting product accumulate and then trying to remove it with force.