Start with placement, not more product
The same blush can look gentle, sculpted or warm depending on where you put it. Before applying color, decide which effect you want: a soft flush centered on the cheeks, a lifted look angled toward the temples, or a sun-kissed sweep across the areas that catch light. These are starting points rather than strict face-shape rules. Use a mirror to check how the color looks on your own face, both straight on and from the side.
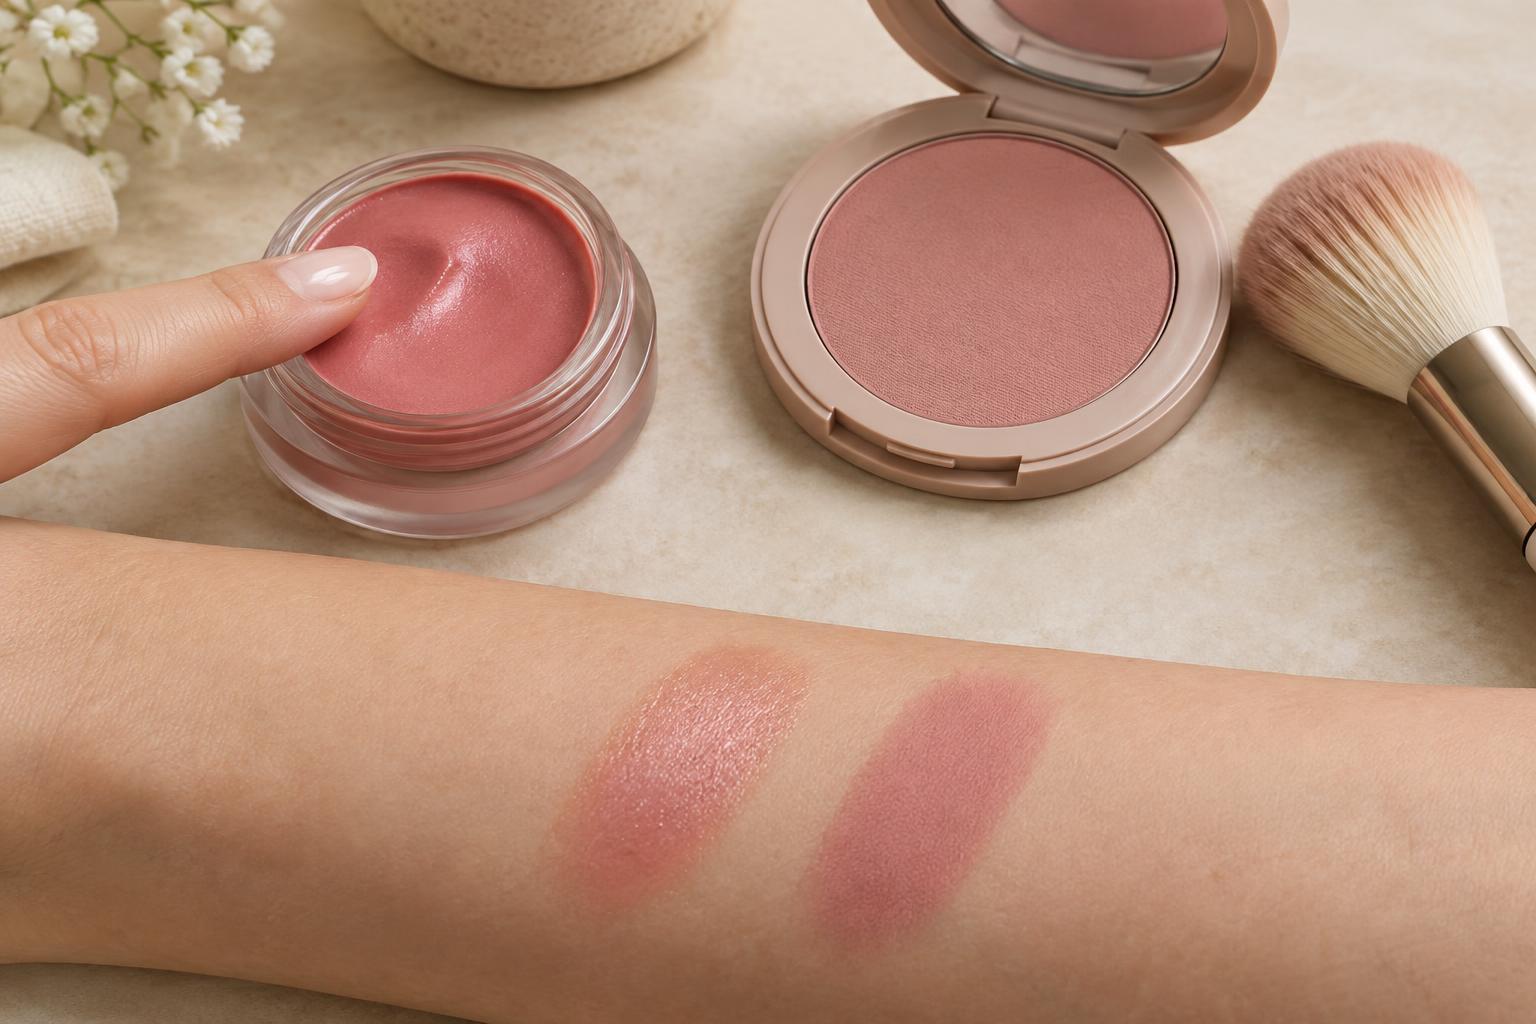
For easier blending, begin with a small amount of product and add more only after you have softened the edges. If you wear foundation or concealer, make sure it has settled before applying blush so your brush or sponge does not move the base around. Cream blush can be tapped on with fingers, a sponge or a brush; powder blush is easiest to build with a lightly loaded, soft brush. Either format can create all three looks.
For a soft flush, keep the color close to the cheeks
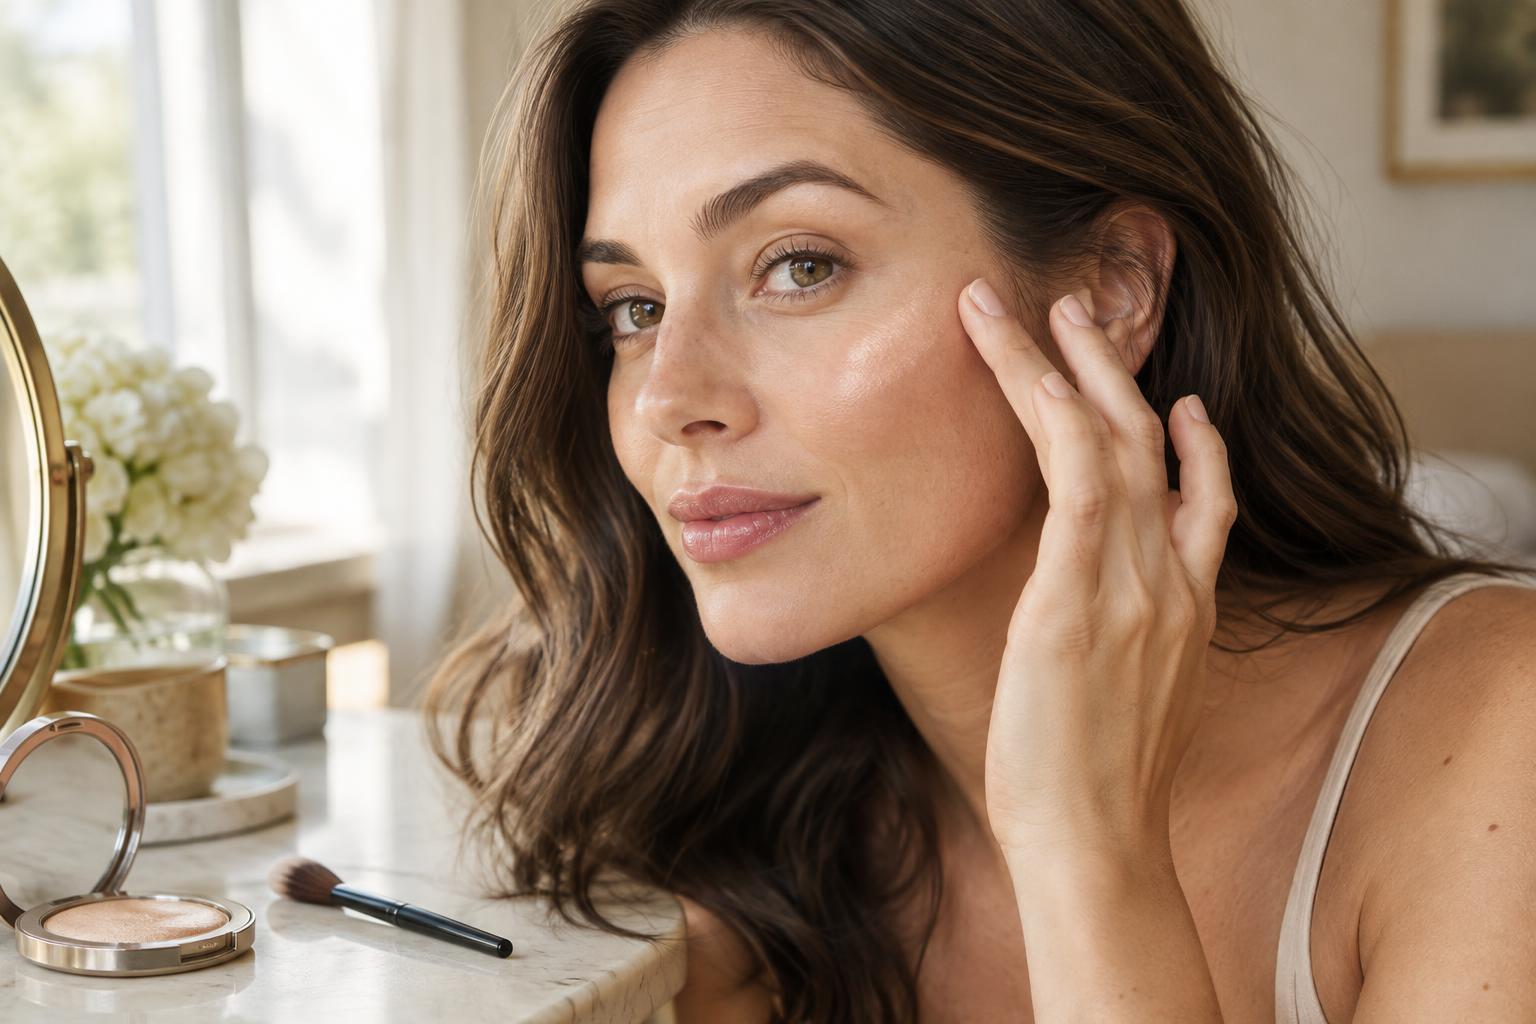
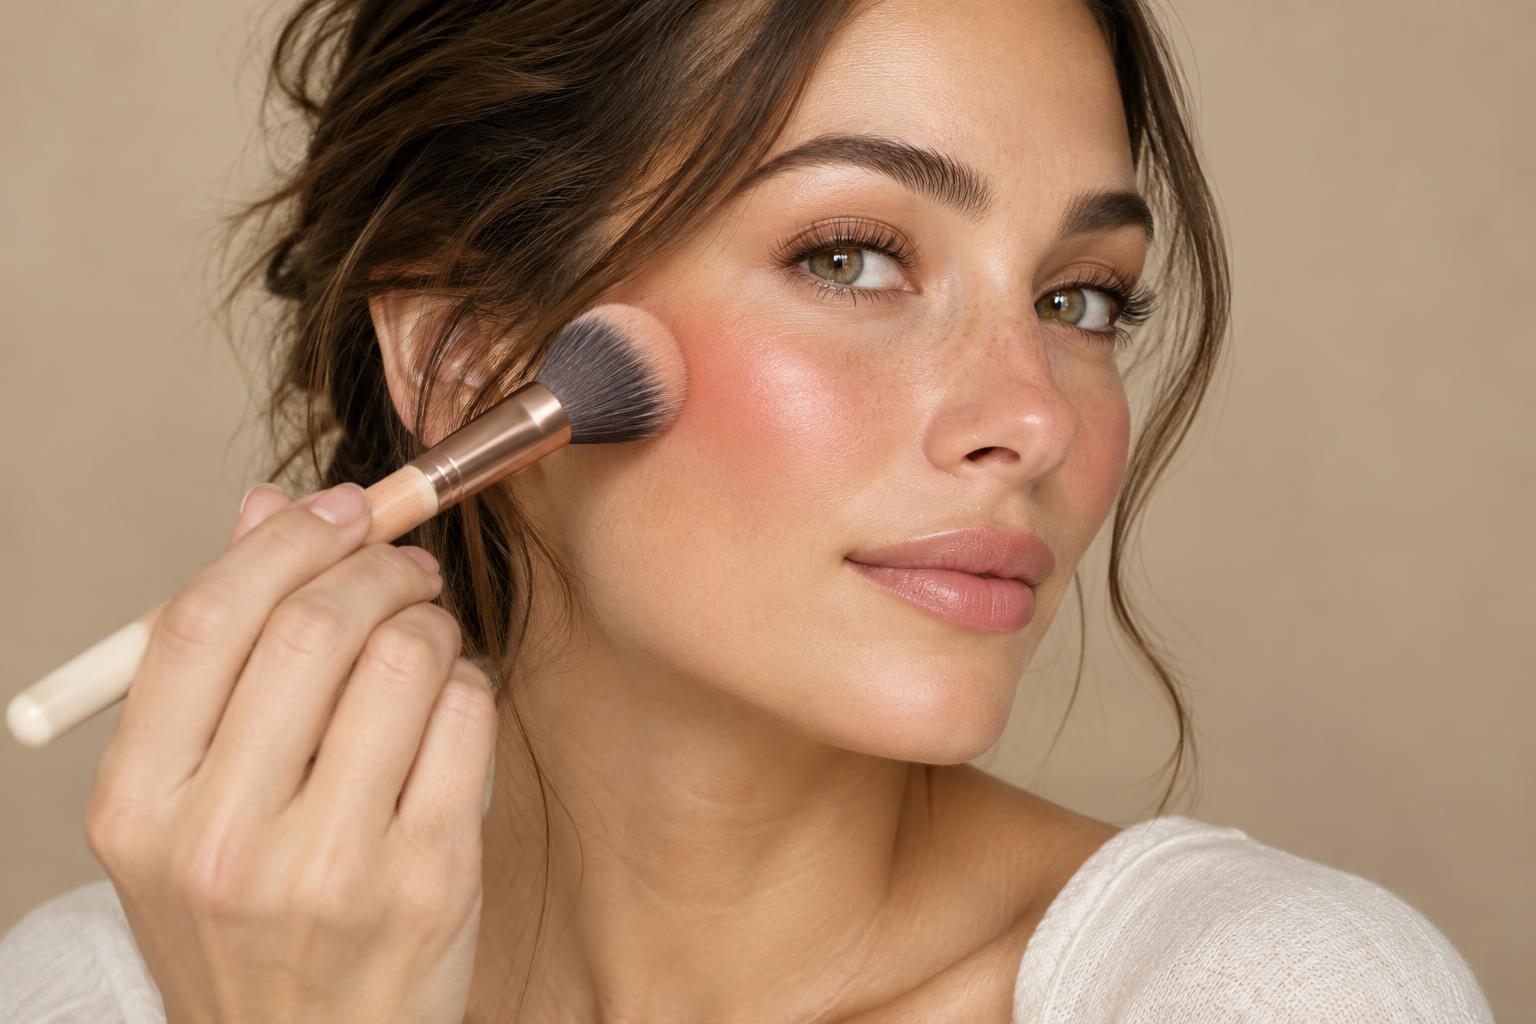
A soft blush look brings gentle color to the fuller part of each cheek. Smile lightly to notice where your cheeks round out, then relax your face before applying. Place a small amount of blush on the upper part of that area, rather than directly beside your nose. Blend outward in short, light motions, keeping the strongest color on the cheek and letting it fade before it reaches the hairline.
This placement works well when you want blush to be noticeable without becoming the main feature of your makeup. For a diffused finish, tap over the edges with a clean brush or the side of your makeup sponge. If the result feels too concentrated, blend a little farther outward instead of adding color across the whole cheek. You can also leave a narrow gap between the blush and the sides of your nose to keep the center of the face looking clear.
For a lifted effect, blend up and out
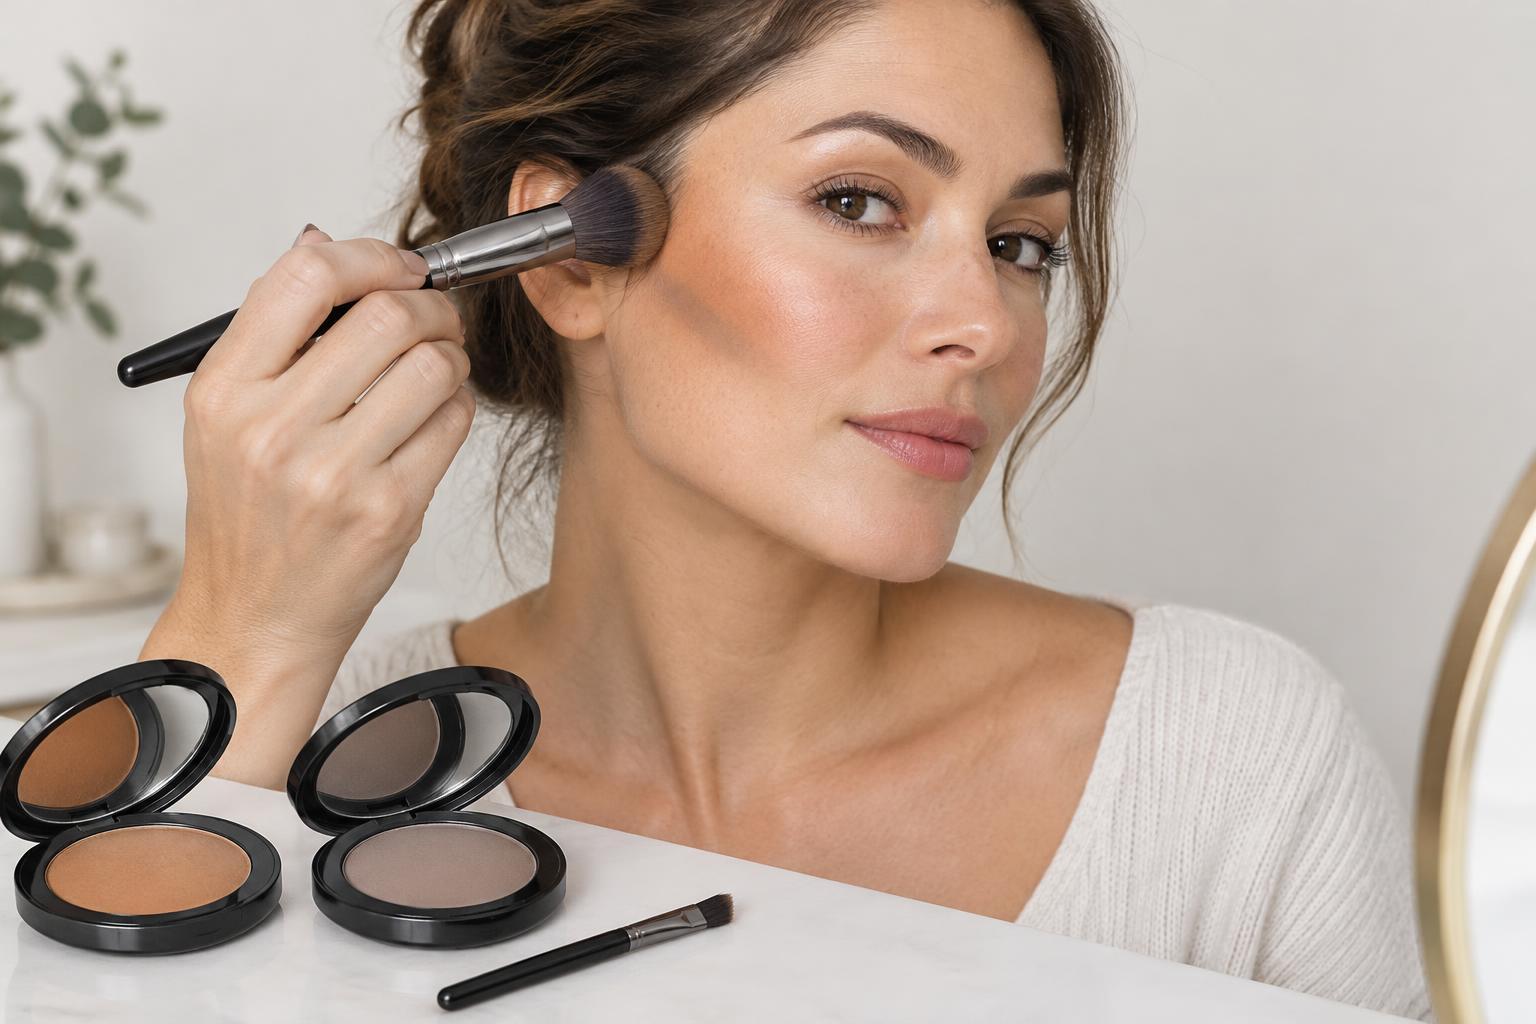
To give blush an upward direction, start on the outer half of the cheek, around the area above the cheekbone. Blend toward the temple in a gentle diagonal, stopping before the color meets your hairline. The goal is a gradual fade, not a sharp stripe. Keep most of the pigment on the cheek; the color near the temple should look softer.
Try applying while your expression is relaxed. If you place blush only while smiling, it may sit lower than intended once your face returns to rest. A smaller brush or a fingertip can help you control the starting point, while a clean brush can soften the upper edge. If you prefer a subtle result, keep the blush below the outer corner of the eye and use less product as you blend upward.
For a sun-kissed look, connect the cheeks
A sun-kissed blush look uses warmth across the center of the face. Place a little color on the upper cheeks, then lightly sweep or tap a small amount over the bridge of the nose. Blend each area so the color appears connected but not like one solid band. You can keep the finish sheer for a casual look or build the cheeks slightly more than the nose for balance.
Start with the nose last, using only the product left on your brush or sponge. It is easy to add too much color to this small area, especially with a bright or strongly pigmented blush. The effect comes from placement and softness, so you do not need to copy the appearance of an actual sunburn. If you want more definition, leave the sides of the nose and the area directly under the eyes mostly free of blush.
Adjust the blend to make it yours
Placement guides are useful, but small adjustments often make the biggest difference. If blush seems to disappear when you look straight ahead, bring a touch of color toward the front of the cheek. If it feels too close to the center of your face, shift the starting point outward. Check the result in ordinary light when possible: strong bathroom lighting can make soft edges harder to judge.
When blush looks patchy, stop adding pigment and gently tap over the area with a clean tool. A thin layer of base makeup can also help soften color that has become too strong. For longer wear, you may prefer to let cream blush settle before lightly layering powder blush, but either product can stand alone. Choose the placement that suits your makeup that day, and let the edges fade gradually so the color looks intentional from every angle.