What bronzer and contour each do
Bronzer and contour can look similar in a compact, but they serve different purposes. Bronzer brings warmth to the face, often giving the impression of a little sun. Contour creates the appearance of depth by placing a shadow near a feature you want to define. You can wear either one alone, use both together, or skip them entirely.
A bronzer usually has a warm or neutral tone; a contour shade is generally more muted and closer to the color of a natural shadow on your skin. Neither needs to be dramatically darker than your complexion for everyday makeup. If a product looks orange where you wanted definition, it may work better as bronzer. If it looks gray where you wanted warmth, it may be better suited to contour.
Choose a texture and shade you can build
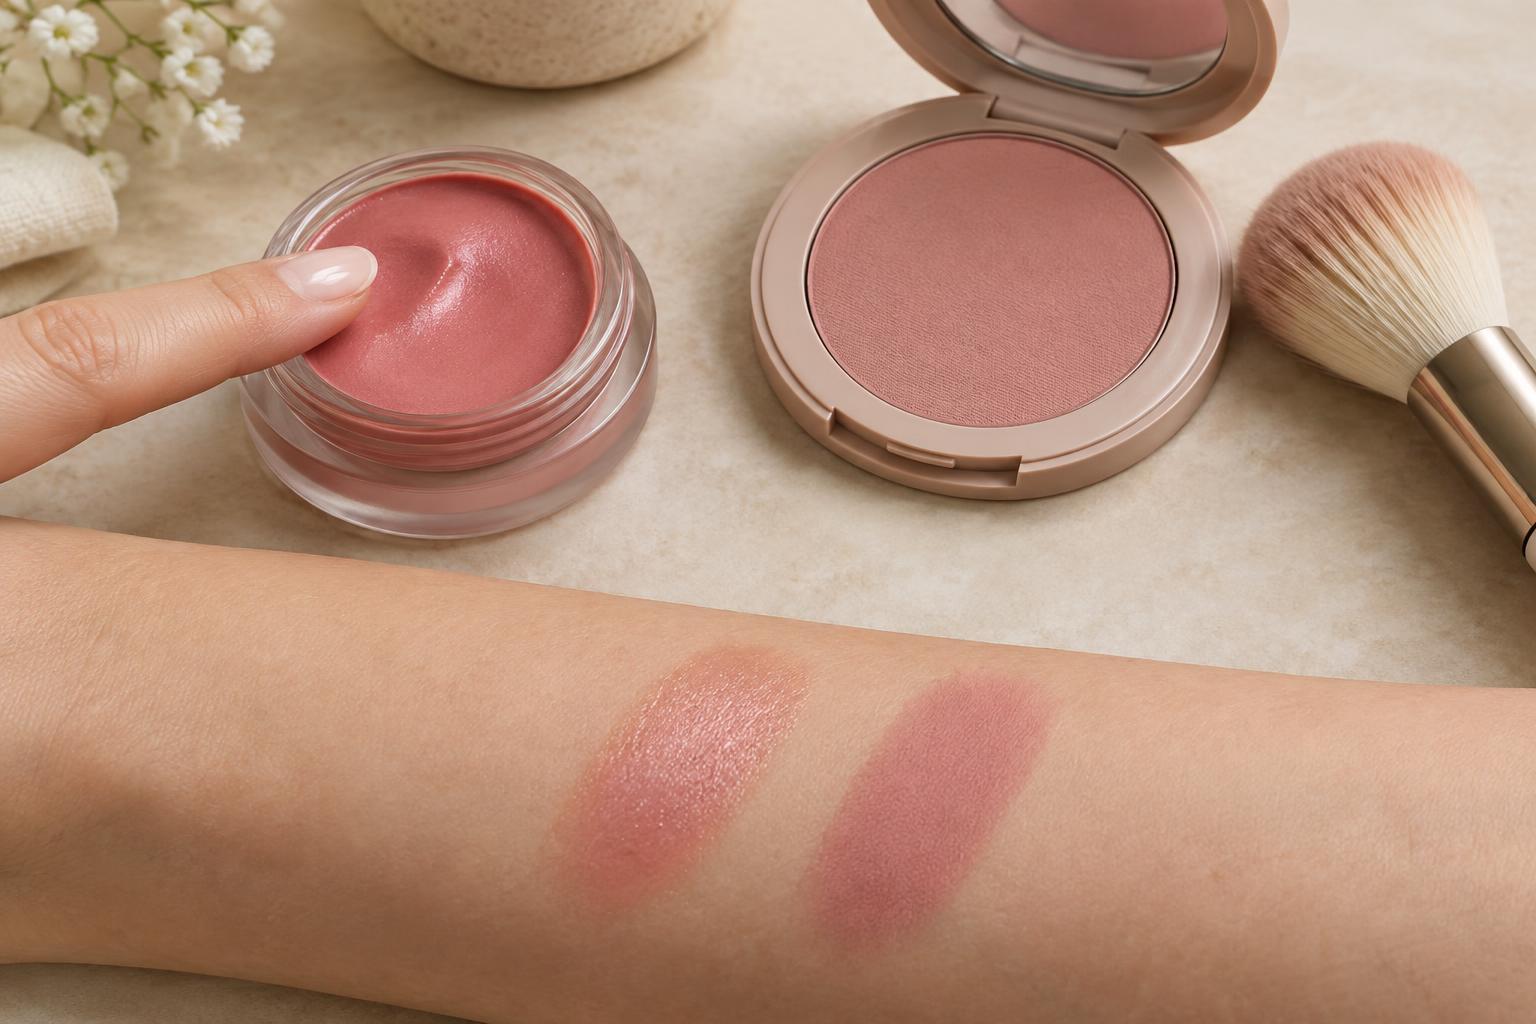
Powders are easy to apply lightly and build in thin layers, especially over set foundation or bare skin. Creams and liquids can blend smoothly into an unset base, but they may need a lighter touch to avoid moving makeup underneath. These are starting points, not strict rules: the amount you apply and the way you blend matter as much as the formula.
When choosing a shade, test how it looks blended rather than judging it only in the pan. Bronzer should add warmth without leaving a distinct stripe. Contour should create gentle depth without looking like an unrelated patch of color. A matte finish is often straightforward for contour because shimmer catches light rather than suggesting shadow. Bronzer can be matte or luminous, depending on the finish you like.
Place bronzer where you want warmth
Start with a small amount of bronzer on the outer forehead near the hairline and across the upper, outer part of the cheeks. Think of a soft sweep of warmth rather than a precise line under the cheekbone. You can add a little along the bridge of the nose or around the jaw if it suits your look, but these areas are optional. Keep the center of the face relatively clear if you want the warmth to frame it.
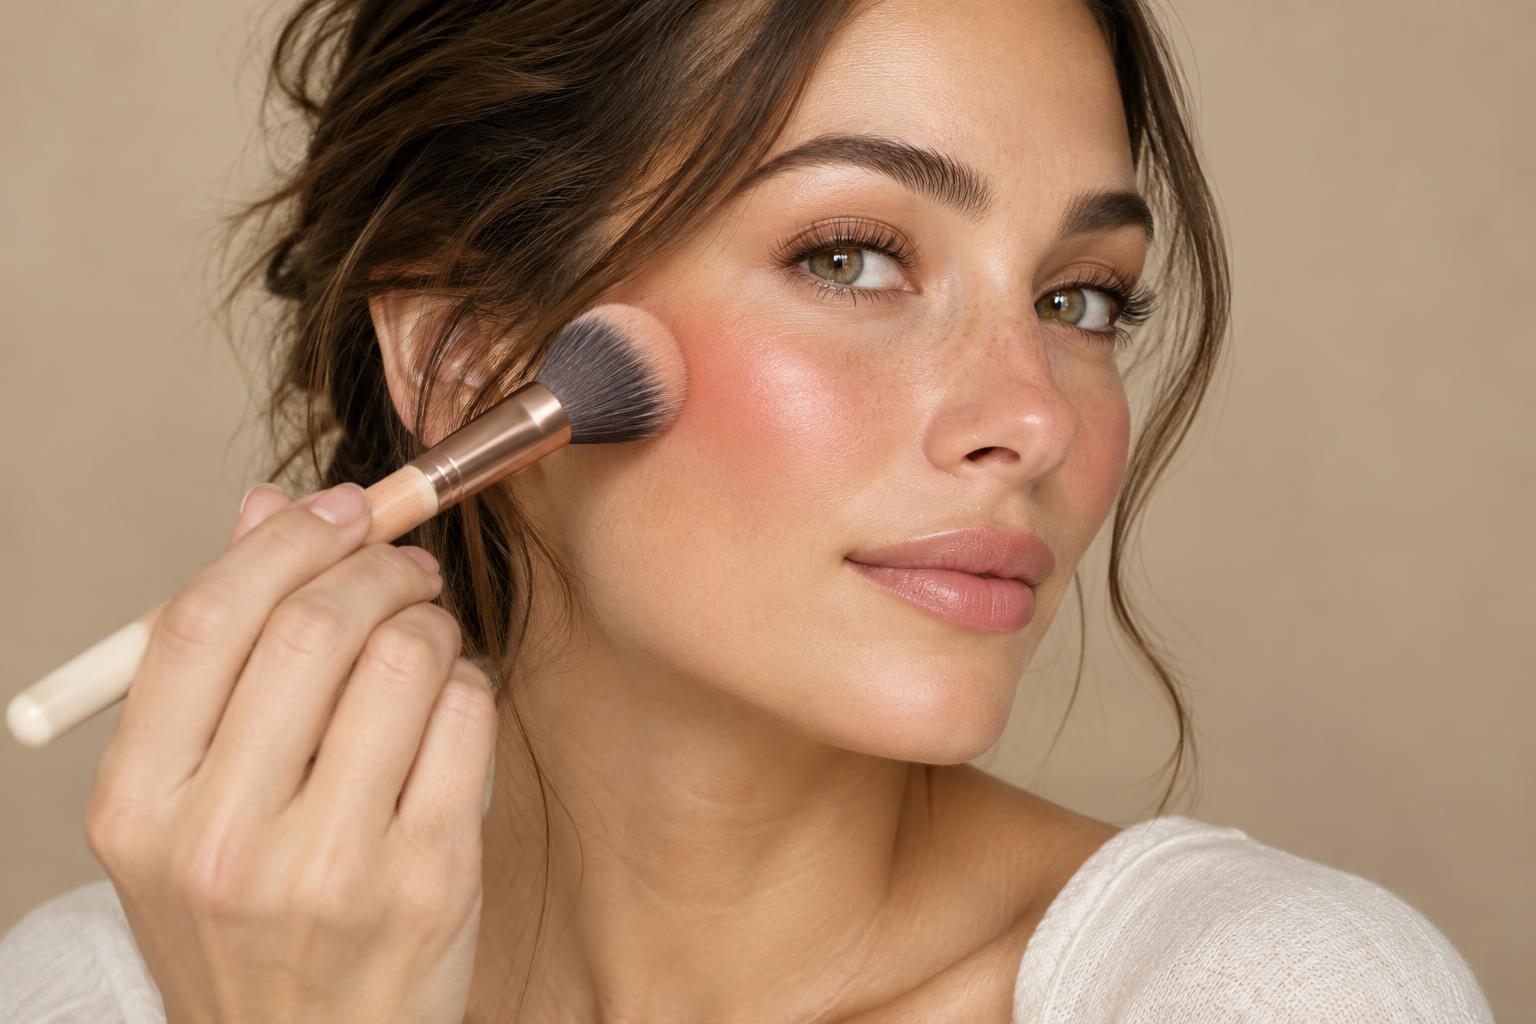
For powder, tap excess product off a fluffy brush before it touches your face. For cream, pick up a small amount with a brush, sponge, or fingers and work in short sections. Blend the edges toward the hairline and into the cheek area so the color fades gradually. If you also wear blush, let the two colors meet softly rather than leaving an unblended gap.
Place contour where a shadow makes sense
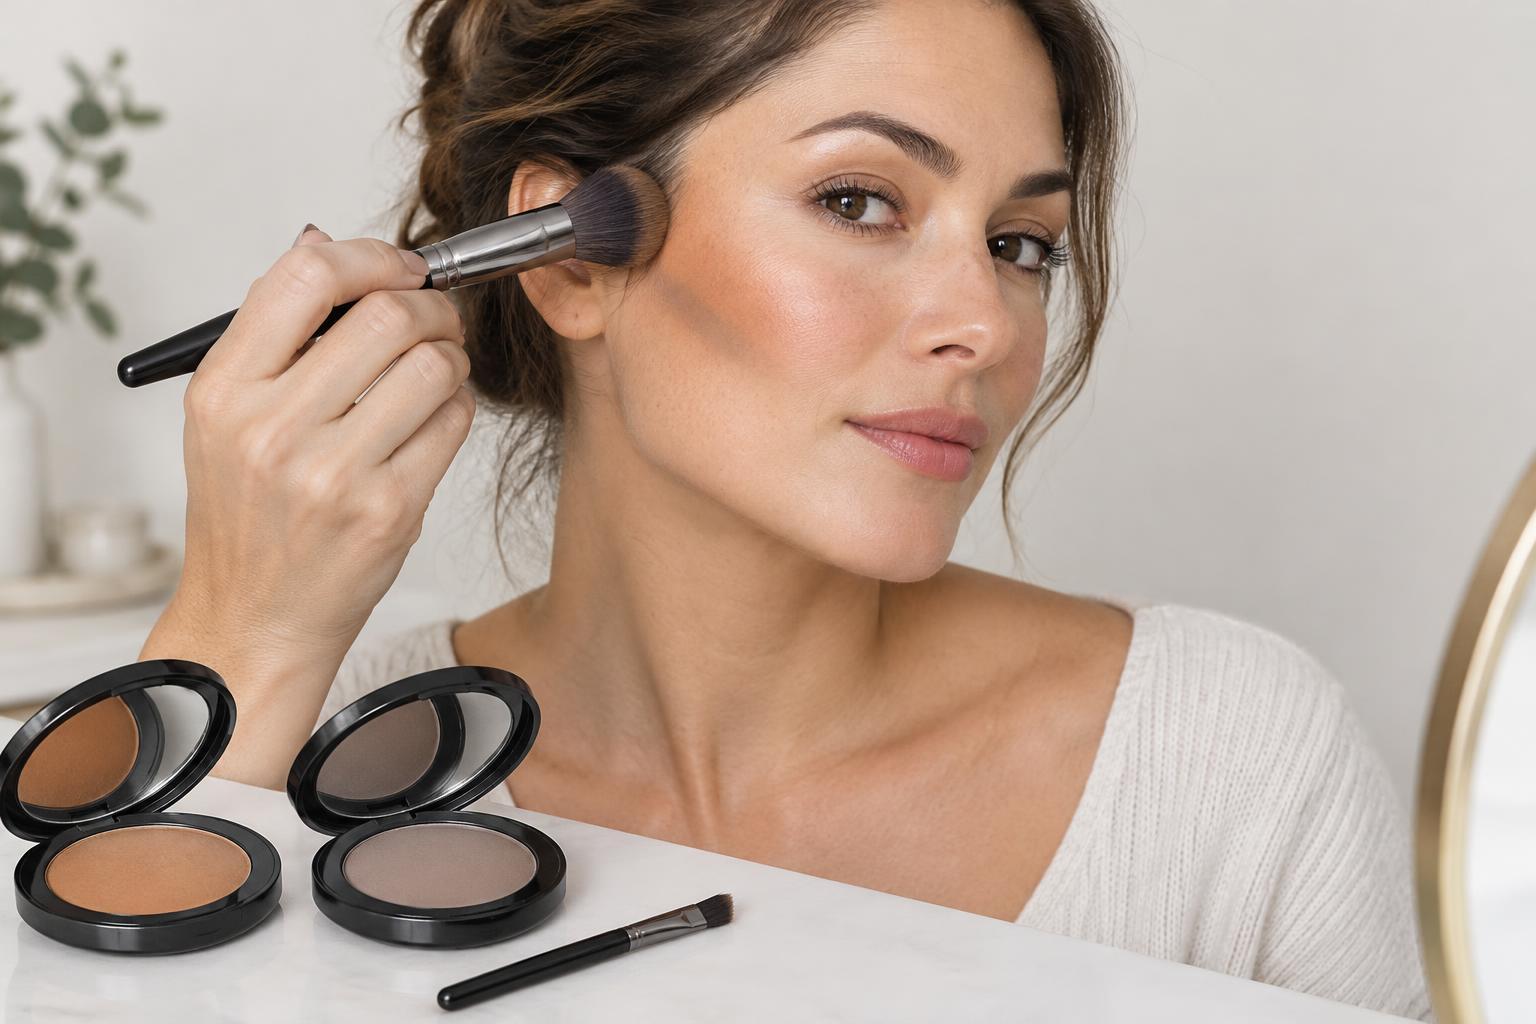
For cheek definition, begin near the ear and place contour just below the cheekbone, keeping most of the product toward the outer face. Blend it upward toward the cheekbone rather than dragging it far down onto the cheek. A little around the temples or beneath the jaw can add subtle definition, but you do not need to map every feature. Placement depends on your features and the effect you prefer, so check the result while facing forward.
Use a smaller or more controlled brush for contour than you would for a broad wash of bronzer. Apply a little at a time, then soften the edge with a clean brush or sponge. If you contour the nose, use especially little product and blend both sides carefully; strong, narrow lines can be more noticeable than the shape they are meant to suggest. Stop when you can see gentle depth, not a visible border.
Blend both into one finished look
If you use both products, apply contour first to establish depth, then add bronzer slightly higher and more broadly for warmth. They may overlap at the edges, but they do not have to sit directly on top of each other. Step back from the mirror between layers: details that look faint up close often become clearer when you see your whole face.
If an area looks too strong, blend with a clean tool before adding more makeup. You can also press a small amount of your base product or face powder over an edge to soften it. Check both sides in the same lighting when possible, but do not chase perfect symmetry. A useful everyday goal is simple: warmth where you want warmth, soft shadows where you want definition, and no obvious line between the two.