Start with a realistic goal
Highlighter reflects light, so it can make both smooth areas and visible texture easier to see. Pores, fine lines and small bumps are normal; the goal is not to make them disappear. Instead, aim for a glow that looks balanced with the rest of your makeup. If a highlight looks stronger than you intended, you can usually soften it without starting over.
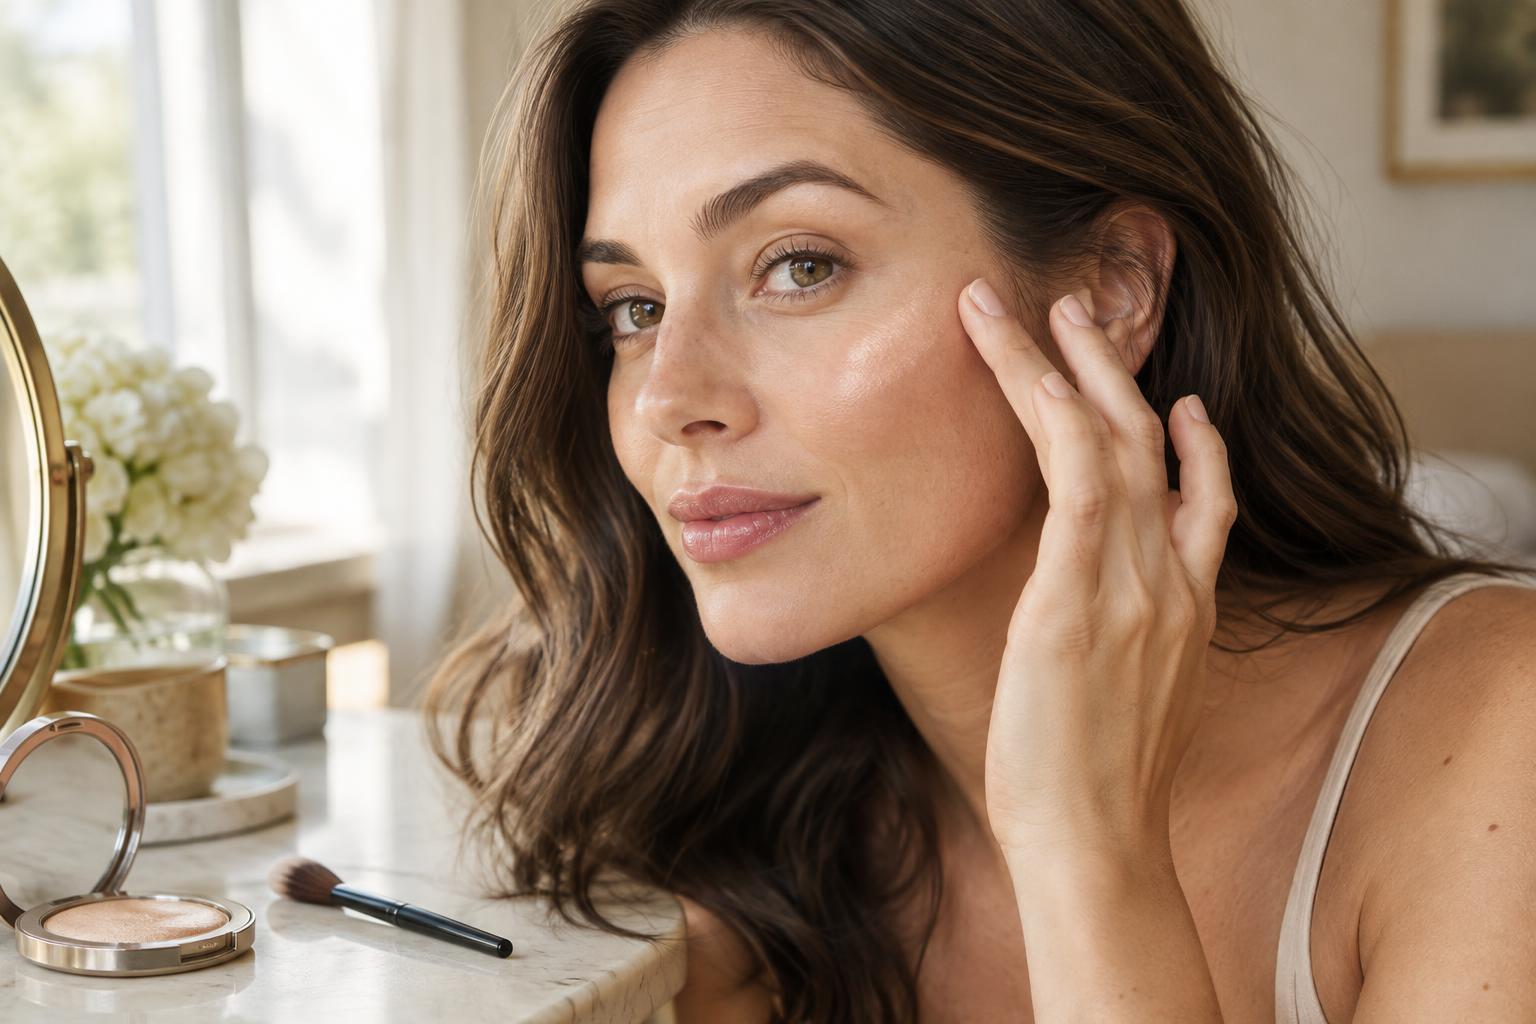
Check your makeup in more than one kind of light when possible. A finish that looks subtle in a dim room may look more reflective near a window. Turning your face slightly can also help: highlighter is most noticeable when light hits it directly, so a straight-on view does not always tell the whole story.
Prepare the area without adding too many layers
Apply your usual skincare and give it time to settle before makeup. If a spot feels dry, a light layer of moisturizer may help the highlighter sit more evenly. Avoid piling on products just to create a smooth-looking base; layers that remain slippery or tacky can make makeup harder to control.
If you wear foundation or concealer, blend those products first and look at the area you plan to highlight. You may decide that some areas already catch enough light. When powder is part of your routine, use only what you need in the highlight zone. A heavy powder layer under a cream highlighter can be difficult to blend, while too much powder highlighter over a dry-looking base may appear more obvious.
Choose a finish and texture you can control
For a restrained effect, look for a highlighter with a fine, even sheen rather than large, distinct sparkles. Larger particles can be a fun style choice, but they may stand out on areas where you would prefer a softer finish. Product descriptions such as “glowy,” “shimmer” and “glitter” are not precise standards, so look at the product itself when you can.
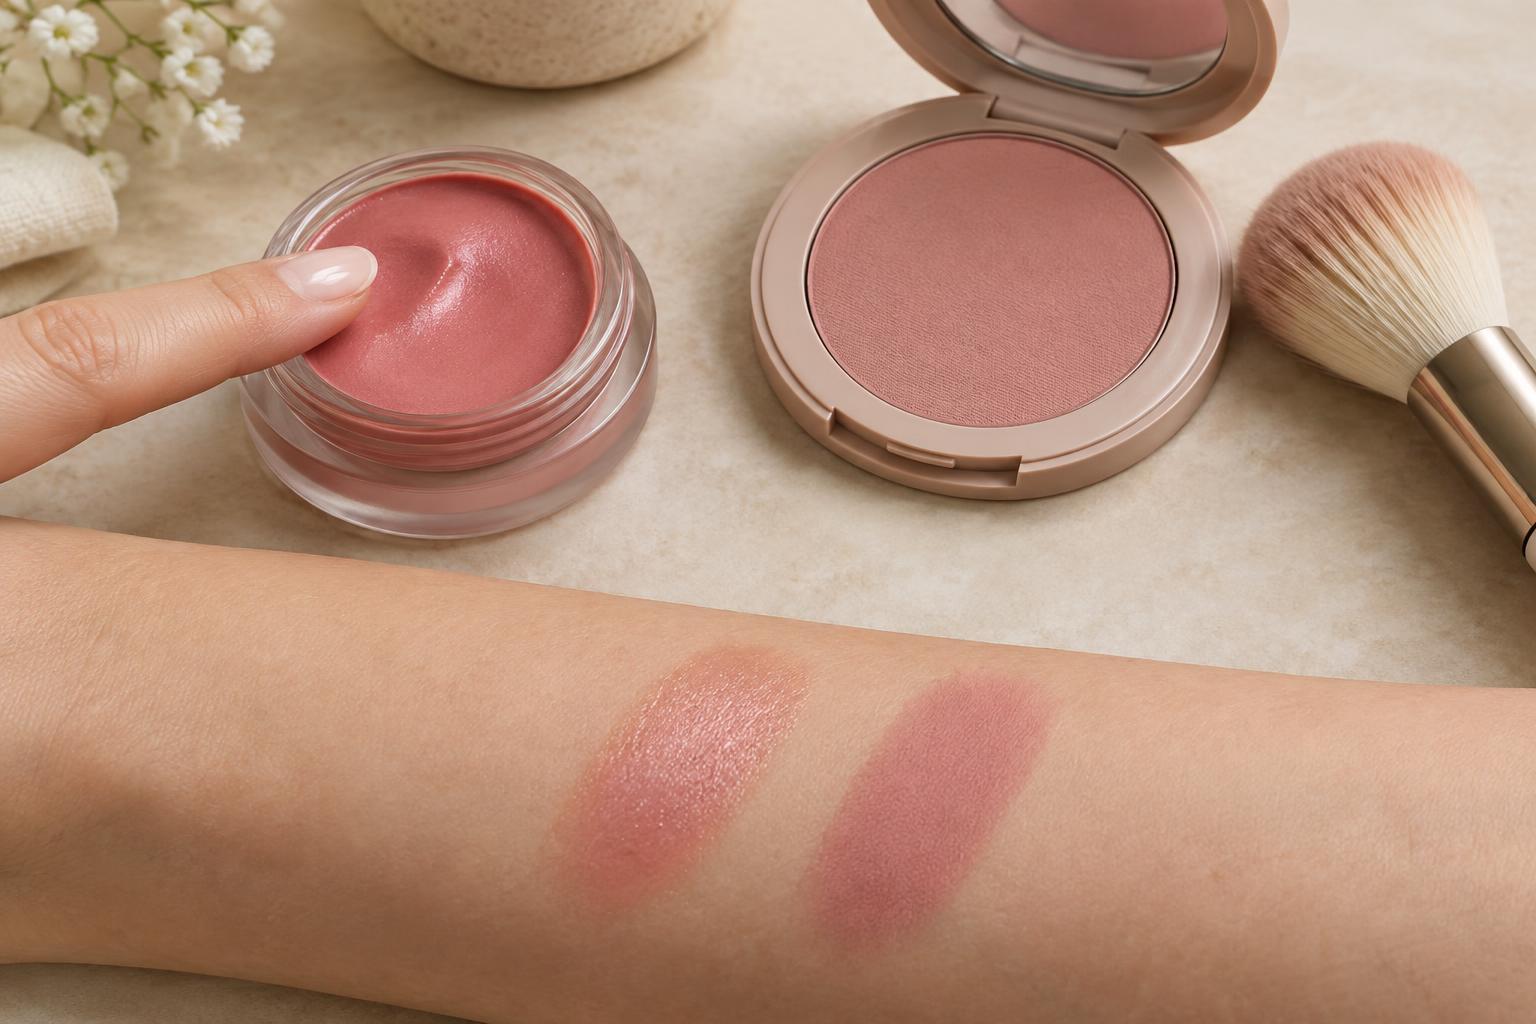
Creams and liquids can be easy to tap on in small amounts, especially over a base that has not been heavily powdered. Powders can also give a delicate finish when applied with a light hand. Neither format is automatically better for textured skin: the formula, the makeup underneath it and how much you apply all affect the result. Begin with less than you think you need; adding a little is simpler than removing a thick layer.
Place the glow selectively
Instead of sweeping highlighter across the whole cheekbone, try a small amount on the upper cheek where you want the light to catch. Keeping it away from an area you feel is especially textured can make the finish look more intentional. Placement differs from face to face, so use your own features as a guide rather than following a fixed line from a tutorial.
You can also highlight the inner corners of the eyes or use a tiny touch on the brow bone if those areas suit your look. The nose and upper lip are optional, not required steps. Applying shimmer to every suggested highlight point can make it harder to tell where the glow begins and ends. A few well-chosen points often give you more control.
Blend, check and make small adjustments
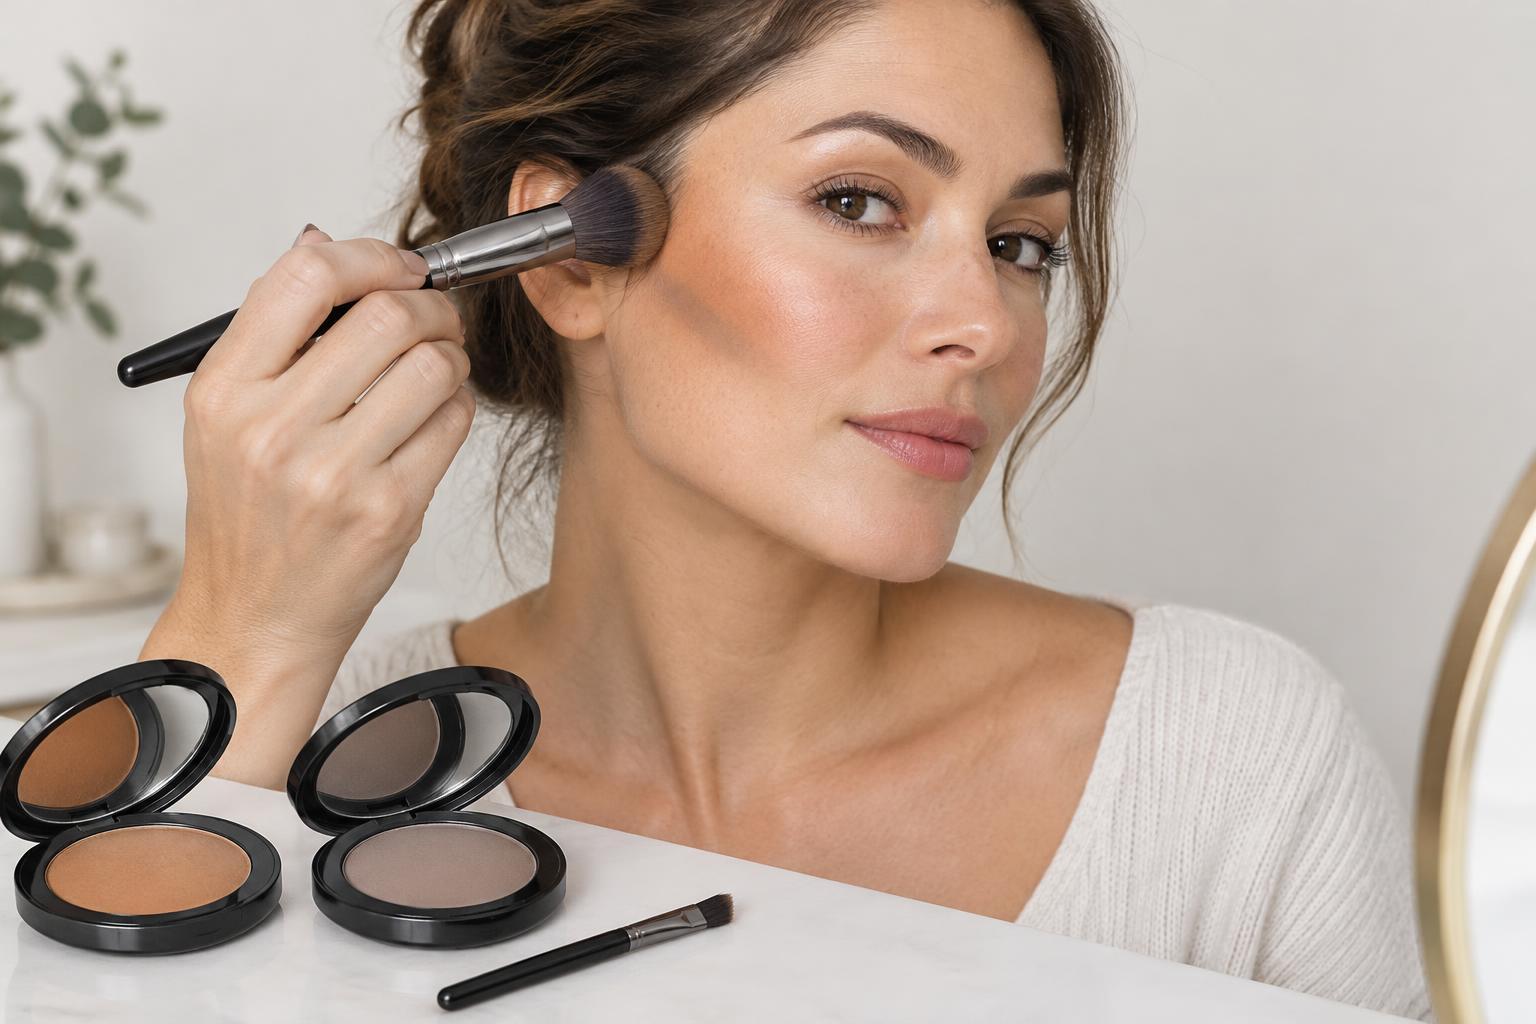
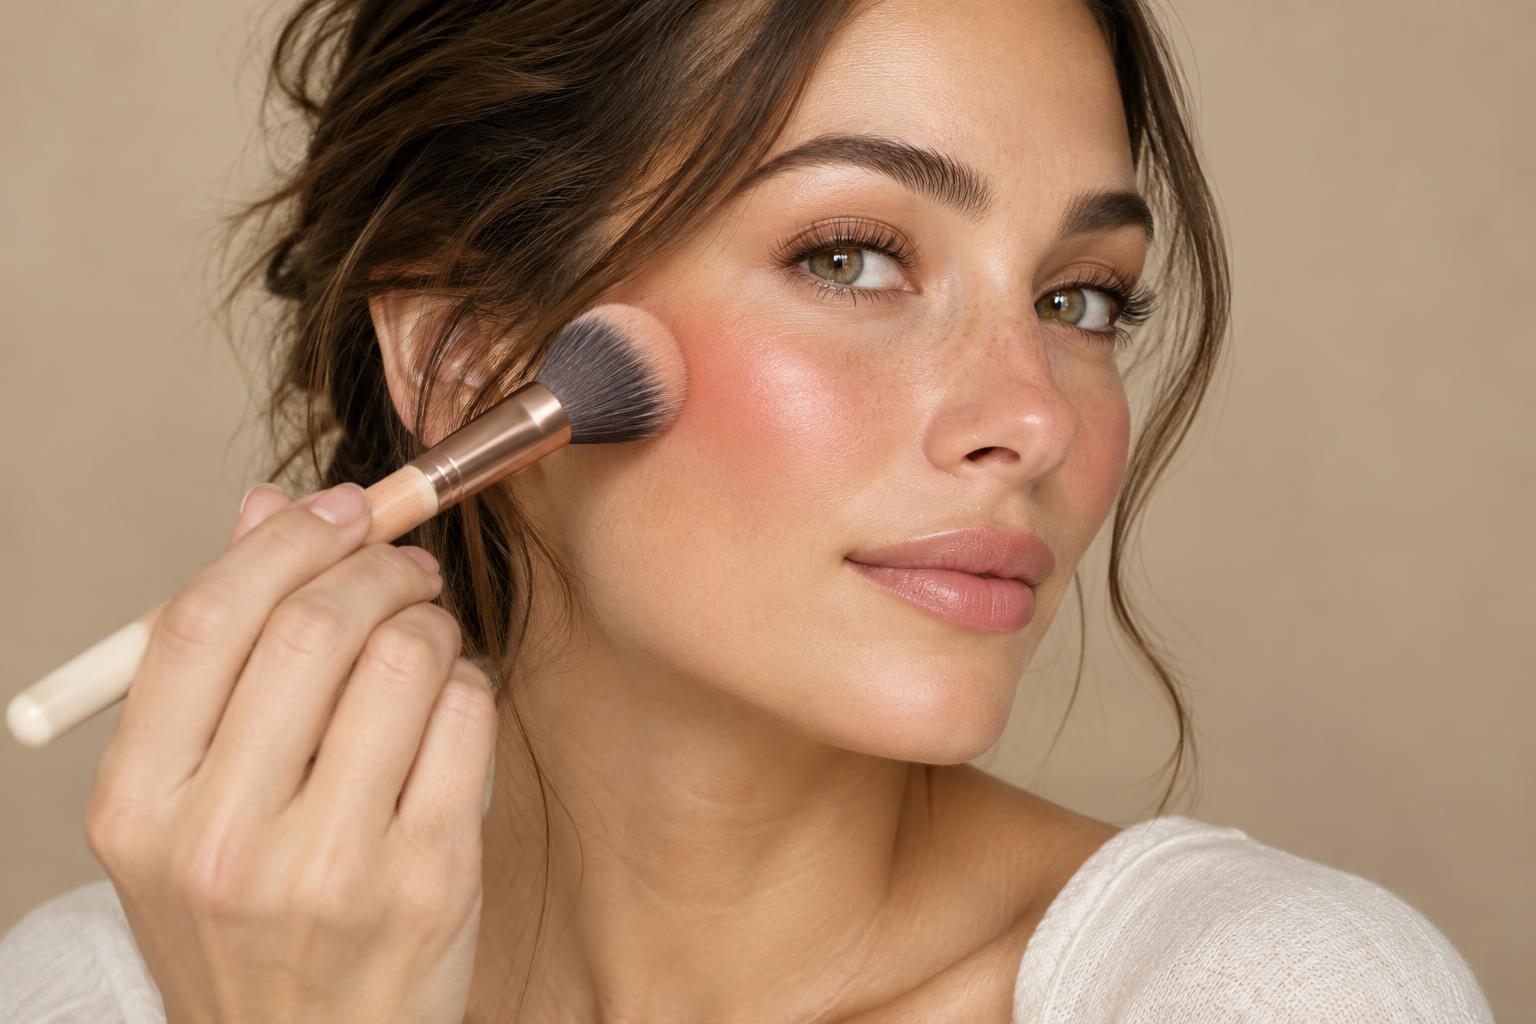
For powder, pick up a little product with a small, soft brush, tap off any excess and sweep lightly over your chosen area. For cream or liquid, place a small amount on the back of your hand first, then tap it on with a fingertip or sponge. Patting rather than dragging can help you keep the placement narrow and avoid disturbing makeup underneath. Blend the edges so the shine fades gradually into the surrounding skin.
Step back from the mirror before adding more. If the highlight draws attention to texture more than you want, gently press over it with a clean sponge or a brush carrying a trace of your base makeup. You can also leave that area unhighlighted and place the glow elsewhere. The most useful technique is the one that lets you enjoy the finish on your skin, not one that follows every makeup rule.