Start with the result you want
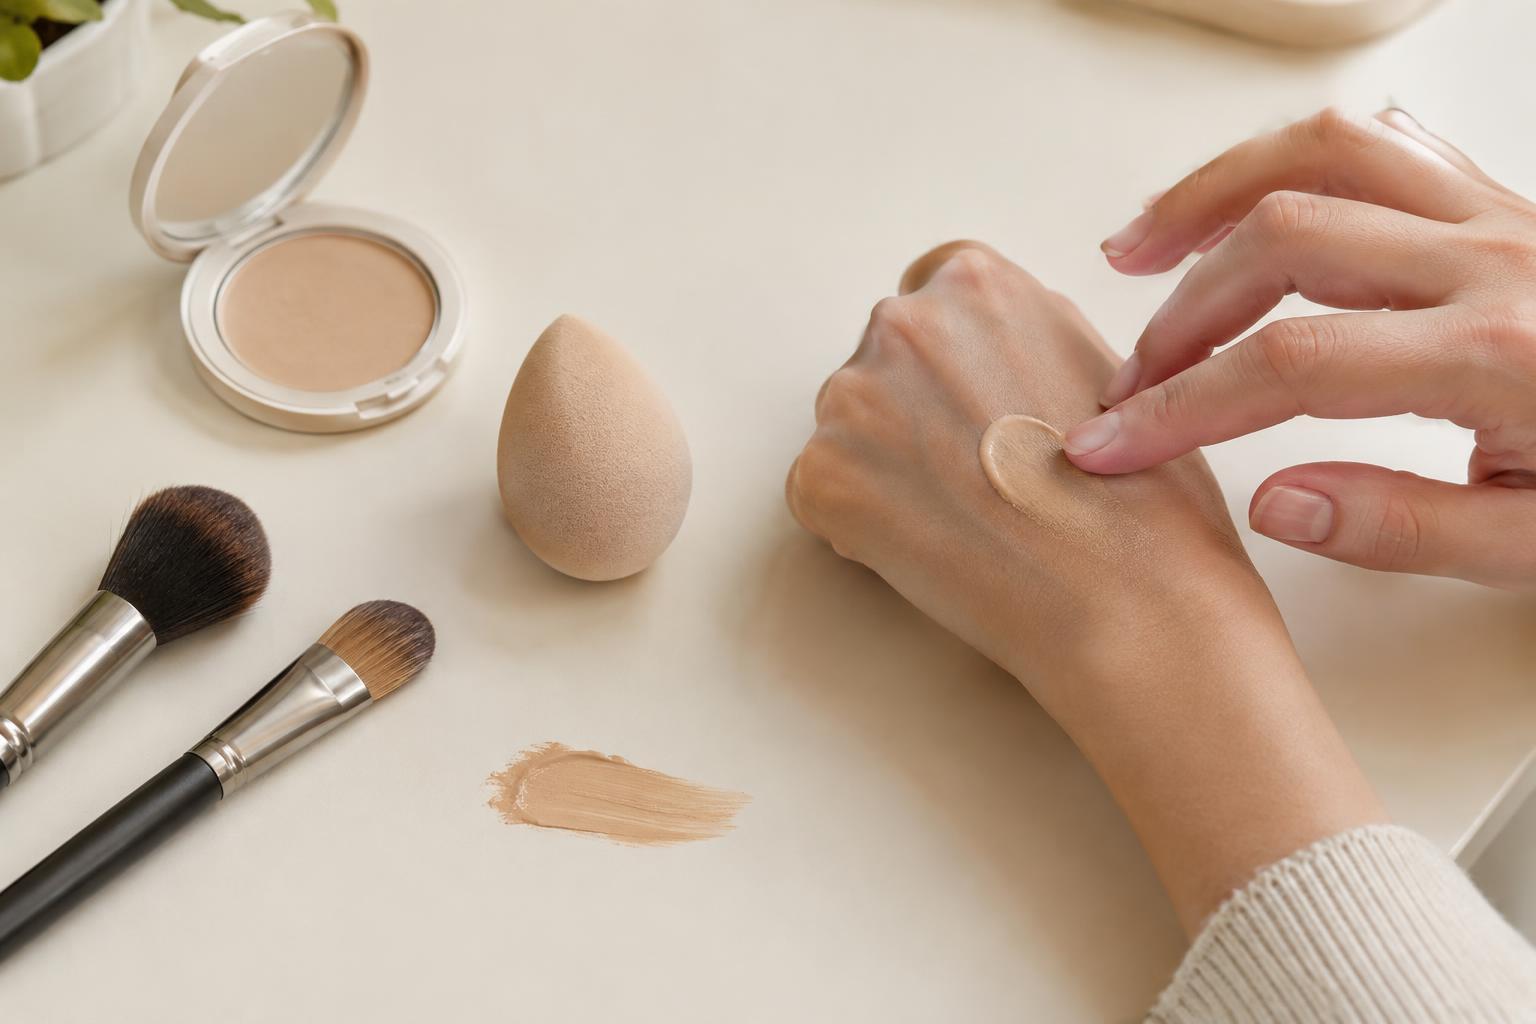
There is no single best applicator for every makeup product. Fingers offer direct control, sponges help soften visible edges, and brushes come in shapes that suit both broad areas and small details. The most useful choice depends on the product’s texture, where it needs to go, and whether you want precise placement or a diffused finish.
Before reaching for a tool, decide what the next step requires. Are you spreading a thin layer across a wide area, placing color on one spot, or blending an edge that looks too distinct? Separating placement from blending makes it easier to choose an applicator. You can also use one tool to place a product and another to finish it.
Use fingers for small amounts and controlled placement
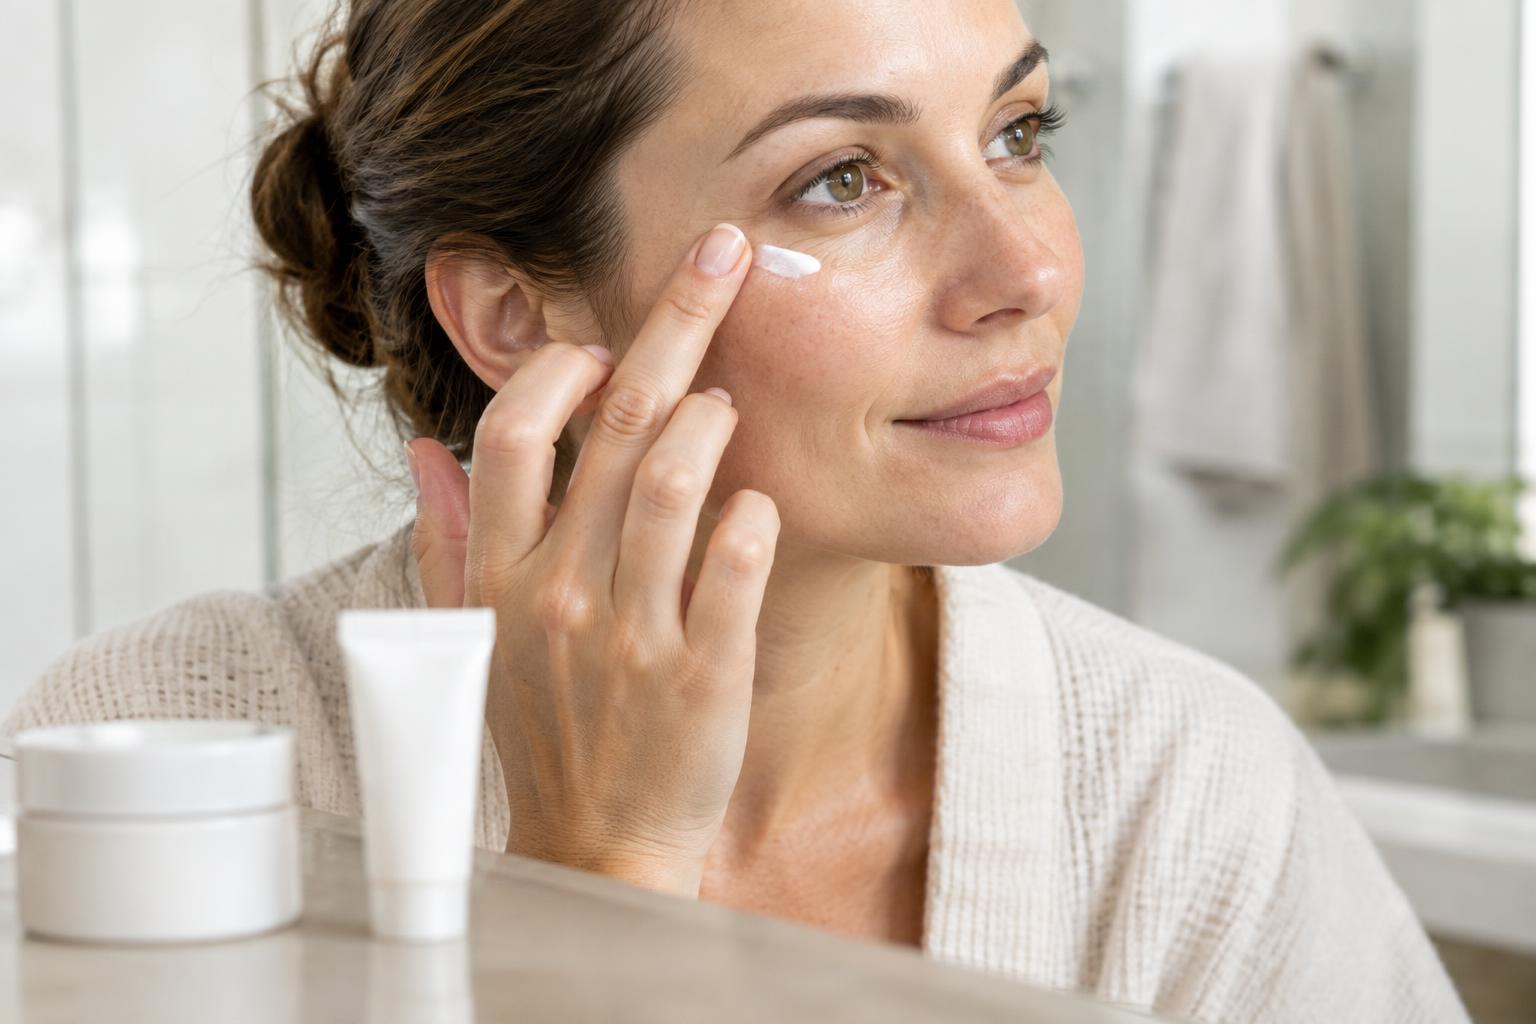
Clean fingers can be convenient for cream products, particularly when you want to feel how much you are applying. Put a small amount on a fingertip, tap it onto the intended area, then gently pat outward. Tapping gives you more control than rubbing when you want to keep the color in a particular place, such as on the center of the lips or a small area of the cheek.
Fingers are less suited to every task. A fingertip may be too wide for a narrow detail, and handling several colors in succession can transfer one shade into another. Wipe or wash your hands between products when needed. If a product’s directions call for a particular applicator, follow those directions instead of assuming finger application will work the same way.
Choose a sponge when edges need softening
A makeup sponge is useful for pressing product onto the skin and blending the boundary between a made-up area and the surrounding skin. Its broad side can work across larger areas, while a narrower tip can reach around the nose or other small spaces. Use light, repeated presses rather than dragging the sponge. Dragging can move a layer you have already placed.
Some sponges are designed to be dampened before use; others may be intended for dry application. Check the product directions, and squeeze out excess water if dampening is recommended. A sponge can absorb some makeup, so start with a little product rather than loading it heavily. For a more targeted result, place makeup first with a finger or brush, then press around its edges with the sponge.
Match brush shape to the job
Brushes are especially useful when you want to control where a powder lands or cover an area without using your fingers. A larger, loosely packed brush generally spreads powder over a broader area with a softer edge. A smaller or denser brush can put more color in a specific place. Those are starting points, not strict rules: how much product you pick up and how firmly you press also affect the result.
For a light application, touch the brush to the product, tap off obvious excess, and build gradually. Use a sweeping motion to spread a sheer layer or a gentle pressing motion when you want the product to stay in place. If an edge looks sharp, blend it with a clean brush rather than continuing to add color. A brush used for a deep shade can leave traces in a lighter one, so check it before switching products.
Combine tools without making the routine complicated
You do not need a separate applicator for every step. A practical approach is to keep one tool for placement and one clean tool for blending. For example, you might tap on a cream color with a finger and soften its edge with a sponge, or place powder with a brush and blend any excess with a second, clean brush. If the first tool gives you the finish you want, there is no reason to add another.
Whatever you choose, clean reusable tools according to their care instructions and let them dry thoroughly before storing them. Remove visible product buildup, especially when moving between dark and light shades. Keeping applicators reasonably clean helps prevent leftover color from changing the next application and makes each tool easier to use as intended.