What a lash applicator does
A false-lash applicator holds a strip lash while you bring it toward your eyelid. It does not have to be a specialized tool: some people prefer clean fingers, while others find that an applicator gives them a clearer view of the lash band. The best choice is one you can control without gripping tightly or bringing a sharp tip close to your eye.
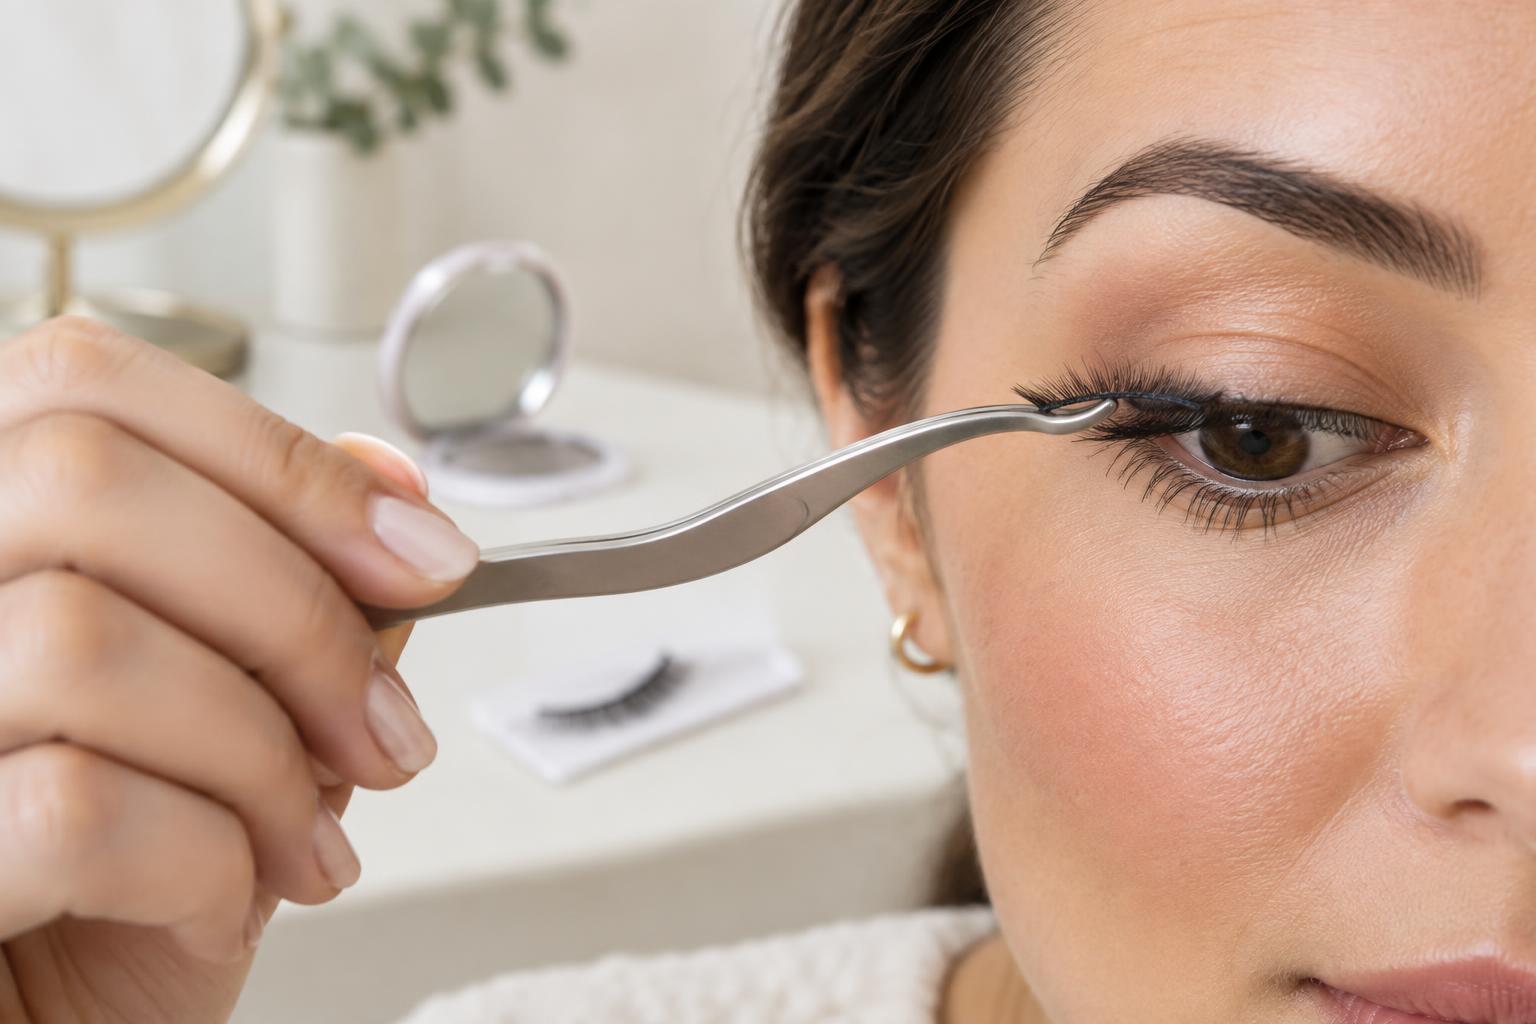
Curved, tweezer-style applicators can grip much of the band at once, which helps keep a flexible strip in shape. Straight tweezers offer a narrower grip for small adjustments, but their pointed ends require extra care. A rounded, clamp-style applicator may feel steadier for beginners. Before buying, check that the tool opens smoothly, closes evenly and has edges that will not snag the lashes. Whatever its shape, use a light grip so you can release the band without pulling it back off your lid.
Prepare the lashes before adding adhesive
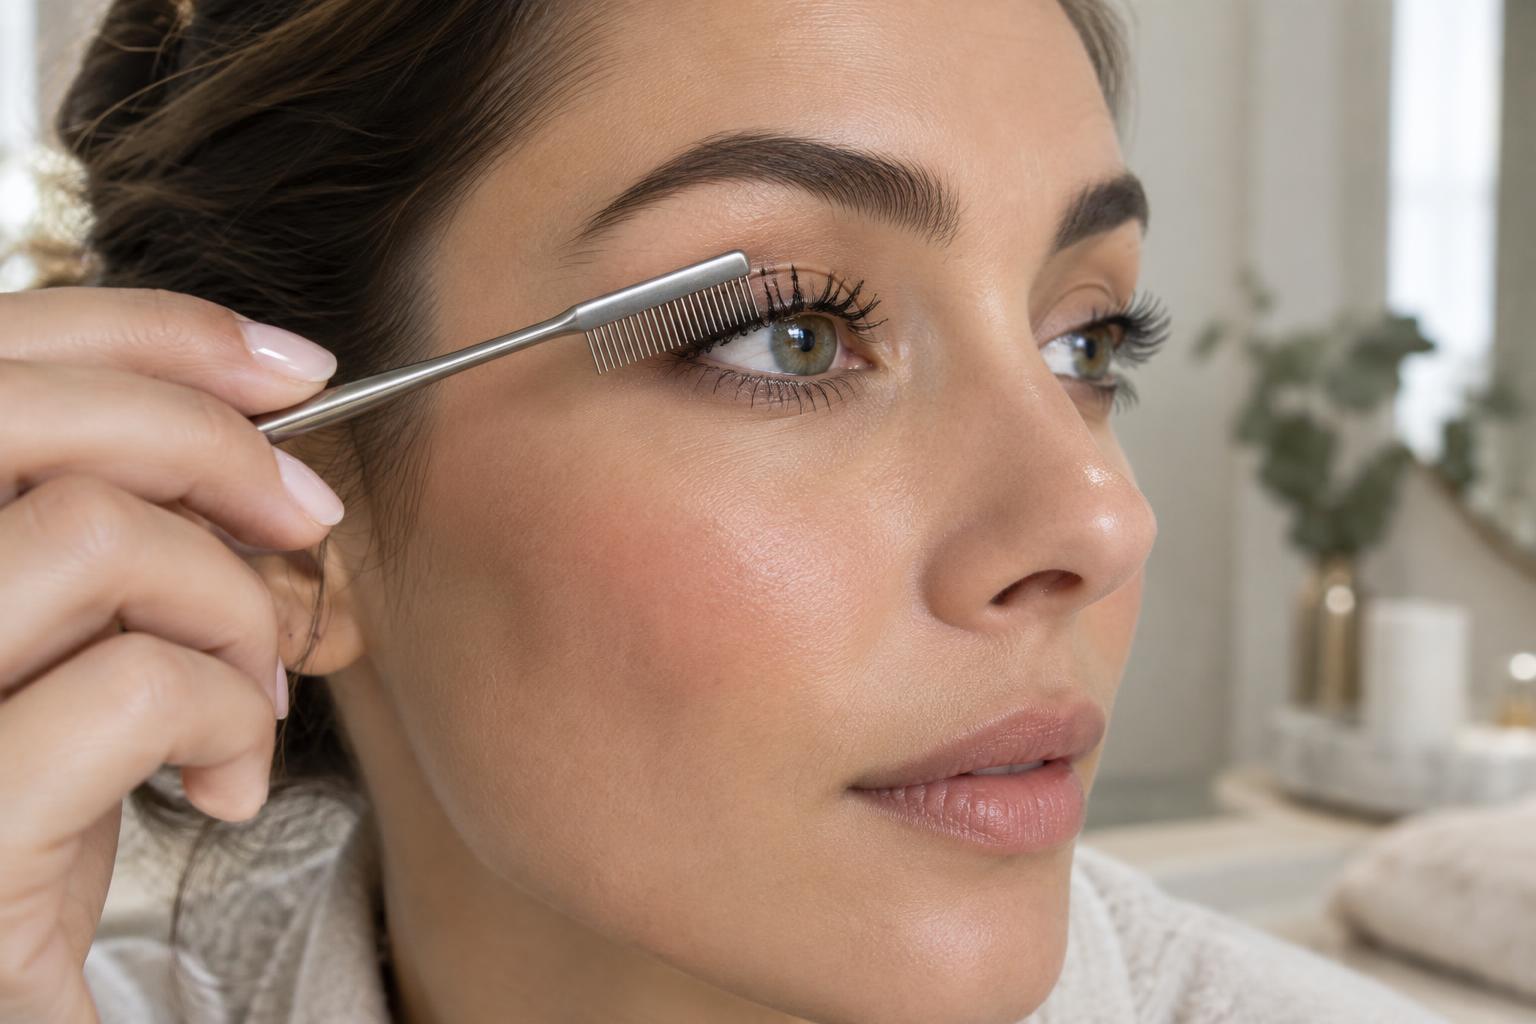
Start with clean, dry hands and a clean applicator. Remove the lash gently from its tray by lifting the band rather than tugging on the fibers. Hold the strip against your upper lash line without adhesive to check its length and shape. If it extends beyond your natural lash line, trim a little from the outer end, then check again. Cutting gradually is easier than correcting a strip that has become too short.
A stiff band can be awkward to position. You can gently flex it between your fingers to encourage a curve, taking care not to crease it. Decide where you want the strip to sit before applying adhesive: the band should rest close to the roots of your upper lashes, on the skin of the lid, rather than on the waterline. If you plan to wear eyeliner, applying it first can make a small gap less noticeable without requiring you to press the strip into an uncomfortable position.
Place the strip in three stages
Follow the lash adhesive’s directions for how much to apply and how long to wait before placement. Spread a thin, even line along the band, with particular attention to the ends, and let it reach the tacky stage specified on the packaging. Adhesive that is still very wet may slide around, making placement harder. Keep it out of your eye and stop if the product causes discomfort.
Looking slightly downward into a mirror can make the upper lash line easier to see. Grip the strip near its center and lower the middle of the band into place first. Then settle the outer end, followed by the inner end. Use the applicator’s broad edge or a clean fingertip to make small adjustments along the band; avoid pointing a tweezer tip toward your eye. Once the strip is positioned, let the adhesive set as directed before checking the result.
Fix common placement problems
If an end lifts, first check whether the strip is too long or the band is sitting under tension. A band that reaches too far into either corner may be difficult to keep comfortable and secure. Remove the strip and reassess its length rather than repeatedly pressing a poorly fitting end down. If the fit looks right, you can follow the adhesive’s directions for reapplying a small amount and allow it to become tacky before placing the end again.
If the strip looks uneven, compare its position on both eyes while facing the mirror straight on. You may only need to shift one end slightly. If the adhesive has set, however, pulling at the band can distort it or irritate the lid; taking it off and starting again is often simpler. For a first attempt, a light, flexible strip is generally easier to handle than a heavy one with a rigid band. Placement should feel comfortable, not like the band is poking or pulling.
Remove and care for your tools
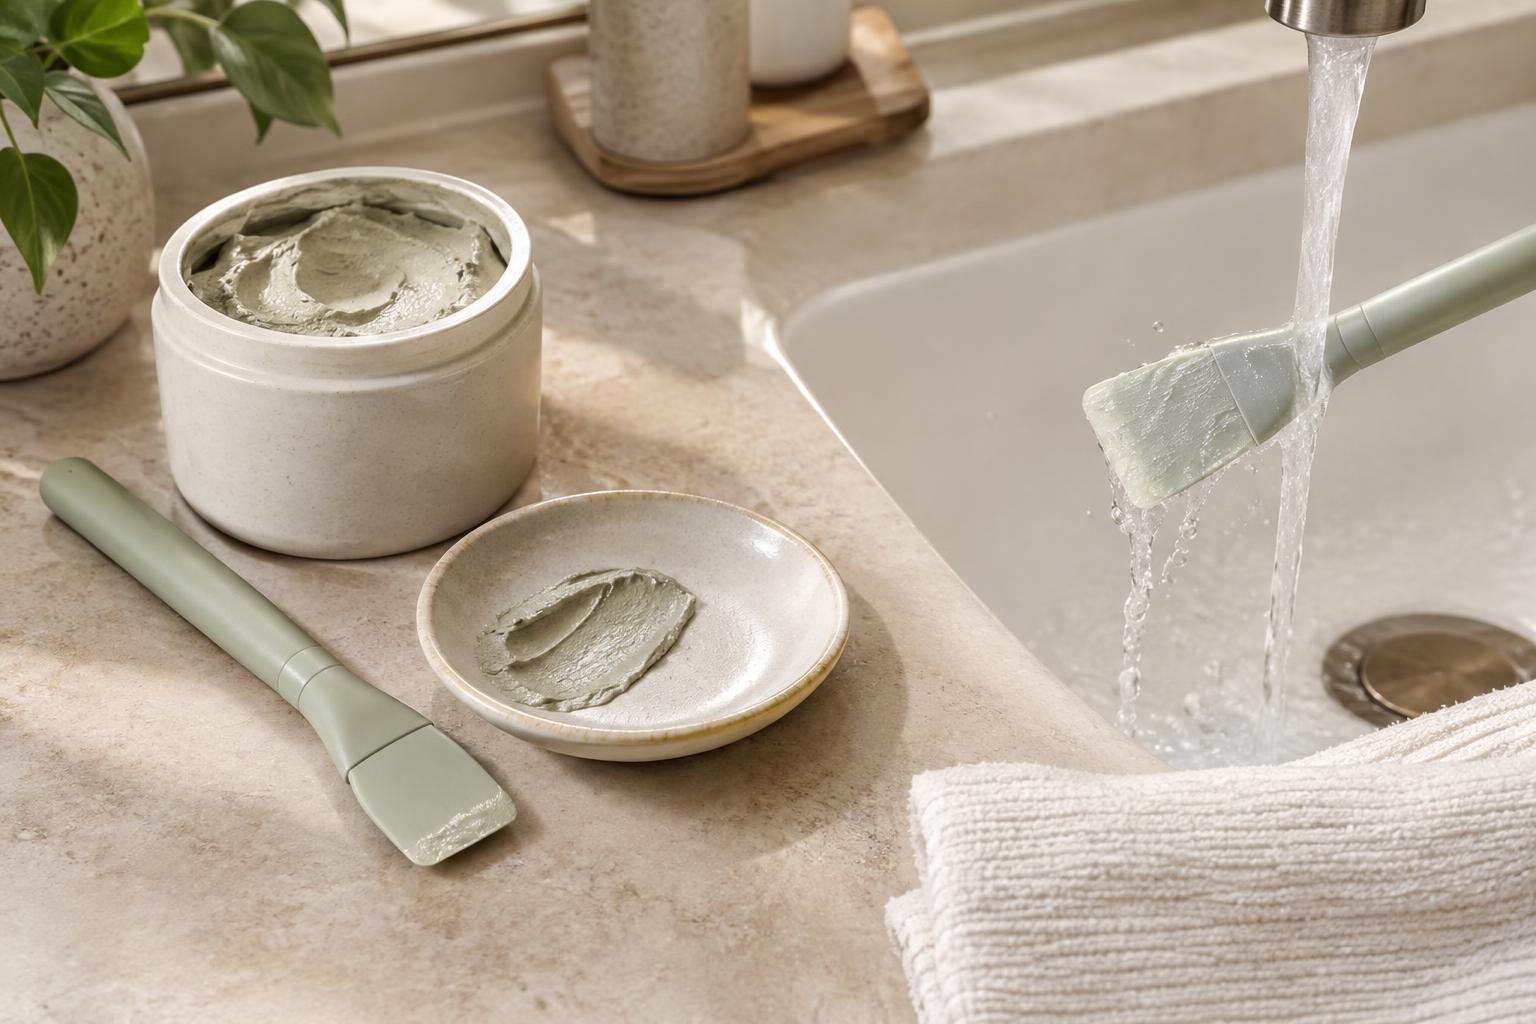
At the end of wear, loosen the adhesive according to its instructions and peel the strip away slowly from an outer corner. Do not yank at the band or your natural lashes. Remove any remaining adhesive from your lid using a method appropriate for the product, then clean the applicator so dried glue does not affect its grip next time. Keep the tool dry and stored where its gripping edges will not be damaged.
If your lashes are reusable, follow their care directions. Gently remove leftover adhesive from the band, avoid pulling on the fibers and return the strip to its tray to help it hold its curve. Discard lashes that are damaged, difficult to clean or no longer sit comfortably. A well-fitting strip and a tool you can handle steadily matter more than applying the lashes in a single perfect motion.