Two tools, two different jobs
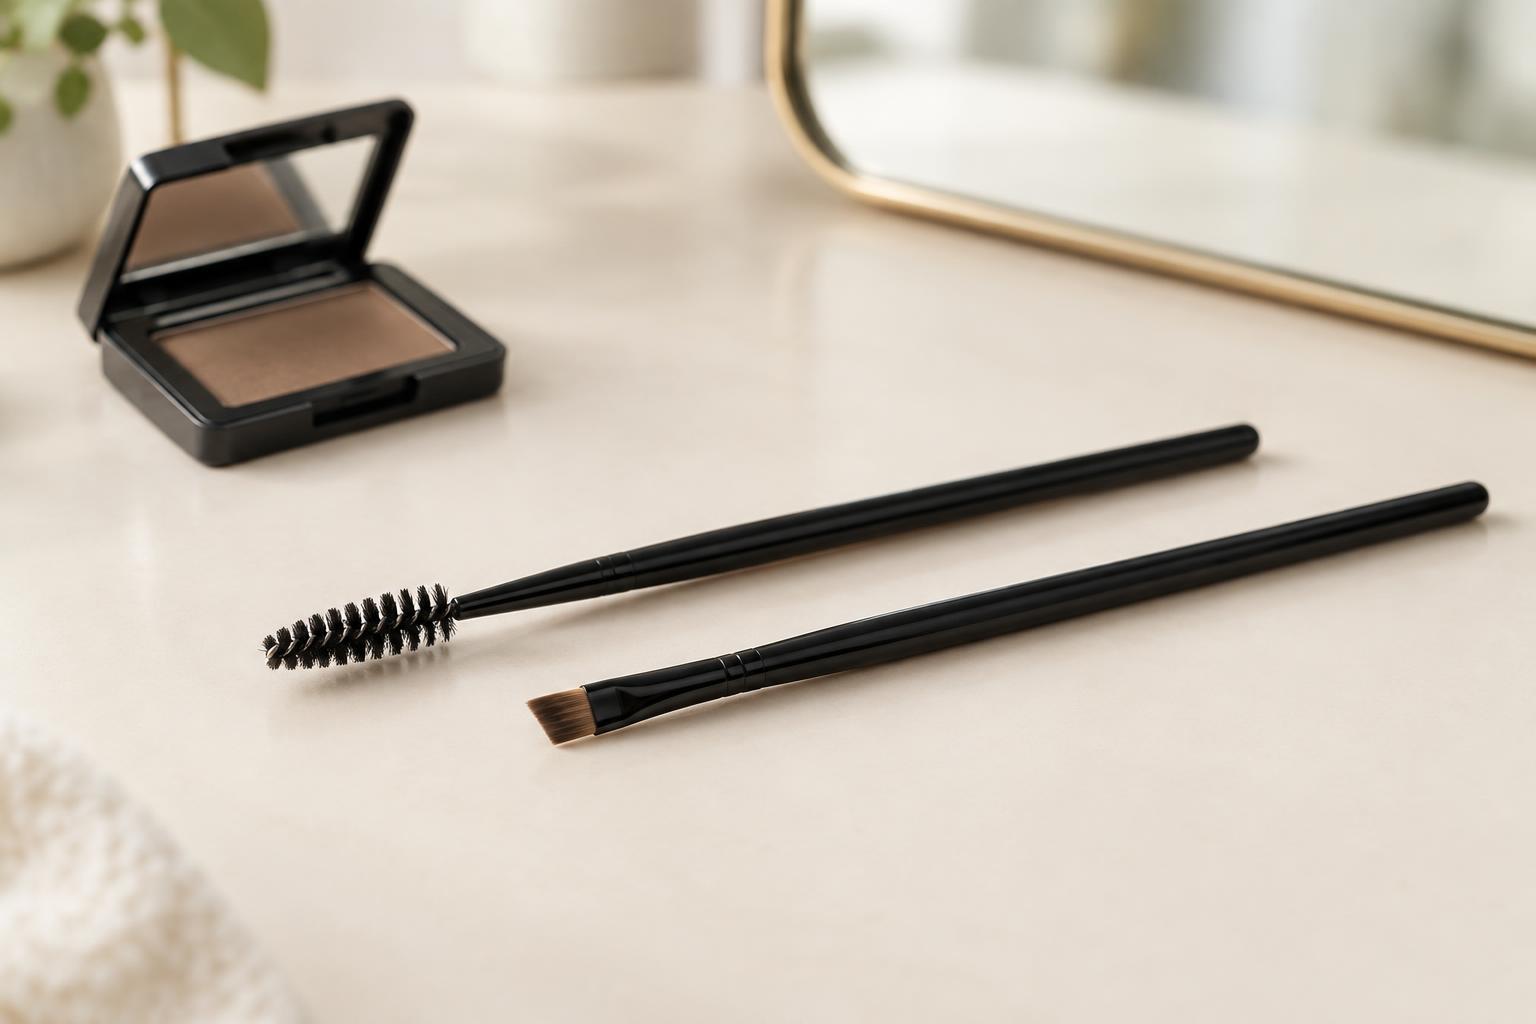
A brow spoolie is a small, mascara-wand-shaped brush. Its bristles comb through brow hairs, helping you see their direction and the spaces between them. Use it to brush hairs into place before applying color, distribute a brow gel, or soften pencil and powder after application. It moves and blends product rather than drawing a precise edge.
An angled brow brush has a flat head cut on a slant. Its narrow edge places color where you want it, while its broader side can fill a larger area. It is commonly paired with brow powder or pomade. Think of the spoolie as a comb and blender, and the angled brush as an applicator. Neither is a substitute for the other when you want both defined shape and a soft finish.
When to reach for a spoolie
Start with a clean spoolie and brush through your brows before adding product. This shows their natural shape and makes it easier to spot areas that need a little color. Brushing upward at the inner brow can separate the hairs; following their usual growth direction through the arch and tail can make the overall shape look neater. You can adjust the direction to suit your brows rather than forcing every hair into one pattern.
After filling, pass the spoolie lightly through areas that look too solid. Short, gentle strokes can spread excess color over the hairs and blur a hard pencil line. If you are using gel, a spoolie can help distribute it, though the wand supplied with the gel may already do that job. Avoid repeated vigorous brushing: it can lift off the color you just placed or leave a damp gel looking uneven.
When an angled brush is useful
Choose an angled brush when you want more control over where powder or pomade goes. A firmer, thin brush can make small strokes along a sparse tail or define the underside of a brow. A softer brush may be easier for a diffused powder fill. The best choice depends on the product’s texture and how crisp you want the result, not on a single brush shape that works for everyone.
Pick up a little product at a time and remove visible excess before touching your brow. Place the most color where you want the most definition, often around the arch and tail, then use what remains on the brush toward the front. For a less block-like look, make short strokes instead of painting one continuous outline. If the edge becomes sharper than intended, use a clean spoolie to soften it.
A simple routine using both
First, comb the brows with a spoolie and look at their shape in ordinary light. Next, use an angled brush with a small amount of powder or pomade to fill the most noticeable gaps. Follow the direction of the surrounding hairs where possible. Step back from the mirror occasionally; a brow that looks unfinished up close may look balanced at a normal viewing distance.
Then run the spoolie through the filled areas once or twice to blend the color. Check the front of each brow in particular, as too much product there can create a square appearance. If you want to hold hairs in place, apply brow gel as a final step, following the product’s directions. You do not need to use every step every day: a spoolie and gel may be enough when your brows need tidying rather than filling.
Choosing and caring for your tools
For a spoolie, look for bristles that separate your brow hairs comfortably without feeling scratchy. For an angled brush, check that the edge looks even and does not splay when you press it lightly. A dual-ended tool can save space, but separate tools work just as well. If you use several brow products, keeping a clean spoolie nearby helps prevent one shade or texture from transferring into another.
Clean reusable tools according to their materials and the product maker’s guidance, particularly when pomade or gel builds up. Work cleanser gently through the bristles, rinse carefully, and let the tools dry thoroughly before storing them. Try not to soak the join between the brush head and handle. Clean bristles make it easier to judge how much product you are applying and help both tools do their intended jobs.