Start with the cutting edge
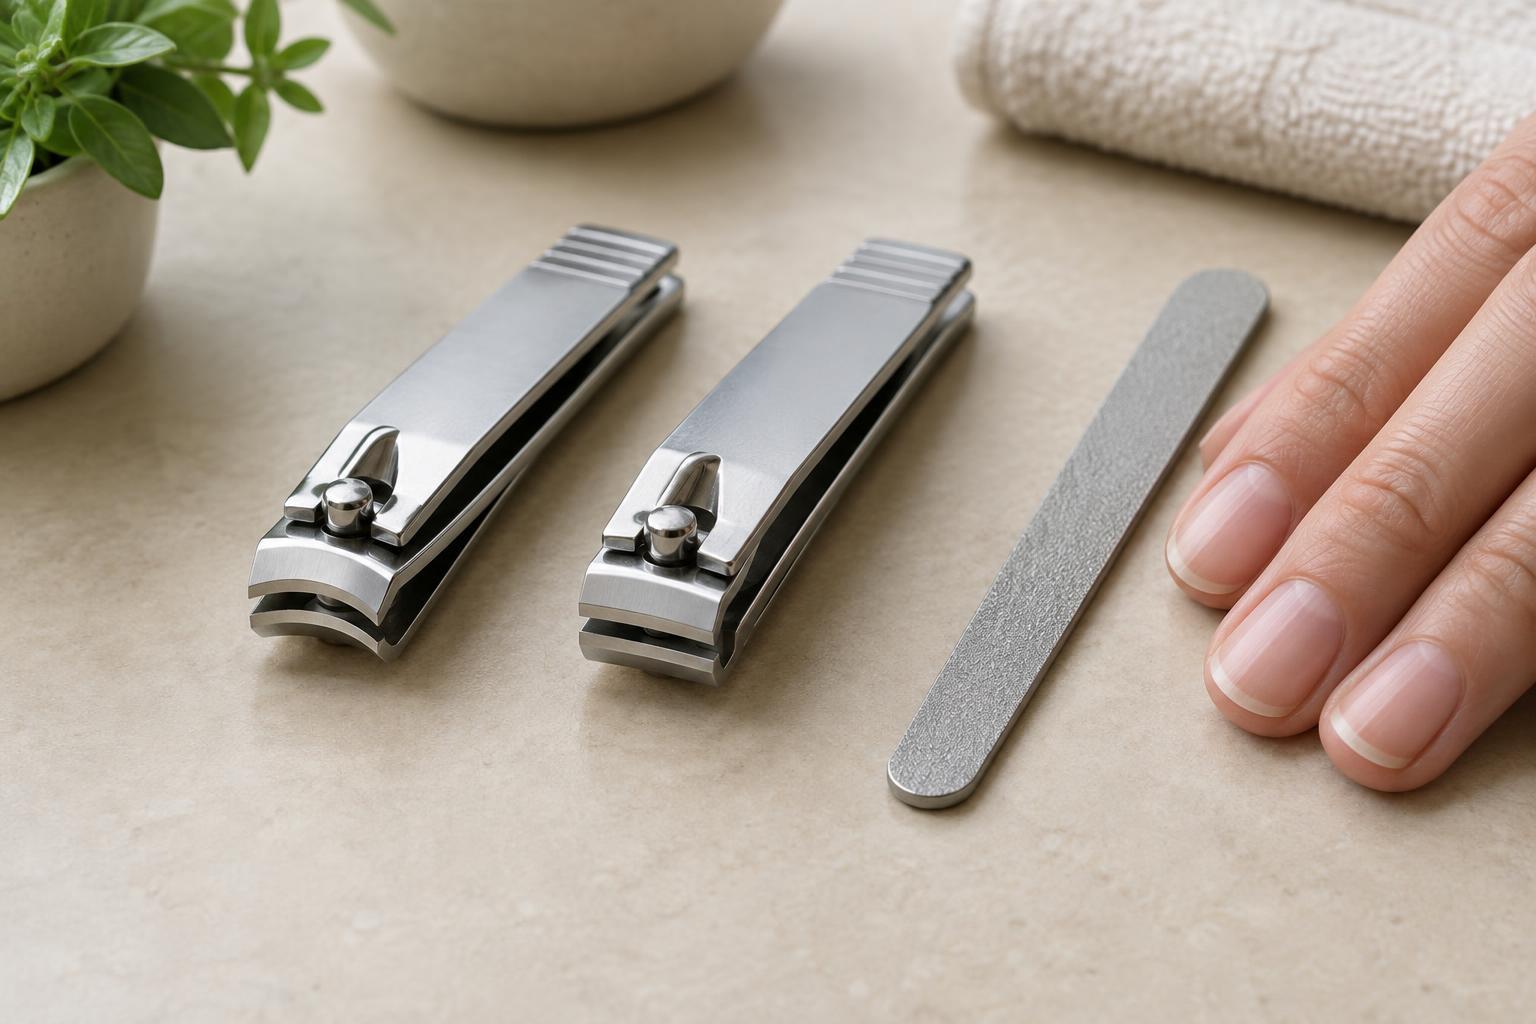
Nail clippers look similar at a glance, but the shape of the cutting edge changes how they meet the nail. A curved edge follows the general arc of many fingernails. It can be convenient when you want a rounded or softly squared finish. A straight edge makes it easier to see and control a flatter line, especially across a toenail. Neither shape does all the work for you: the size of the clipper, the width of your nail, and the cuts you make matter just as much.
Look for jaws that meet evenly when closed, without a visible gap or one side landing ahead of the other. The lever should feel steady rather than wobbly in your hand. A sharp, aligned clipper tends to cut more cleanly than one that bends or crushes the nail. If you have to squeeze hard or the edge looks ragged after every cut, the tool may be due for replacement.
Match the clipper to the nail
A smaller clipper gives you room to make short cuts across fingernails. For wider or thicker toenails, a larger clipper may offer a more comfortable grip and an opening that fits the nail without forcing it in. Keep separate clippers if that makes it easier to choose the right size each time; a large tool can feel awkward around a narrow fingernail, while a small one may encourage too many uneven cuts on a wide toenail.
For fingernails, decide on the outline before you begin. A rounded shape follows the fingertip, while a softly squared shape keeps a flatter top edge with corners gently filed down. For toenails, aim for an edge that runs fairly straight across rather than cutting deeply into the sides. You can soften a sharp corner with a file without removing a large amount of nail at the edge. If a nail is painful, inflamed, or difficult to trim safely, skip the at-home shaping and ask a qualified professional for guidance.
Set up for a controlled trim
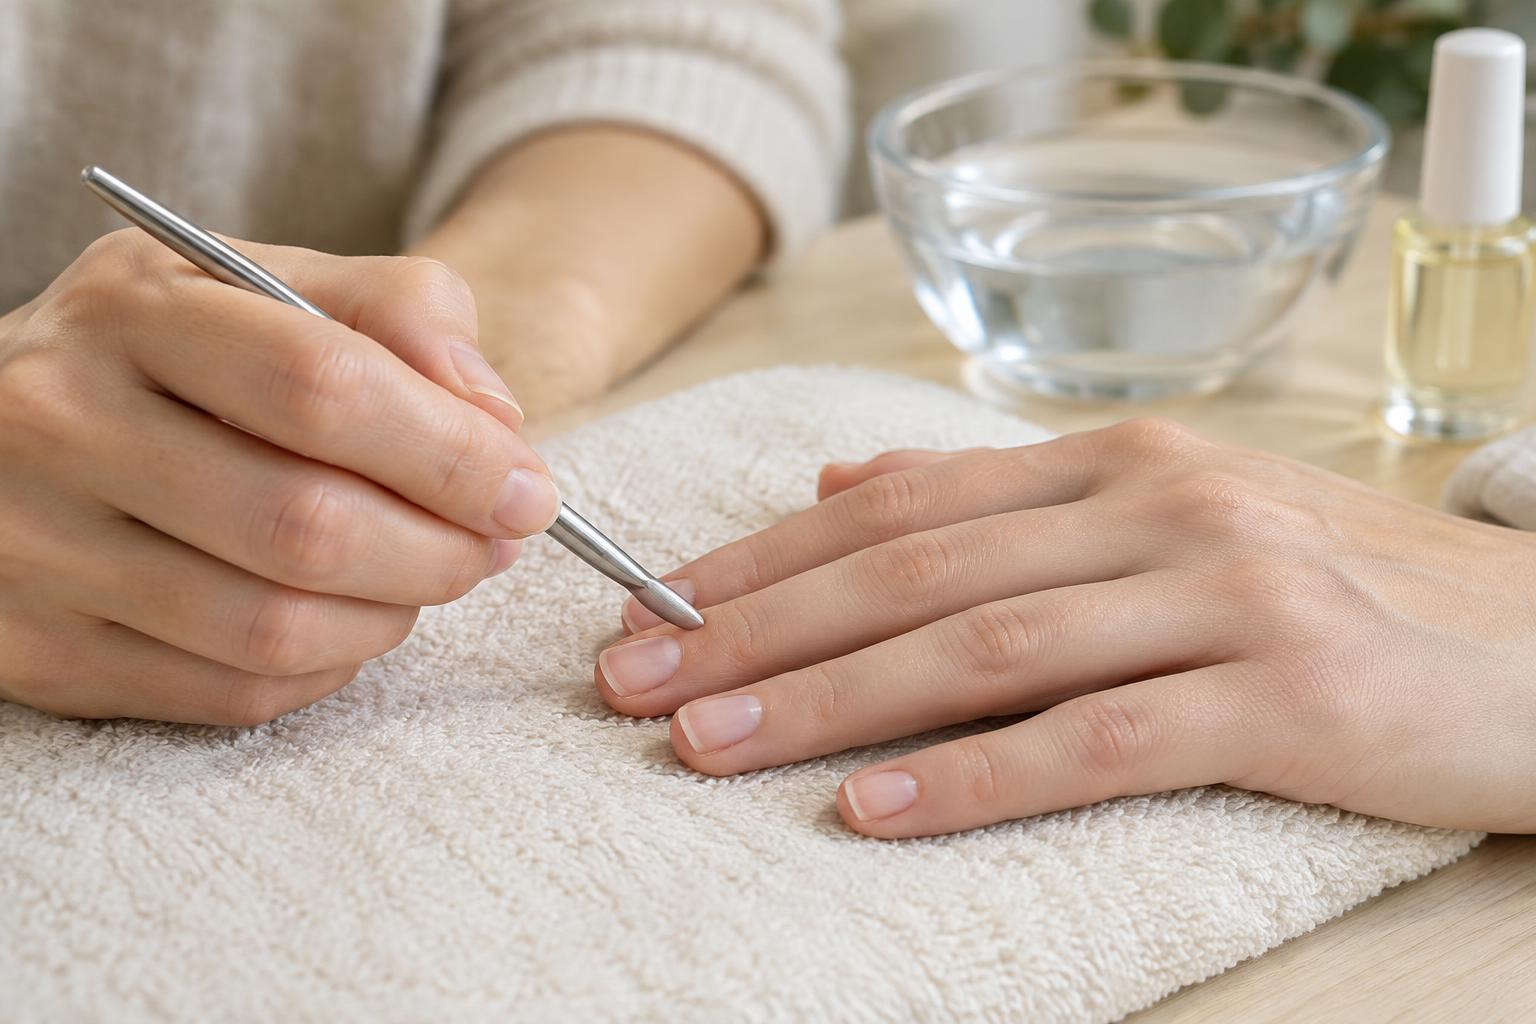
Good light and a stable position make more difference than trimming quickly. Sit where you can see the free edge clearly, and rest the hand or foot you are working on so it does not shift as you press the lever. Wipe the clipper clean before use and make sure its cutting edge is dry. Nails can feel more flexible after a shower or brief soak, but wait until you can see and handle them comfortably rather than working while your fingers are slippery.
Check how much nail extends beyond the fingertip or toe before placing the clipper. Leave a little visible free edge instead of trying to cut flush with the skin. Hold the clipper so its blades cross the nail, not the surrounding skin, and keep the tool level enough to see where both corners of the blades will land. This small pause helps prevent an accidental deep cut.
Use small cuts to build an even line
Instead of trying to take off the entire width in one snap, start near one side and make a series of small cuts toward the other. Let each cut meet the previous one without taking a new, deep bite. On a curved fingernail, gently turn your hand or the clipper as you go so you can follow the outline you chose. On a toenail, keep your cuts closer to a straight path across the top. Avoid pulling at a piece of nail that has not detached; reposition the clipper and cut it cleanly.
After the first pass, look at the nail from directly above and then from the fingertip or toe. This second view often reveals a point or dip that is hard to see from one angle. Compare nails on the same hand, but do not chase perfect matches by repeatedly cutting them shorter. Nail beds and natural curves vary, so a balanced-looking edge is a more useful goal than identical measurements.
Finish with a file and care for the tool
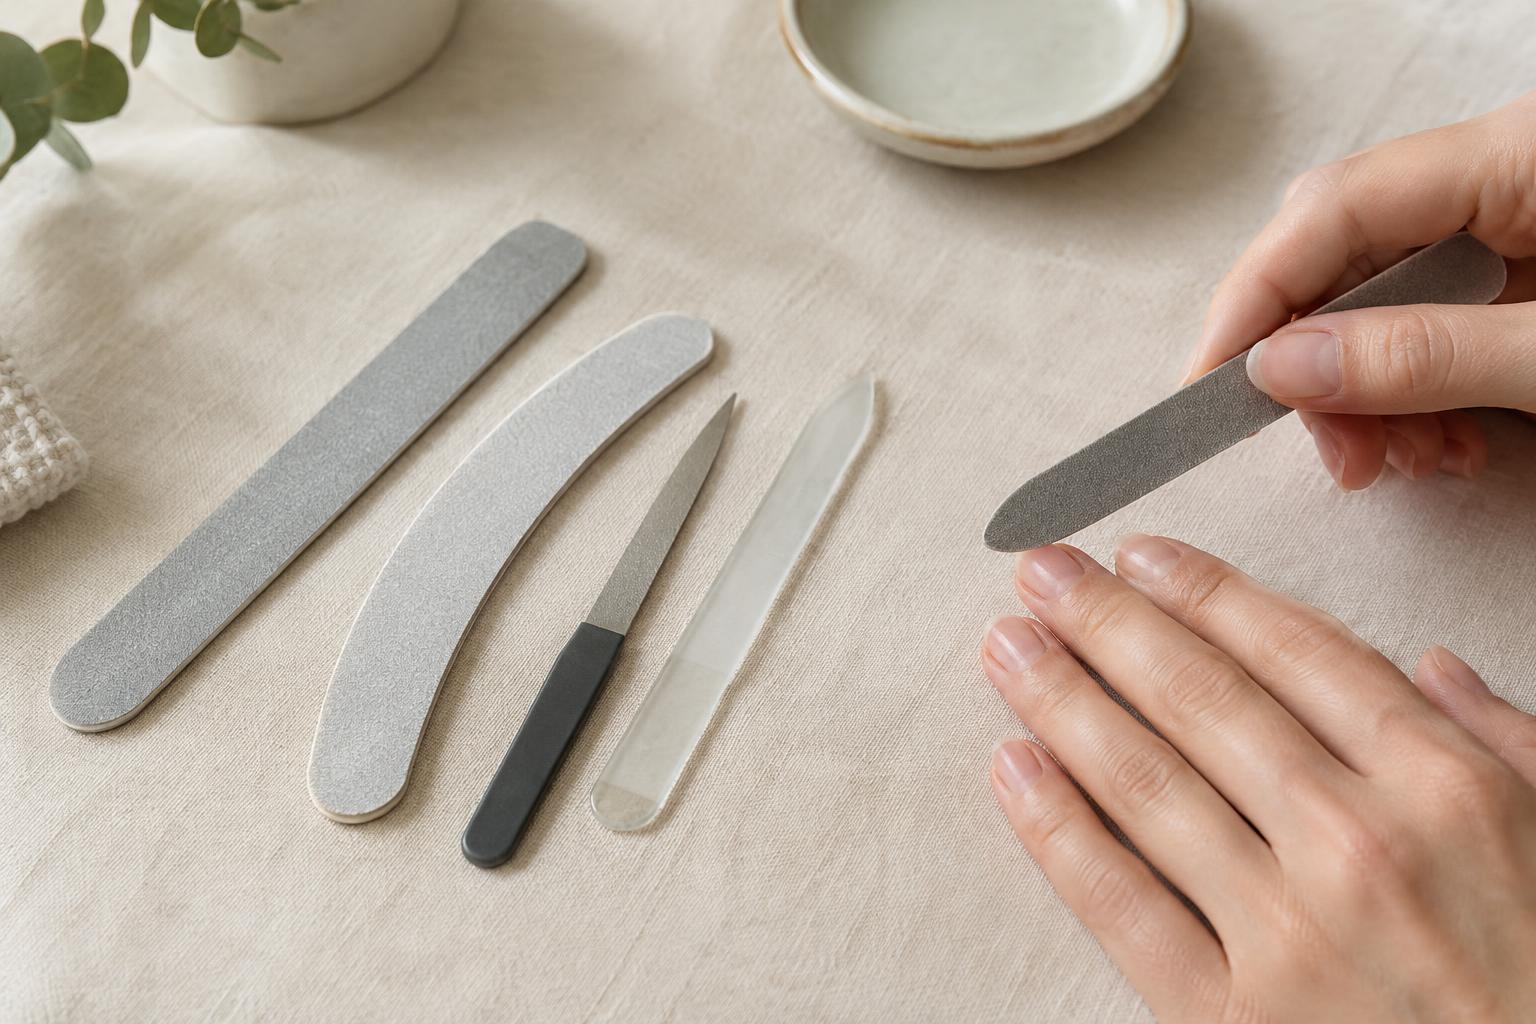
A file handles the small adjustments that clippers cannot make neatly. Use a finer-feeling file for light shaping, and work with gentle strokes rather than pressing hard against the edge. Smooth any snag and lightly round sharp fingernail corners if you prefer a softer finish. If one section sits noticeably higher, file that section gradually, checking the outline between passes. This is usually easier to control than making another tiny clip.
Brush or wipe away nail fragments after trimming, clean the clipper according to its care instructions, and let it dry before storing it. Keep the cutting edges protected from loose items that could dull or damage them. Before the next trim, take a quick look at the jaws again: a clean, aligned tool and a few deliberate cuts are the simplest route to an even edge.