Know what you are trying to tidy
A cuticle pusher is used to loosen and move the thin film that can cling to the nail plate near its base. It is not meant to force back the skin around the nail. That surrounding skin helps protect the area, so a neat-looking manicure should never require scraping hard, lifting attached skin, or pushing until it hurts.
Before you begin, look at each nail in good light. Some nails have a visible film on the plate; others need little attention. If the area is sore, cracked, swollen, or otherwise irritated, skip the pusher rather than trying to make it look uniform. A cuticle pusher is an optional grooming tool, not a step you must repeat at every manicure.
Choose a tool you can control
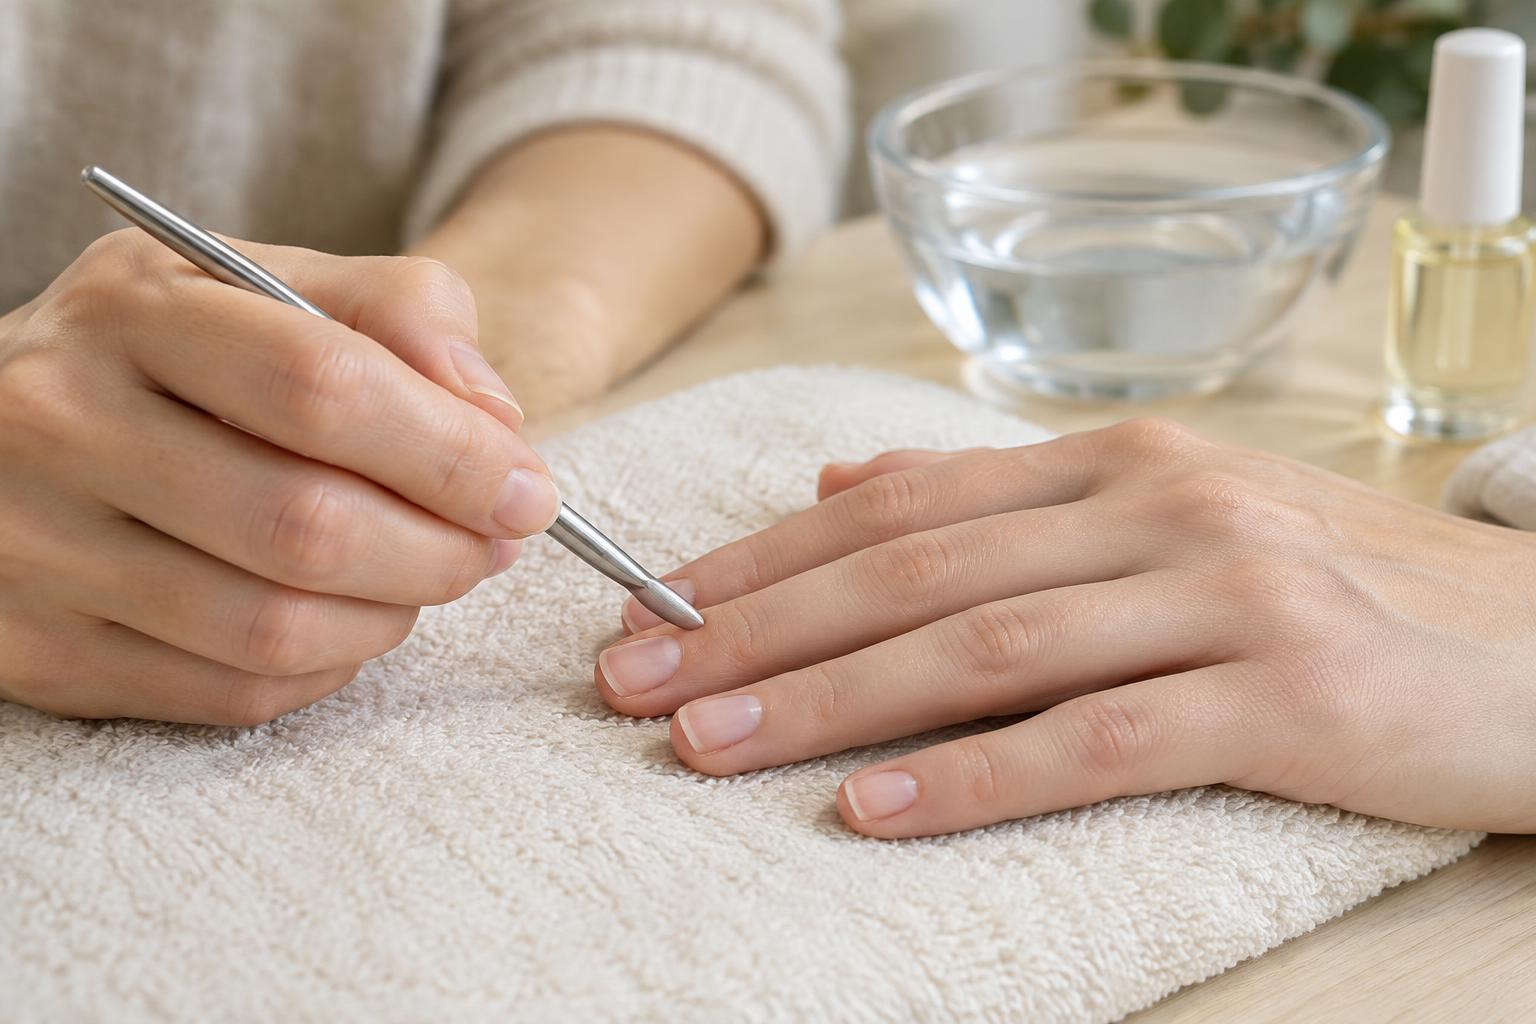
Cuticle pushers come in several forms. A wooden manicure stick has a tip that may feel less rigid, while a metal pusher is reusable and often has a broad, rounded end. Either can be used gently. Choose a smooth edge that sits comfortably against your nail, and avoid a tool with a sharp corner, rough finish, or bent tip.
Clean reusable tools before and after use according to their material, and let them dry before storing them. Use a fresh disposable stick when appropriate, and do not share personal nail tools. You will also want a clean towel and, if you like, a little hand cream or cuticle oil for afterward. Keep your setup simple: good lighting and a steady place to rest your hand matter more than a large kit.
Soften the area before you push
The easiest time to work is when the area is slightly softened, such as after washing your hands or a brief soak in comfortably warm water. Pat your hands mostly dry so the tool will not slip. There is no need to soak until the skin looks wrinkled, and you do not need to use forceful scraping to remove anything that remains attached.
Set one hand on a stable surface, with the nail you are working on facing you. Hold the pusher like a pencil and place its rounded edge nearly flat against the nail plate. This low angle helps you guide the tool along the nail instead of digging its tip into the skin. If you cannot see where the edge is touching, adjust your lighting or hand position before moving it.
Make small, light movements
Starting a short distance from the base of the nail, glide the pusher toward the edge in small, gentle strokes. Let the tool move only what releases easily. Work across the nail in sections rather than trying to clear the whole base with one sweep. At the sides, turn your hand so you can see the edge clearly; do not press a pointed end into the corners.
Think of the motion as nudging, not prying. If the tool catches, the skin lifts, or you feel discomfort, stop. You can rinse away loosened material and check the nail again, but repeated passes are not a substitute for more pressure. A little film left in place is preferable to an irritated nail fold. Avoid cutting or tearing skin to finish the look.
Finish simply and keep the routine occasional
When you are done, wash or wipe away any loosened residue and dry your hands. Apply a small amount of hand cream or cuticle oil if you enjoy using one, then clean and store your tool. If you plan to polish your nails immediately, first make sure the nail plates are clean and dry so leftover oil does not get in the way of application.
How often you need a pusher depends on how your nails look and how your skin responds. There is no reason to push back skin on a fixed schedule just because a tutorial does. Between manicures, ordinary hand care and avoiding picking can do more for a tidy appearance than aggressive tool use. The best result is a comfortable, clean-looking nail area, not a perfectly exposed curve at any cost.