Choose a pencil that suits the look
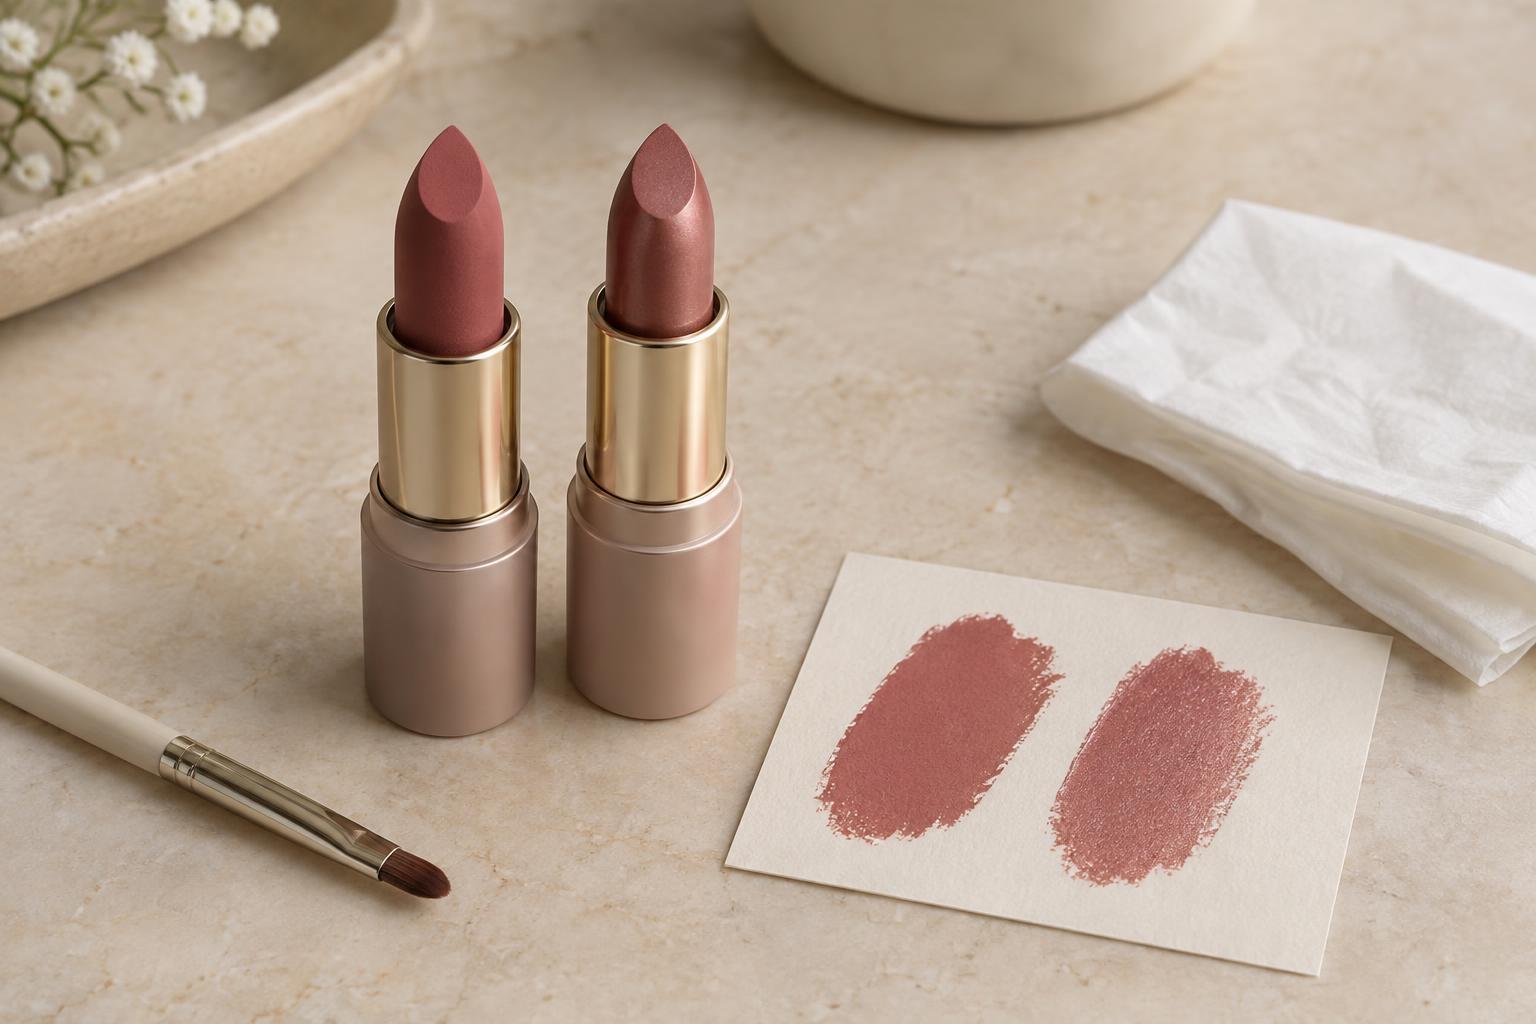
Lip liner has two useful jobs: it can make the lip shape easier to see, and it can create a gradual transition between bare skin and lip color. For an understated look, choose a pencil close to your natural lip color or to the lipstick you plan to wear. A liner much darker than your lipstick will make the outline more noticeable, which may be the look you want, but it takes more blending to keep the edge soft.
Texture matters as much as shade. A pencil that glides without tugging is easier to apply in short, controlled strokes. If it feels very creamy, use a light hand so it does not spread farther than intended. Keep the tip reasonably sharp for the corners and Cupid’s bow, but it need not be needle-fine: a slightly rounded point can help you draw a less severe line.
Prepare a smooth, visible lip line
Start with lips that feel comfortable rather than coated in a thick layer of balm. If you use balm before makeup, let it settle, then gently blot away excess. A slippery surface can make pencil harder to control. If your lips feel dry, avoid dragging the liner over rough areas; a lighter application will usually look smoother than pressing harder.
Find your natural lip edge in a mirror with even lighting. It is normal for the outline to be clearer in some places than others. Rather than trying to draw both lips in one continuous motion, notice the center of the upper lip, the outer corners, and the fullest part of the lower lip. These points give you a simple guide while leaving room to follow your own shape.
Sketch the shape with small strokes
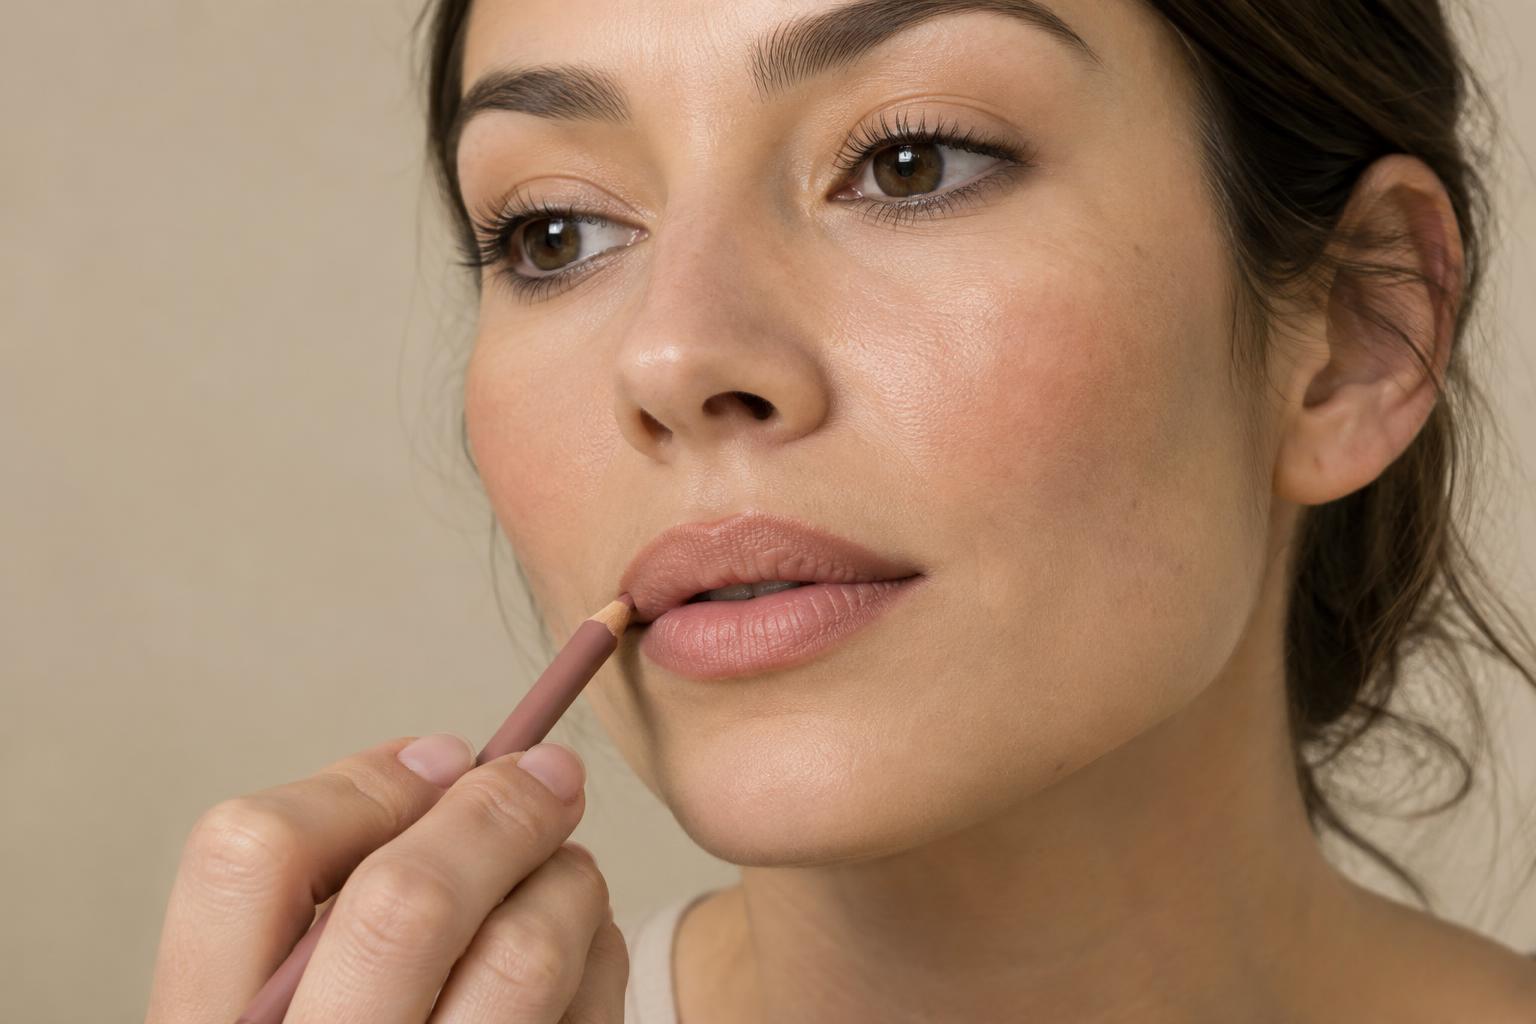
Begin at the Cupid’s bow and make two short marks along its slopes. Then outline the center of the lower lip. Connect these marks toward the corners using small strokes, checking the overall shape as you go. Keep the pencil at or just inside your natural lip line for a subtle result. You can refine an uneven-looking section with another light pass instead of making the entire outline thicker.
If you prefer a slightly fuller-looking shape, concentrate any adjustment near the center, where the lip edge is easiest to follow. Keep the corners close to their natural position; extending them outward can change the expression of the mouth. There is no need to make both sides mathematically identical. Aim for a balanced shape that looks good when your face is relaxed, not only when your lips are held perfectly still.
Blend the edge inward
To avoid a visible ring of liner, use the side of the pencil to shade a little color from the outline toward the middle of the lips. Work lightly and leave the center less filled in. Then soften the inner edge of the shading with a clean fingertip, a small lip brush, or a cotton swab. Blend toward the center rather than rubbing across the outer boundary, which can blur the shape you just made.
Apply lipstick or tinted balm over the shaded area, starting near the center and moving outward. Press your lips together once, then inspect the edge. If the lipstick covers your liner completely, you can add a few faint pencil strokes where definition is missing and blend them again. For a matte look, careful pencil shading helps prevent an abrupt contrast. With a glossy finish, keep the gloss mostly away from the outer edge if you want the outline to remain crisp.
Make small corrections, then stop
If one area looks too dark, tap it gently with a fingertip to lift and diffuse the color. For a misplaced stroke, use a clean cotton swab to remove it before redrawing that section. Check the result with your mouth relaxed and slightly smiling: a lip line that looks neat in both positions is usually more useful than one that looks precise only while you pose.
Lip liner does not have to be a separate, obvious step in the finished makeup. A close shade, light pressure, and a little inward blending can make the lip color look more deliberate while keeping the edge soft. Once the shape feels balanced, leave it alone; repeated outlining can turn a gentle definition into a heavier border.