Start with the brows you have
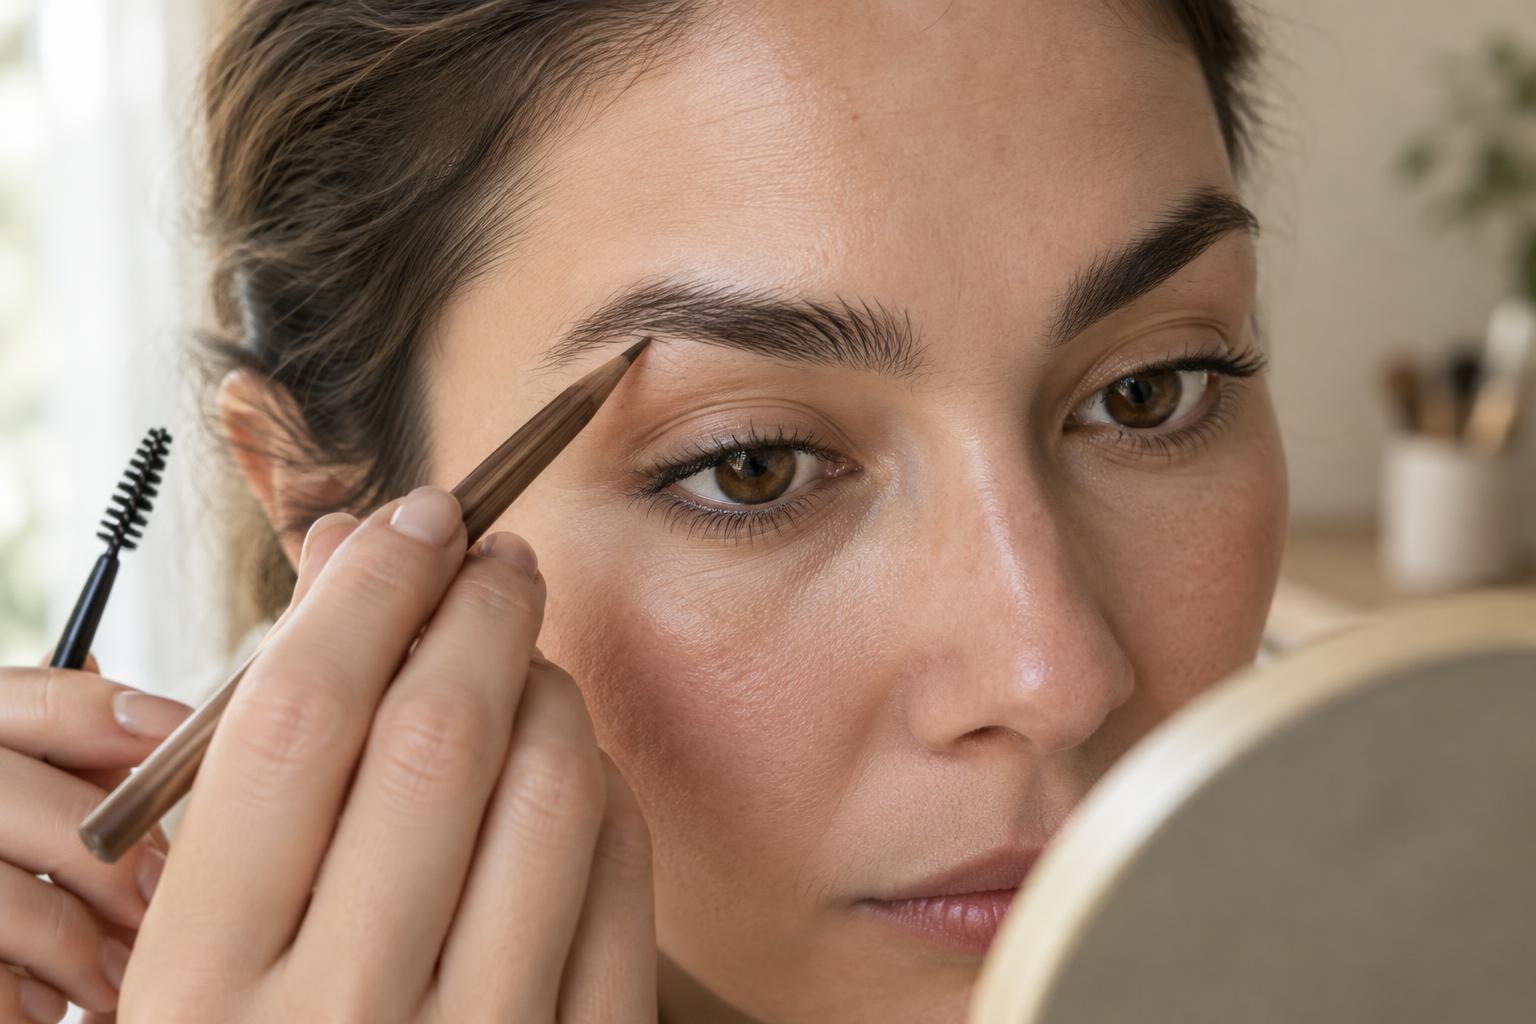
The easiest way to keep brows looking natural is to treat your existing hair as the guide rather than drawing a new shape over it. Brush the hairs upward and outward with a clean spoolie so you can see where the brow is full and where small gaps appear. Notice the general direction of the hairs: those near the front may grow more upright, while hairs toward the tail often angle outward.
Before reaching for a pencil, decide what you want to change. You may only need to extend a short tail, soften an uneven edge, or add a little fullness through the arch. Filling every part of the brow equally can make it look flat. Leaving some skin visible between hairs, especially at the front, helps preserve a lighter, more familiar look.
Find a shape without forcing symmetry
Use three approximate landmarks to guide your shape: the inner end near the side of the nose, the arch above the outer portion of the eye, and the tail tapering toward the temple. These are guides, not strict measurements. Your natural brow growth and facial features may not match a diagram, and trying to force them to can make makeup more noticeable.
Look at both brows from a normal viewing distance before making changes. They do not need to be identical; aim for a similar overall balance instead. If you remove stray hairs, brush the brow into place first and work conservatively. You can always tidy another hair later, but a gap caused by overplucking takes more effort to disguise. For a makeup-only approach, skip hair removal and use concealer sparingly to neaten an edge if you like.
Choose a product and shade that are easy to control
A fine-tip pencil gives you control when adding short marks to sparse areas. Brow powder can create a softer wash of color, while tinted gel can add color and hold to hairs that are already fairly full. A clear gel holds hairs in place without adding depth. You can use one product or combine a pencil for gaps with gel for grooming; more products are not necessarily better.
For an understated result, choose a shade that sits close to the appearance of your brow hairs. If your brows are very dark, a slightly softer shade can be easier to blend than a strongly black product. Pay attention to undertone as well as depth: a color that looks noticeably warm or ashy against your hair may stand out. Test with a light hand first, because a shade often appears deeper once you build it up.
Fill gaps in thin layers
Begin where the brow looks sparsest, often through the arch or tail, rather than at the inner front. With a pencil, use short, light strokes that follow the direction of nearby hairs. Let the point skim the skin instead of pressing hard. If you use powder, tap off excess before applying it with a small angled brush. Add a little color, step back, and check the overall shape before adding more.
Keep the lower edge reasonably tidy if you want definition, but avoid outlining the entire brow with a heavy line. Taper the tail rather than ending it in a blunt block. At the front, use whatever product remains on your pencil or brush to add only a few faint marks where needed. This gradual change from a softer front to a more defined tail gives the brow dimension without making it look drawn on.
Blend, set and check in everyday light
Brush through the brow again with a spoolie after filling. This spreads concentrated color, softens pencil marks, and brings individual hairs back into view. If you have applied too much, brushing is a useful first fix; you can also gently lift excess product with a clean cotton swab. If you want more hold, sweep a small amount of brow gel through the hairs, following their growth pattern rather than pressing them all into one direction.
Finally, look at your brows in even light and at a conversational distance. A close-up mirror is useful for placement, but it can make tiny gaps seem more important than they are. Check that the fronts are not too square, the tails are not much darker than the rest, and both brows feel balanced. Natural-looking brow makeup is less about perfect lines than about making small adjustments you can still recognize as your own brows.