Start with a small wing and the right liner
Winged eyeliner can feel difficult because each eye asks your hand to work at a different angle. The goal is not to draw two mathematically identical lines. It is to create shapes that look balanced when you face forward with your eyes open. A short, slim wing is a good place to begin: it takes fewer strokes to build and leaves room for adjustments.
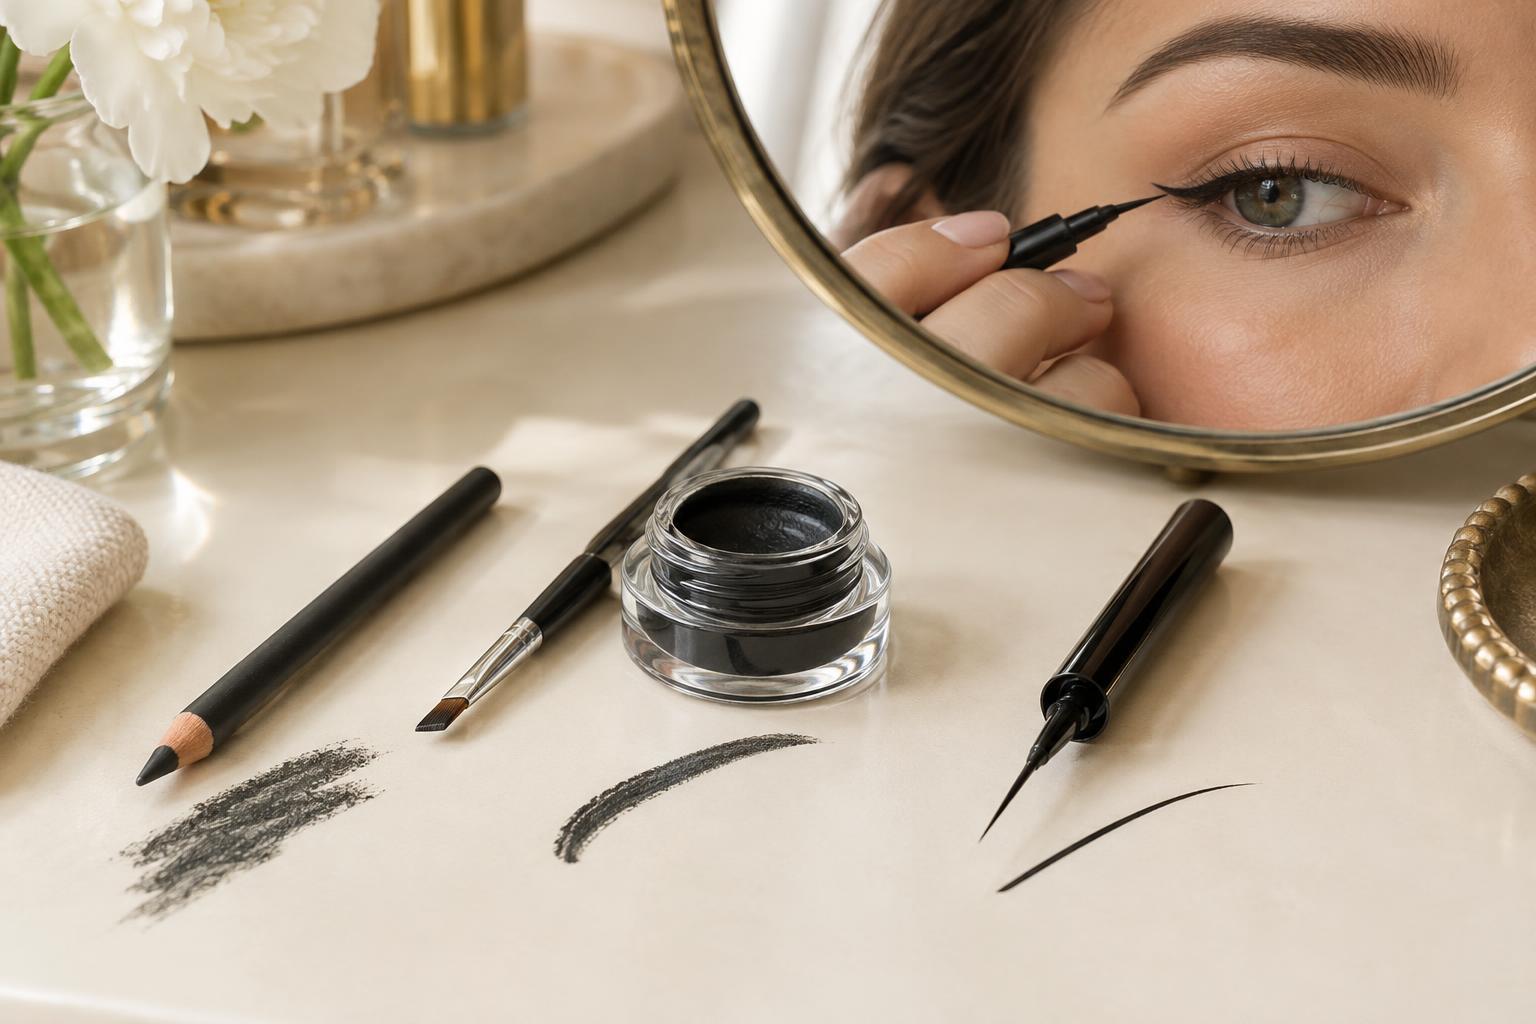
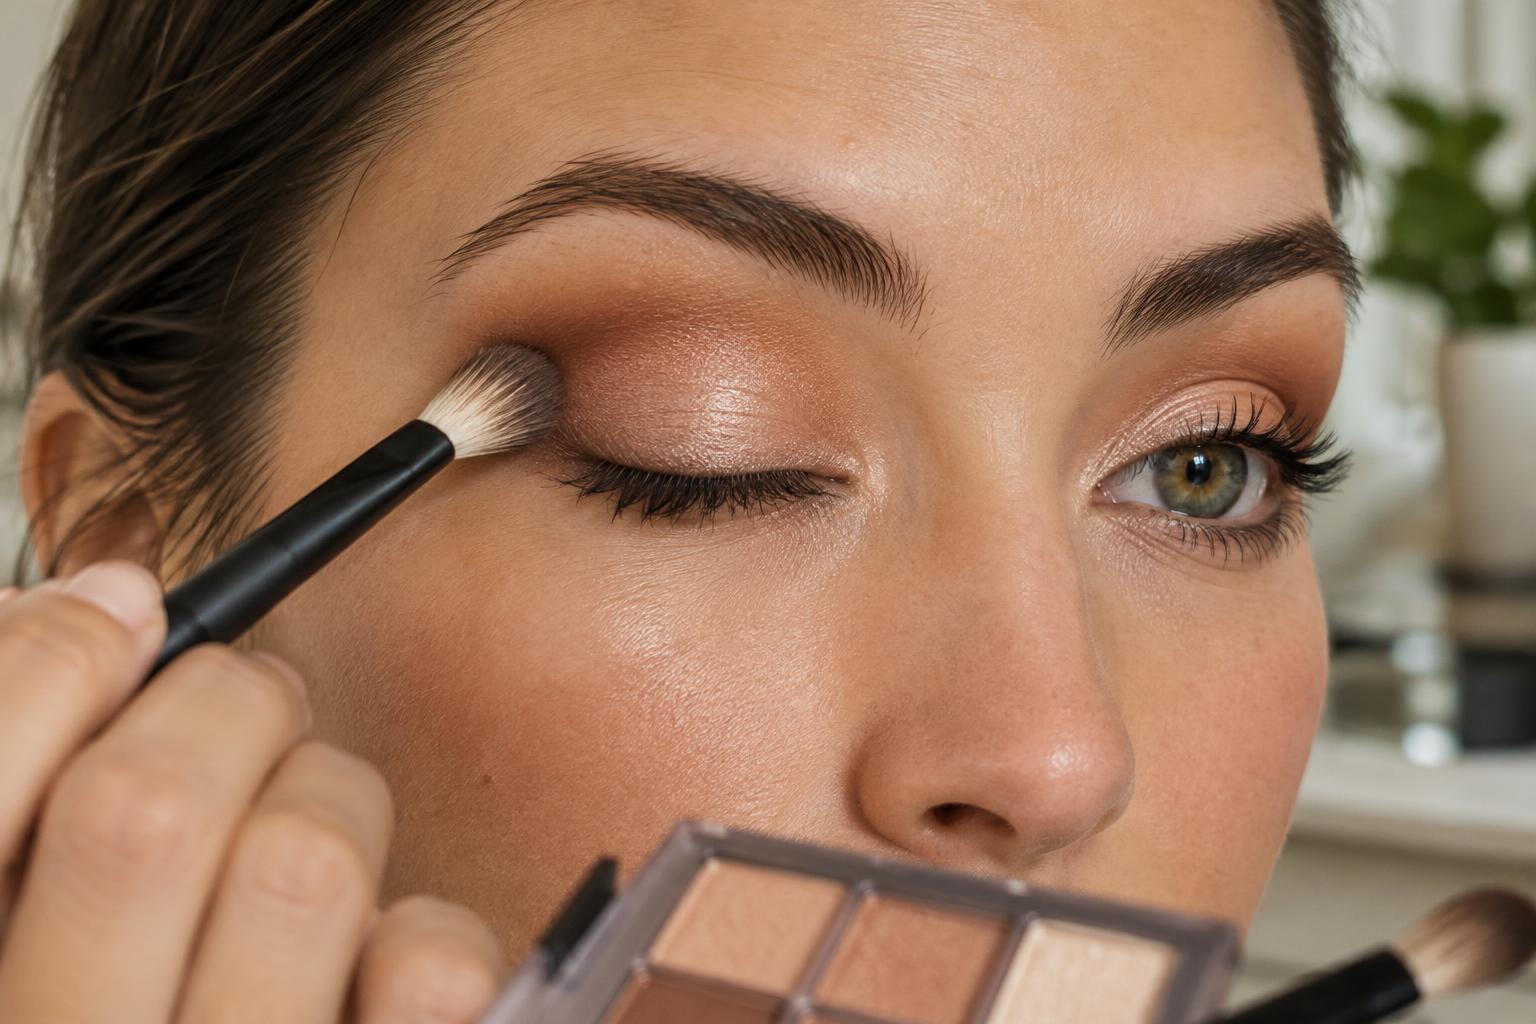
Choose a liner you can control. A felt-tip pen makes a defined mark, while a pencil gives you more time to soften an edge. Gel liner applied with a small angled brush is another option if you prefer short strokes. You can also sketch the shape with eyeshadow before using a darker liner. Keep a cotton bud and a small amount of makeup remover nearby for corrections. Starting on clean, dry lids helps you see exactly where each mark lands.
Map the angle with your eyes open
Sit where you can look straight into a mirror without tilting your head. Relax your face and notice the direction of the outer edge of each eye. Rather than aiming for an imagined perfect angle, picture a short line extending outward and slightly upward from that edge. Keep both wings modest at first; you can lengthen them later, but shortening a bold wing usually takes more cleanup.
Place one tiny dot where you want the first wing to end. Then look straight ahead and place a matching dot beside the other eye. Compare their apparent height and distance from the outer corners before you draw any long lines. If one eyelid folds differently from the other, the dots may not sit in exactly the same place relative to the crease. What matters is how the marks look together when your eyes are open.
Connect the dots in short strokes
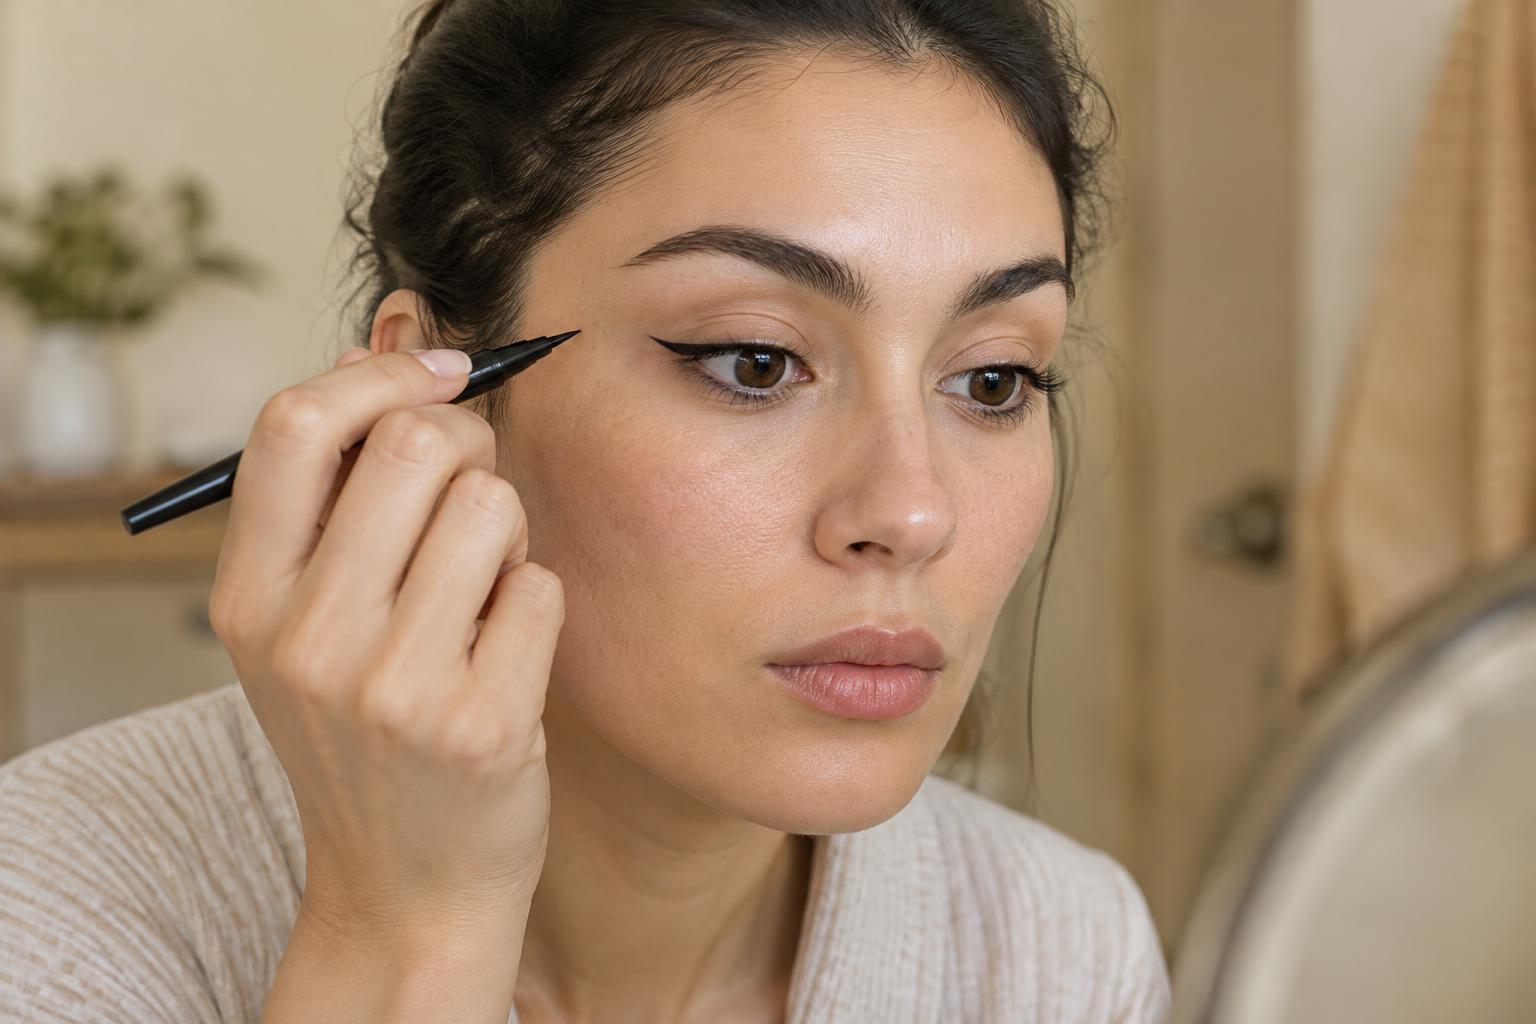
On the first eye, draw a thin line from the outer corner toward its dot. Use light pressure and short strokes instead of trying to make the entire wing in one movement. Repeat on the second eye before filling either wing. Working in pairs makes it easier to notice a difference in angle while the shapes are still simple.
Next, draw a second short line from the dot back toward the upper lash line, creating a narrow triangle. Fill it in, then trace a fine line along the lashes to connect the wing to the rest of your eyeliner. You do not need a thick line across the whole lid. If a continuous stroke feels awkward, make several small marks close to the lashes and join them. Pause with your eyes open to check whether the wings remain visible and whether the liner feels too heavy for the look you want.
Balance the two sides without chasing perfection
Step back from the mirror and compare the wings as a pair. Check the overall length, the direction of each tip and the thickness near the outer corners. These features tend to affect the finished look more than a tiny difference along the lash lines. Make one small adjustment at a time, alternating eyes when possible, so you do not keep enlarging one wing to match the other.
To sharpen an edge, use the tip of a cotton bud with a little makeup remover, then let the area dry before drawing over it. For a softer correction, lightly blend the edge with a small brush rather than erasing it. If one wing is noticeably longer, cleaning its tip may be easier than extending the other. Natural differences between eyelids can also mean the most balanced wings are not exact copies when your eyes are closed.
Adapt the shape to your eye area
If your upper lid folds over the outer corner, try placing the wing while looking straight ahead instead of stretching the skin. Draw the visible part first, then connect it with small strokes as needed. A short wing that starts at the outer lashes may stay clearer than a thick line drawn across the lid. If your hands feel unsteady, rest an elbow on a table and keep your mirror at a comfortable height.
Give yourself permission to stop once the two wings look balanced from a normal viewing distance. Close-up inspection can tempt you to add more liner than you intended. At the end of the day, remove the liner gently rather than rubbing the delicate eye area. With practice, the useful habit is not drawing faster; it is checking your placement early and making small, deliberate marks.