What to look for in a curler
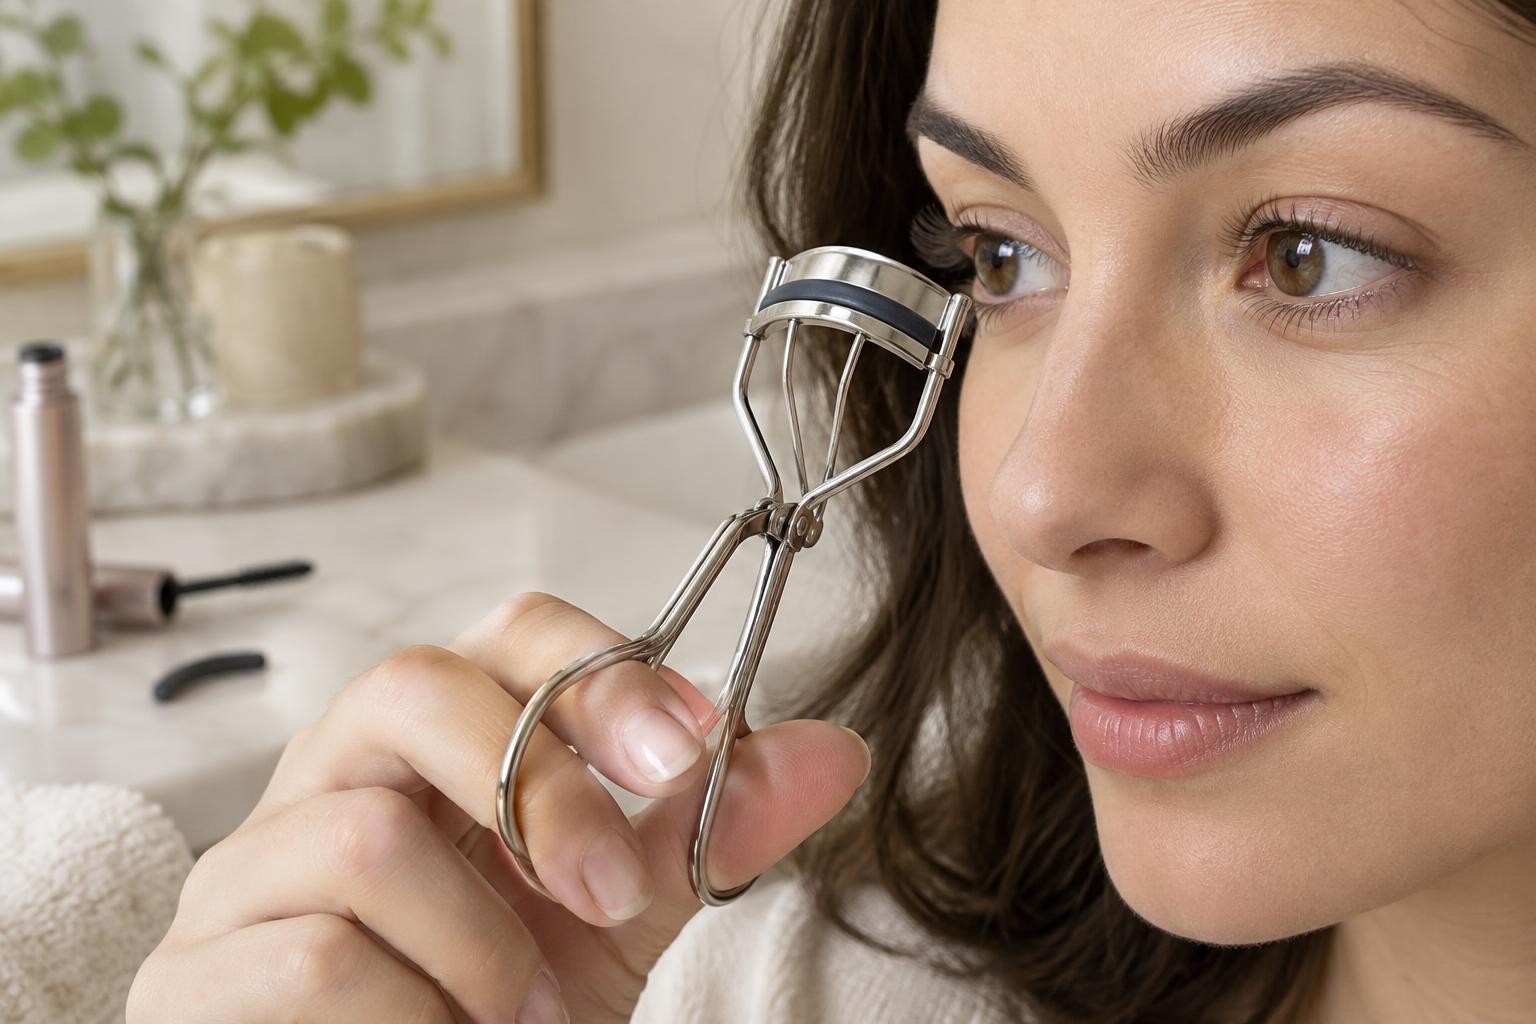
A traditional eyelash curler has two curved metal or plastic edges, a soft pad, and handles that bring the edges together. You do not need an elaborate tool to get a lift. The most useful curler is one you can position without pinching your eyelid or leaving lashes out at either corner. If possible, compare the width and curve of the opening with your lash line before buying.
A wider, flatter curve may be easier to position along a straighter lash line, while a more rounded curve may suit a more curved one. These are starting points, not strict rules: fit depends on where your lashes grow as well as your eye shape. Check that the curler opens and closes smoothly, the pad sits securely, and the handles feel steady in your hand. A replaceable pad is convenient because you can refresh the part that cushions your lashes without replacing the whole tool.
Get ready before you curl
Curl clean, dry lashes before applying mascara. Wet lashes can slip, while dried mascara can make lashes stick to the curler and increase the chance of tugging. Look closely at the pad before each use. If it has a deep groove, cracks, or an exposed edge, replace it according to the tool’s instructions. Wipe away any visible makeup residue so the curler can close evenly.
Set yourself up with a mirror at a comfortable height and enough light to see the roots of your lashes. You may find it easier to tilt your chin slightly up while looking down into the mirror. Keep your hand relaxed and take your time: the goal is to lift the lashes, not to clamp as hard as possible. If the tool pulls or pinches, release it fully and reposition it rather than pushing through the discomfort.
A gentle step-by-step technique
Open the curler and place the upper edge above your top lashes, with the pad below them. Bring it near the lash roots without touching the eyelid. Check that the outer and inner lashes you want to curl are inside the opening and that no skin is caught. Close the curler slowly, applying light pressure for a few seconds, then open it completely before moving it.
For a softer-looking curve, repeat with light pressure around the middle of the lashes and, if there is enough length, near the tips. Working in two or three spots can create a gradual lift instead of a sharp bend at the base. Keep each squeeze gentle; extra force is not a shortcut to a better curl. Once you are happy with the shape, apply mascara if you use it, sweeping from the roots upward without pressing the wand against your eye.
Adjust the method to your lashes
If your curler misses lashes at the corners, try shifting its position slightly and curling those lashes in a separate pass. Do not twist a closed curler to reach them. A smaller curler designed for a section of lashes can offer more control, though it takes practice to use neatly. If you keep getting a visible crimp, use less pressure and move the curler farther along the lashes between squeezes.
A curl may relax during the day, especially on lashes that naturally point downward or when heavy coats of mascara weigh them down. Try a lighter application before assuming you need to squeeze harder. Heated eyelash curlers are another option, but follow the maker’s directions and check the temperature before bringing one close to your eye. Never heat a standard curler with a hair dryer; it is difficult to judge how hot the metal has become.
Keep the tool comfortable to use
After use, remove mascara or liner residue from the curler, paying particular attention to the pad and the edge above it. A soft cloth or cotton pad can help with routine cleaning; if you use a cleanser, follow the tool’s care directions and let it dry before storing it. Avoid sharing a curler, and keep it somewhere the pad will not be crushed or coated with loose makeup.
Replace the pad when it becomes worn, split, or permanently indented, and replace the curler if its hinge no longer closes evenly. Stop using it if you notice pinching or pulling that you cannot fix by repositioning it. A well-fitting, clean curler and a few light squeezes are usually more useful than complicated technique. With a little practice, curling can become a quick, optional step rather than a struggle.