Start with the pencil, not the sharpener
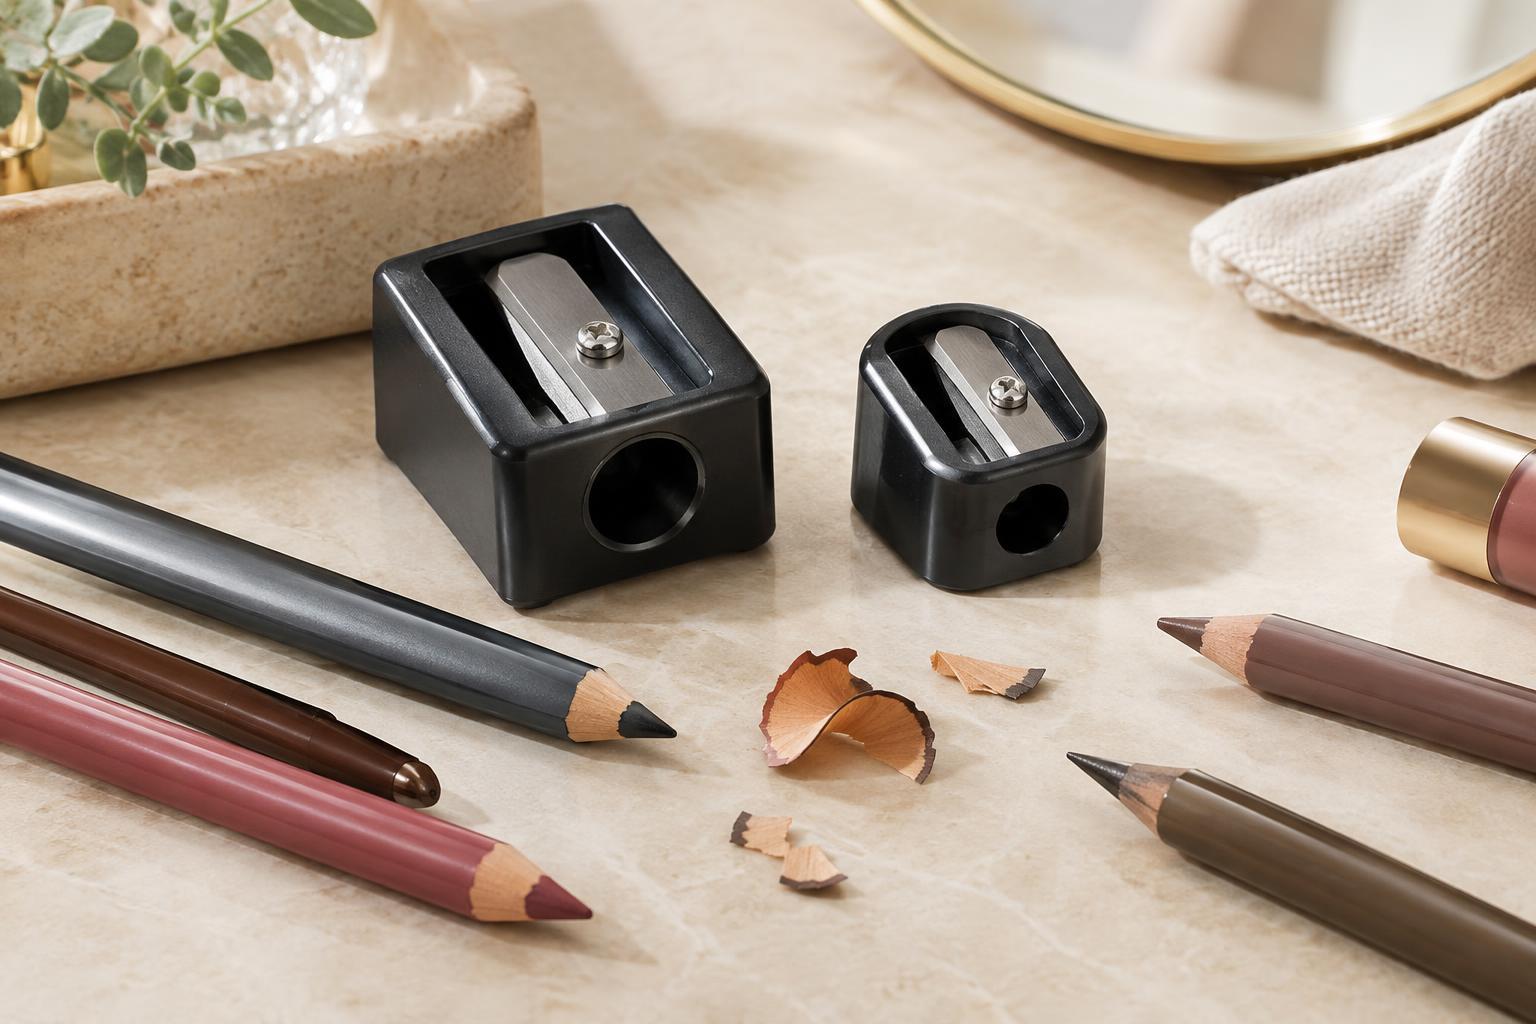
Before buying a sharpener, look at the pencils you use most. Slim eyeliner, lip liner, and brow pencils often fit a standard cosmetic-pencil opening, while thicker shadow pencils and jumbo liners may need a larger one. A dual-hole sharpener is convenient if you own both sizes, but the number of openings matters less than whether each pencil sits securely without being forced in or wobbling.
Check that a pencil is designed to be sharpened before putting it in a blade sharpener. Some pencils twist up; others have a plastic-looking casing that is still intended to be sharpened. If you are unsure, check the pencil’s packaging or product directions. Forcing a twist-up pencil into a sharpener can damage both items.
What to look for in a makeup sharpener
Choose a sharpener made for cosmetic pencils rather than assuming a stationery sharpener will give the finish you want. Makeup formulas can be softer than writing-pencil cores, and cosmetic sharpeners are commonly shaped to leave a usable point without exposing an unnecessarily long, fragile tip. The right shape depends on how you apply the product: a fine point helps with precise lines, while a shorter point may suit a creamy pencil used over a broader area.
Look for a blade that appears firmly seated, an opening that matches your pencil, and a body you can hold steadily. A removable shavings container can help contain mess, especially in a makeup bag. It should also be easy to open and clean; a container that is awkward to empty may allow product buildup around the blade. If a sharpener includes a small cleaning pick, use it carefully and keep your fingers away from the cutting edge.
Pencil diameter can vary slightly even among products described as standard or jumbo. If a pencil repeatedly catches, shaves unevenly, or spins without cutting, try a better-fitting opening rather than pressing harder. A sharp blade and a good fit are more useful than extra force.
Sharpen with light, controlled turns
Hold the pencil straight in the opening and turn it slowly with light pressure. A few short turns give you a chance to check the point before you remove more product than necessary. Stop when enough tip is exposed for your intended application; it does not need to resemble a writing pencil. Pushing the pencil at an angle can cut the casing unevenly and put extra strain on the makeup core.
If a creamy pencil feels too soft and keeps smearing inside the sharpener, let it firm up in a cool place before trying again. A brief spell in the refrigerator may help some formulas, but avoid getting the pencil wet or leaving it where it could be mistaken for food. Wipe away any condensation before use. Very cold product may feel less comfortable to apply, so allow it to return to a suitable texture.
Clear loose shavings after sharpening and check the point before bringing it near your face. If the casing has a rough edge, turn the pencil once or twice more only if needed to smooth it. Never use a pencil whose exposed tip or casing feels sharp against the skin.
Troubleshoot tips that keep breaking
A single broken tip can happen, but repeated breaks are worth investigating. Start with the sharpener: a dull or clogged blade may drag through the casing instead of cutting cleanly. Empty the container, remove residue according to the sharpener’s care directions, and let the tool dry fully before using it again. If the blade is nicked, loose, or no longer cuts smoothly, replacing the sharpener is usually simpler than trying to compensate with more pressure.
The pencil may also be the cause. A core can crack inside its casing after being dropped, then break each time you sharpen it. Try light turns and avoid tapping the pencil to shake out broken pieces. If one pencil fails in a sharpener that works well for your others, the pencil’s formula, condition, or size may be the better clue. Sharpen only a little at a time to avoid wasting more product while you find out.
Keep the tool clean and ready
Empty shavings regularly so they do not crowd the blade or transfer color between pencils. Clean the sharpener as its maker directs, paying attention to product caught around the openings. If you use a damp cloth, allow every part to dry before closing it or sharpening another pencil. Keep the sharpener covered or in a pouch when traveling so debris does not collect inside.
A useful sharpener does not need to be complicated. It needs to fit your pencils, cut cleanly, and be easy enough to maintain that you will actually clean it. Paired with slow turns and a modest point, those basics can make sharpening less frustrating and help each pencil last longer.